Table of Contents
| Quick Specs — Hydraulic Hose Maker Machine Line | |
|---|---|
| Line Configurations | Manual / Electric / CNC |
| Stations | 4 (Cut → Skive → Crimp → Test) |
| Hose Size Range | 1/4″ to 2″ (DN6-DN50) |
| Production Rate (CNC) | 200-400 assemblies/day |
| Production Rate (Electric) | 80-150 assemblies/day |
| Production Rate (Manual) | 20-40 assemblies/day |
| Startup Cost Range | $3,000 – $35,000 |
| Standards | SAE J517, ISO 8434, ISO 17165 |
What Is a Hydraulic Hose Maker Machine?
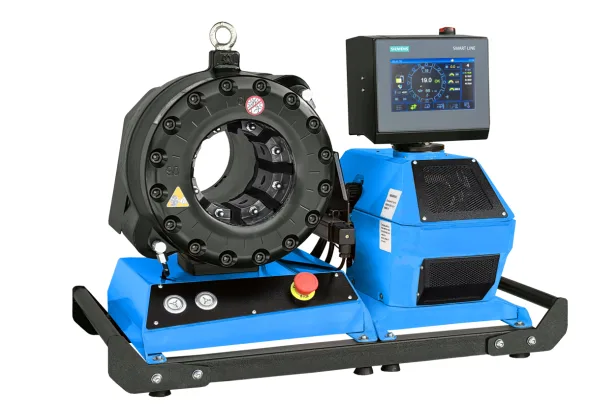
A hydraulic hose maker machine is not a single device — it’s a set of equipment that turns raw hose, fittings, and ferrules into finished, tested hose assemblies. The complete line has four stations: cutting, skiving, crimping, and testing.
Shops that assemble hydraulic hoses professionally need all four stations running in sequence. Skip any one of them and you’ll have quality problems — bad cuts lead to misaligned ferrules, missing skiving causes leaks on spiral hose, and untested assemblies are a safety risk.
Whether you’re setting up a small repair shop or a full production line, the hydraulic crimper is the most expensive single piece of equipment. But the supporting stations matter just as much for consistent output.
4-Station Assembly Line Layout
| Station | Function | Key Equipment | Time per Hose |
|---|---|---|---|
| 1. Cutting | Cut hose to length, square and clean | Hose cutting machine | 10-30 seconds |
| 2. Skiving | Remove outer rubber (spiral hose only) | Hose skiving machine | 15-45 seconds |
| 3. Crimping | Compress ferrule onto hose + fitting | Hose crimper | 5-30 seconds |
| 4. Testing | Pressure test at 1.5× working pressure | Test bench | 30-60 seconds |
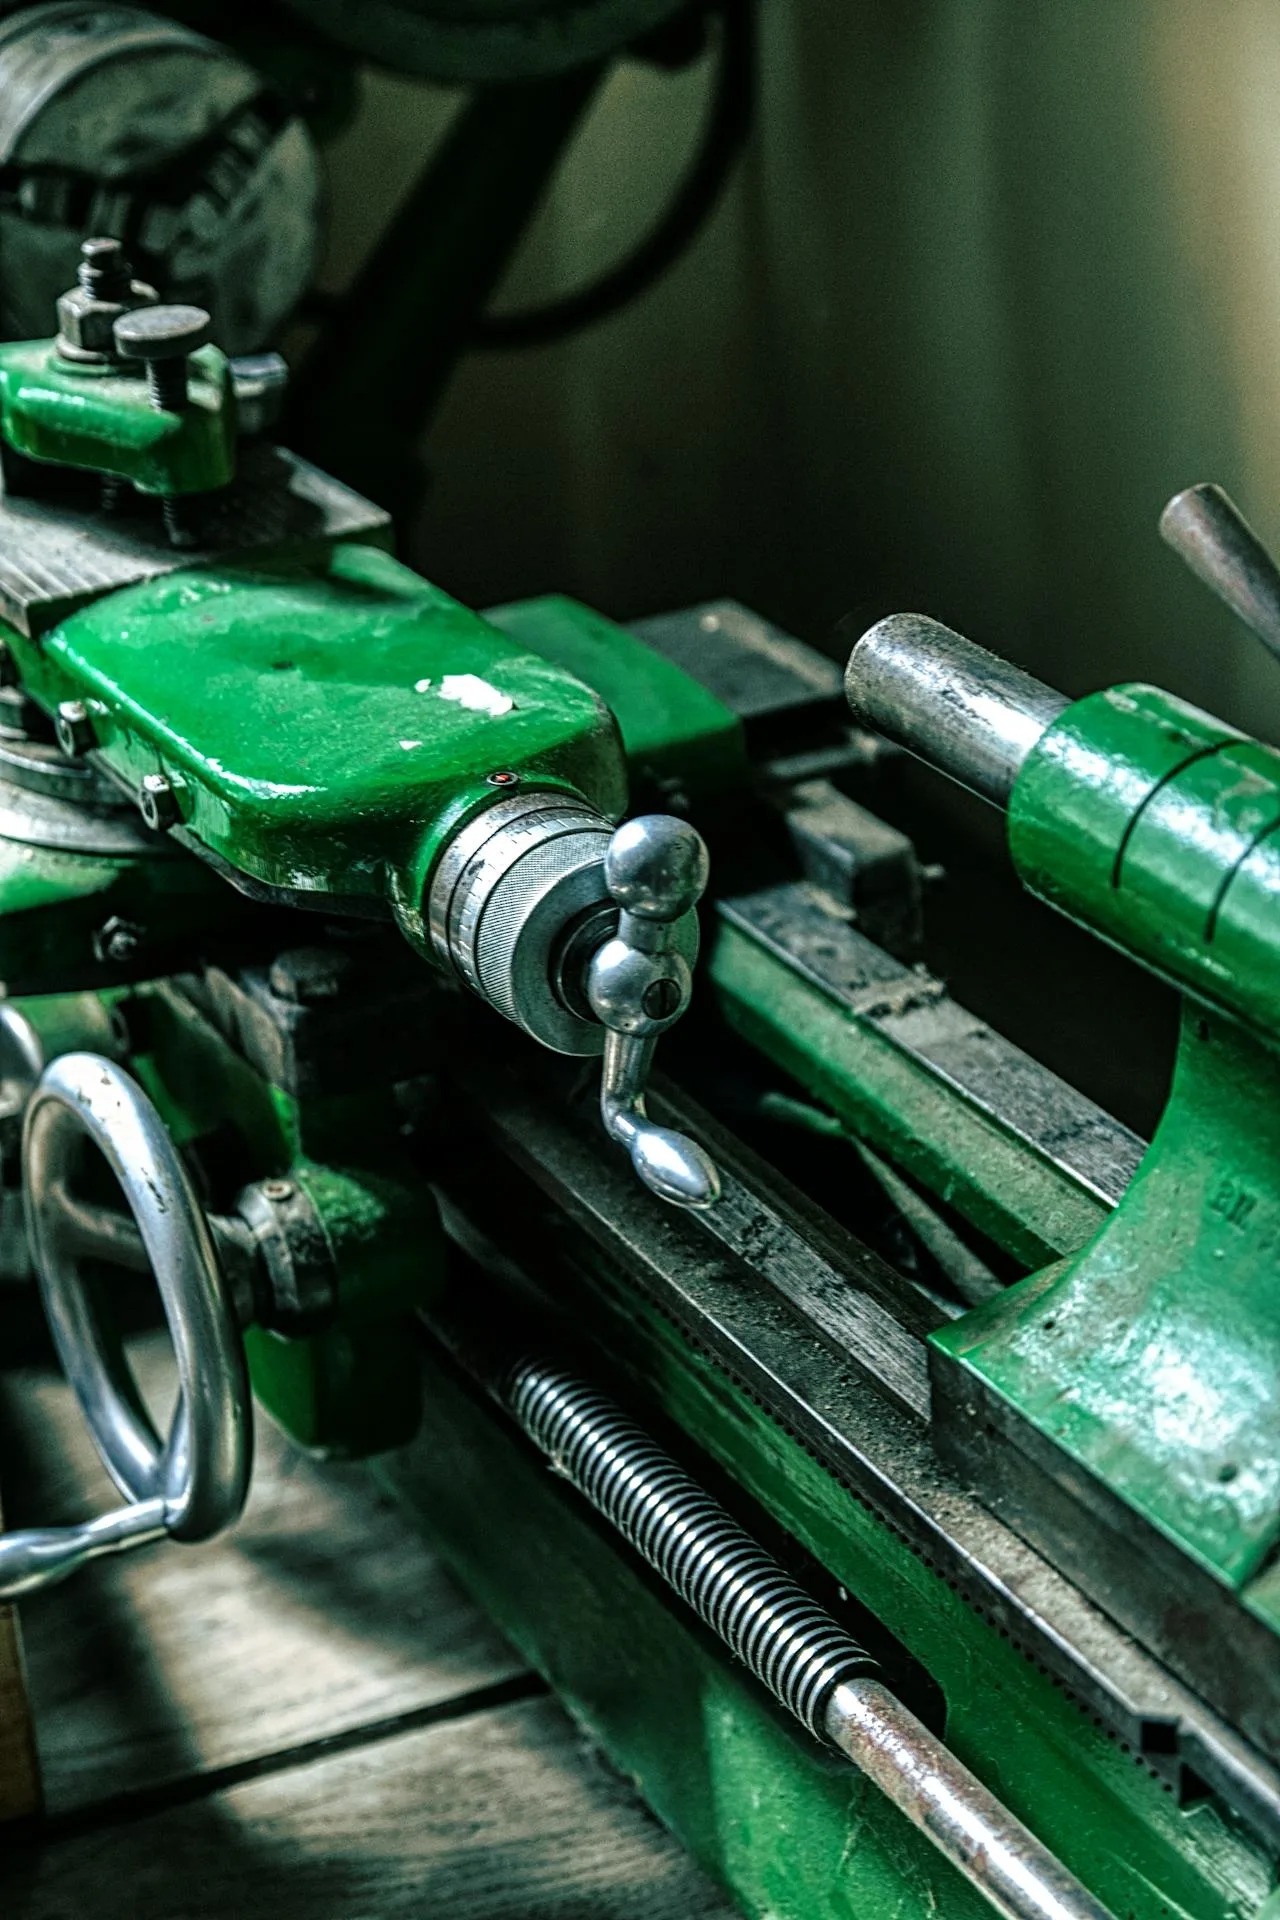
The layout is linear. Hose comes in on a rack, moves through each station, and exits as a tested assembly ready for installation. In a small shop, one operator may run all four stations. In a production environment, each station has a dedicated operator.
Station 1: Cutting
Every hydraulic hose maker machine line starts with a clean cut. The cut quality directly affects crimp quality — if the hose end is angled, frayed, or has loose wire strands, the ferrule won’t sit flush and the assembly will leak.
Cut quality has 4 standards:
- Square face (perpendicular to the hose axis)
- Wire ends flush with the cut face
- Inner tube round, not oval or collapsed
- No loose wire strands
There are two main blade types for hose cutting machines. Rotary metal blades produce the cleanest cut on braided hose (1SN, 2SN) up to 1-1/4″. For spiral hose (4SP, 4SH) and larger diameters, a chop saw with a metal-cutting blade works better.
Avoid abrasive cutoff wheels. They generate heat that melts the synthetic rubber inner tube, and the abrasive particles contaminate the hose interior. This contamination causes premature valve and cylinder failure downstream.
Per SAE J517, hose ends must be clean and free of debris before fitting insertion. Blow out each cut hose with compressed air before moving to the next station.
Station 2: Skiving
Skiving removes the outer rubber cover from the hose end so the ferrule contacts the wire reinforcement directly. Not all hose requires skiving, but getting it wrong causes assembly failures.
Hose types that ALWAYS require skiving:
- 4SP (4-wire spiral, DIN EN 856)
- 4SH (4-wire spiral, DIN EN 856)
- R12, R13, R15 (SAE 100R series spiral)
Hose types that rarely require skiving:
- 1SN, 2SN (wire braid, DIN EN 853) — when used with one-piece fittings
There are two skiving methods: external (removes outer cover) and internal (removes inner tube rubber). Most production shops use external skiving. The TRC S50 handles both internal and external skiving for hose from 1/4″ to 2″.
Skiving depth control is critical. Too deep and you cut into the wire layer, weakening the hose. Too shallow and the ferrule can’t grip the wire properly, causing slippage under pressure. The skived length must match the ferrule length — typically marked on the fitting packaging.
After skiving, inspect the exposed wire. No broken strands. No rubber residue on the wire surface. The wire pattern should be uniform and clean.
Station 3: Crimping
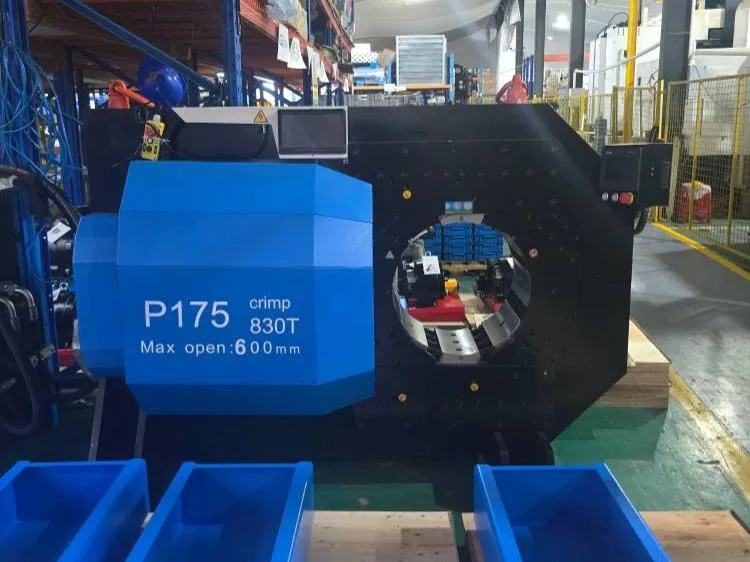
This is the core station — where the hydraulic hose maker machine does its main job. The crimper compresses the ferrule radially around the hose and fitting stem, creating a permanent cold-weld bond.
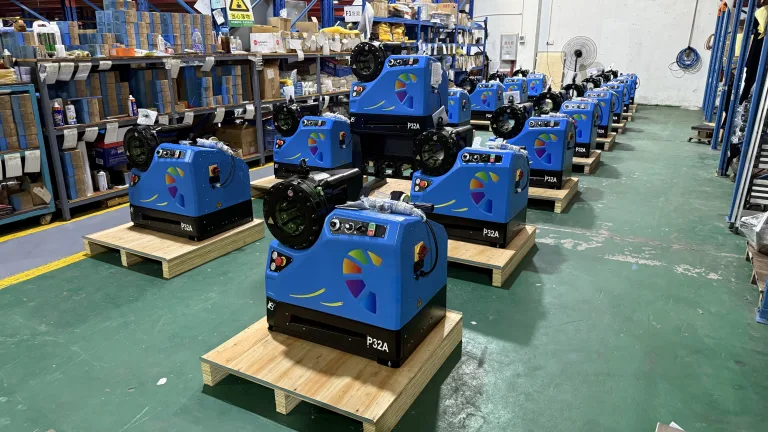
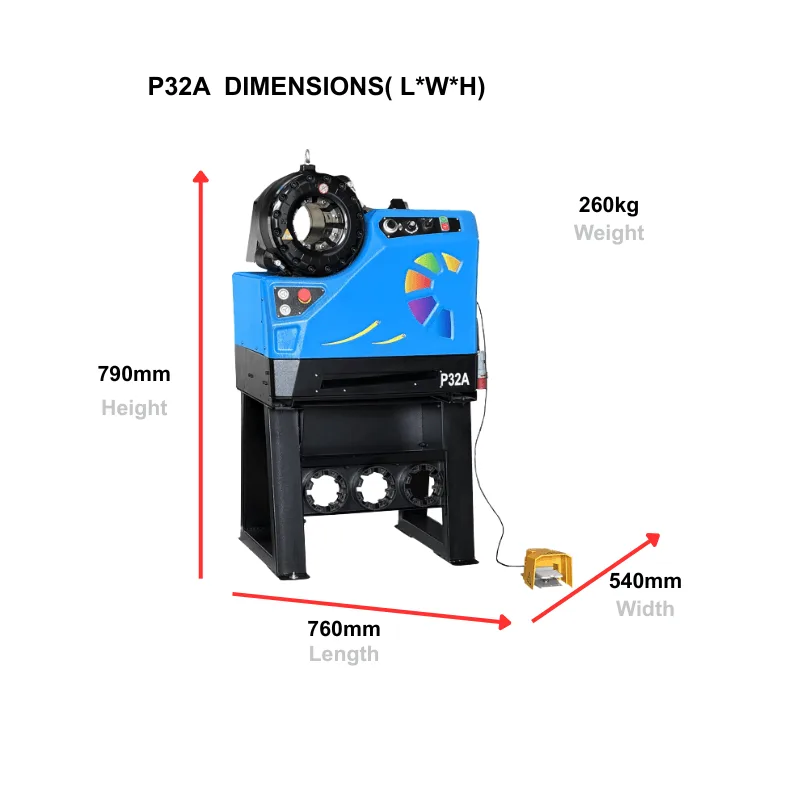
The process follows Pascal’s Law — hydraulic pressure applied to a cylinder generates uniform radial force through the die set. A 200-ton machine like the P32A applies enough force to deform the ferrule, hose cover, and fitting stem simultaneously.
Die selection is the most common error. Each hose size + fitting combination requires a specific die set. Using the wrong die produces an under- or over-crimped assembly. Die steel is typically Cr12MoV at HRC 58-62 hardness — hard enough to maintain precision over thousands of crimps.
After crimping, measure the crimp diameter with a vernier caliper at the flat surfaces between die marks. Standard tolerance is ±0.05 mm per industry crimp specifications. Record the measurement for traceability.
CNC vs manual control:
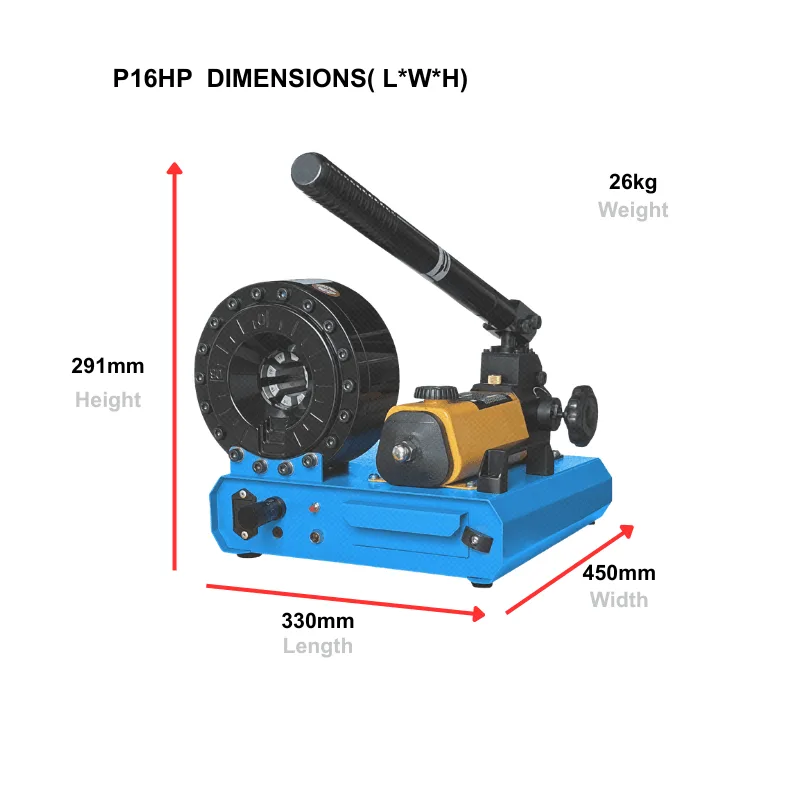
- Manual: Operator sets die position by feel and experience. Good for low volume, field repair. The P16HP (95 ton, 34 kg) is a popular manual unit.
- CNC: Digital control of crimp diameter, hold time, and correction values. Stores hundreds of crimp programs. The P32 and P32D offer CNC control for production environments.
Station 4: Testing
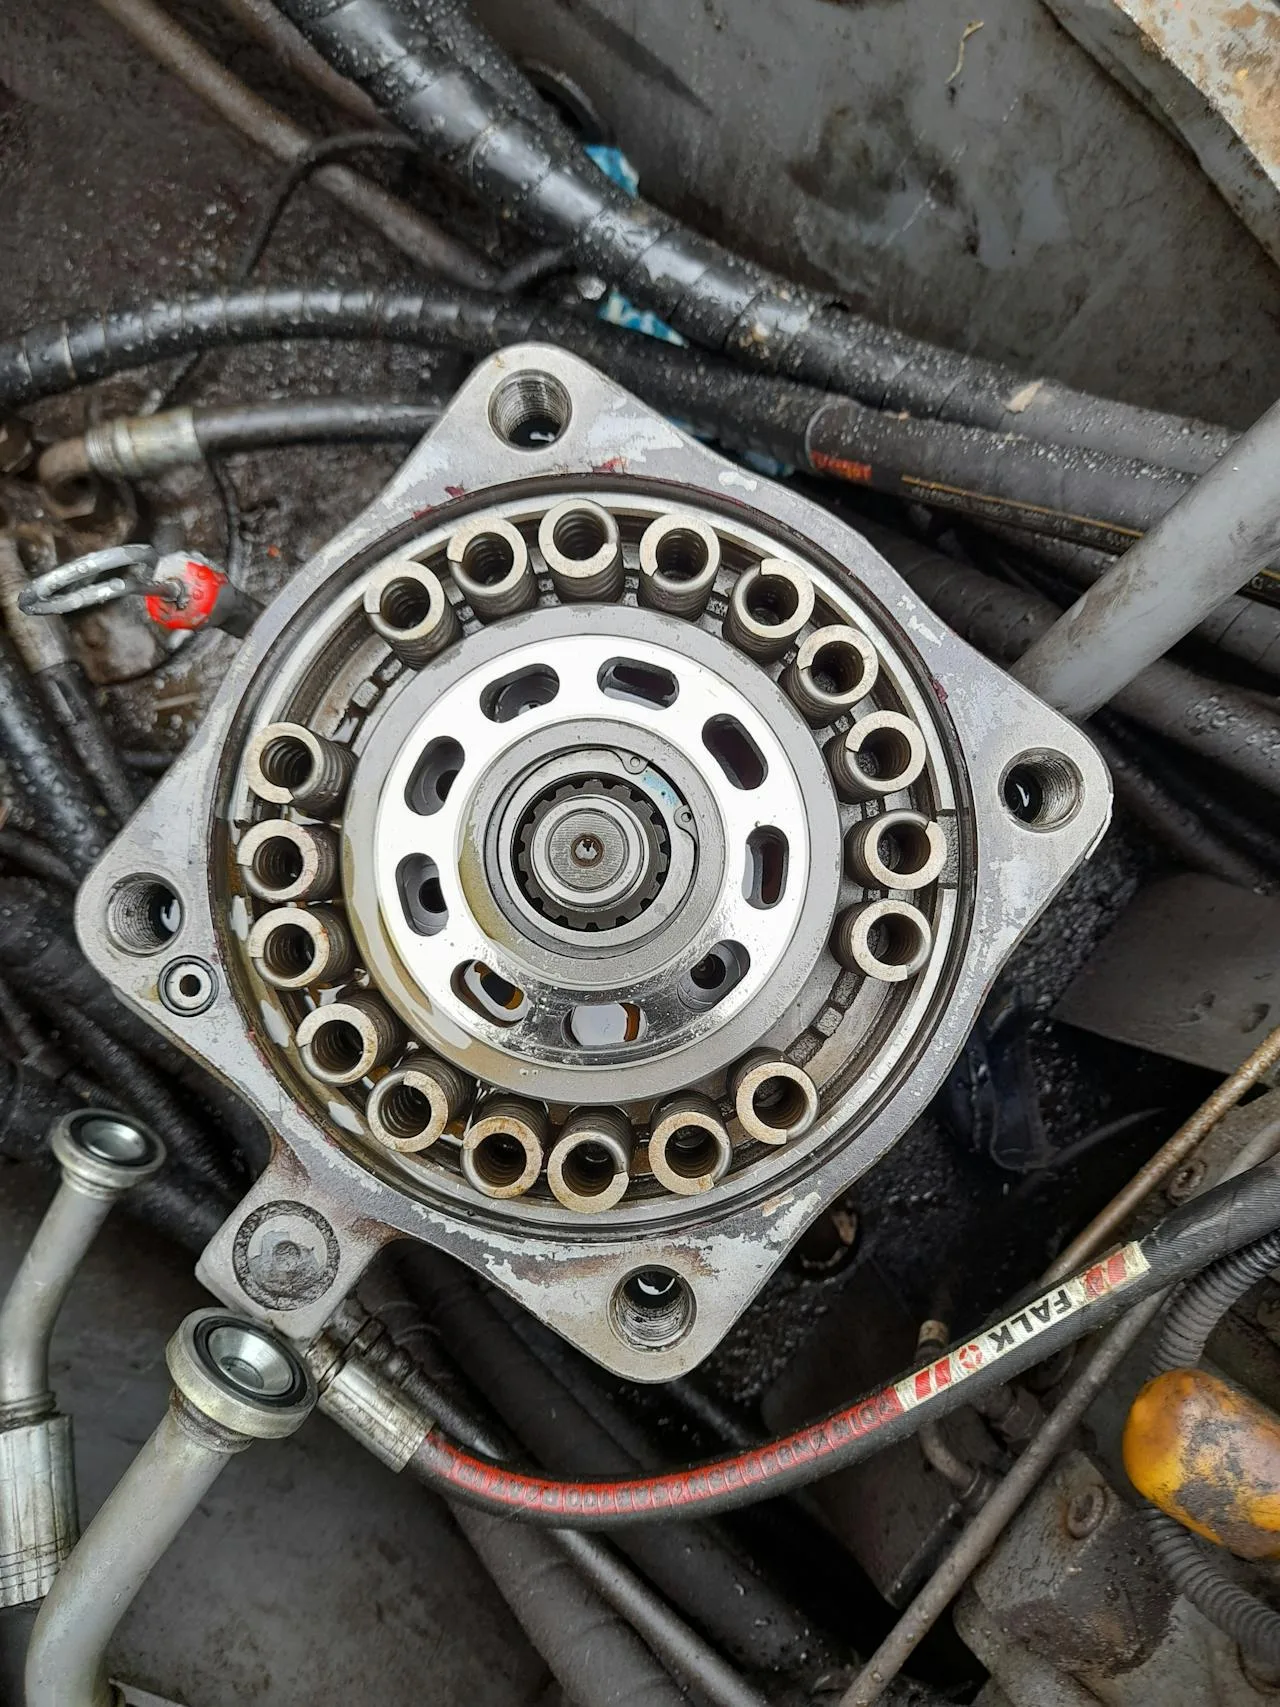
The test station proves the assembly holds pressure. Per ISO 17165, hydraulic hose assemblies should be proof-tested at 1.5× the rated working pressure for a minimum of 30 seconds.
A test bench has a pump, pressure gauge, and fittings to connect both ends of the hose assembly. The operator pressurizes the assembly to the test pressure, holds it, and checks for leaks, bulges, or fitting movement.
Common test failures:
- Leak at ferrule edge — under-crimped or wrong die
- Bubble in hose cover — inner tube damage during cutting or insertion
- Fitting push-out — stem not fully inserted before crimping
For critical applications (mining, marine, aerospace), add an impulse test that cycles the assembly thousands of times at pressure. This simulates years of service in a single test session.
Equipment Cost Breakdown
| Line Level | Cutting | Skiving | Crimping | Testing | Total |
|---|---|---|---|---|---|
| Entry (Manual) | $200-400 Manual cutter |
$0-200 Hand skiver |
$800-1,500 Manual crimper |
$300-500 Hand pump tester |
$1,300-2,600 |
| Standard (Electric) | $800-1,500 C300 cutter |
$500-1,000 S50 skiver |
$2,000-4,000 P32A crimper |
$1,000-2,000 Electric test bench |
$4,300-8,500 |
| Industrial (CNC) | $2,000-3,500 C520A cutter |
$1,500-2,500 CNC skiver |
$5,000-15,000 CNC crimper + dies |
$3,000-5,000 Automated test bench |
$11,500-26,000 |
These are equipment costs only. Add bench space, power supply (220V or 380V for electric machines), 68# anti-wear hydraulic oil, and die sets to the budget. A full die set covering 1/4″ to 2″ costs $500-1,500 depending on the crimper series.
Production Rates
| Metric | Manual Line | Electric Line | CNC Line |
|---|---|---|---|
| Assemblies per day | 20-40 | 80-150 | 200-400 |
| Operators needed | 1-2 | 2-3 | 3-4 |
| Crimp cycle time | 15-30 seconds | 5-8 seconds | 3-5 seconds |
| Crimp tolerance | ±0.08 mm | ±0.05 mm | ±0.03 mm |
| Typical revenue/day | $400-800 | $1,600-3,000 | $4,000-8,000 |
| Break-even | 2-4 weeks | 2-4 weeks | 4-8 weeks |
Revenue estimates assume $20 average per assembly. Mobile hydraulic hose repair services charge $30-80 per assembly because of the convenience premium. A portable crimper in a service truck generates the highest per-assembly margin.
Starting a Hydraulic Hose Assembly Business
A hydraulic hose maker machine setup is the backbone of a profitable service business. Here’s what you need beyond the equipment:
Inventory: Stock the 6 most common hose sizes (3/8″, 1/2″, 3/4″, 1″, 1-1/4″, 1-1/2″) in both braided and spiral. Keep 50+ fittings in each size (straight, 45°, 90°). Ferrules match the fitting size. Budget $2,000-5,000 for initial inventory.
Customers: Construction companies, mining operations, agricultural equipment dealers, ship repair yards, and manufacturing plants all need hydraulic hose repair. Target industries near your location. Mobile service using a battery-powered crimper like the P20CS lets you go to the customer.
Certification: Per ISO 8434, proper training in crimp specifications and quality control is mandatory. Offer pressure test certificates with every assembly to build trust.
Space: A 20-foot bench with 220V power is enough for an electric line. Add storage racks for hose reels and a clean floor area for testing. Total space: 200-400 sq ft minimum.
Frequently Asked Questions
What machines do I need to make hydraulic hose assemblies?
You need 4 machines: a hose cutting machine, a skiving machine (for spiral hose), a hydraulic crimper, and a pressure test bench. The crimper is the most expensive piece. For a basic setup, a manual crimper like the P16HP plus a hand cutter and hand pump tester gets you started for under $2,000.
How much does a hydraulic hose assembly line cost?
A manual line costs $1,300-2,600. An electric line with proper cutting and skiving machines costs $4,300-8,500. A full CNC production line costs $11,500-26,000. Add $2,000-5,000 for hose and fitting inventory.
How many hose assemblies can I make per day?
With a manual crimper: 20-40 assemblies per day. With an electric crimper: 80-150. With a CNC crimper: 200-400. These numbers assume one operator per station and standard 1/2″ to 1″ hose sizes.
Do I need a skiving machine?
Only if you work with spiral hose (4SP, 4SH, R12, R13, R15). Braided hose (1SN, 2SN) with one-piece fittings usually skips skiving. If your customers use spiral hose in mining or heavy construction, yes — you need a skiving machine.
What is the best crimper for a hose assembly shop?
For a workshop doing 50-150 assemblies per day, the P32A (electric, CNC control, 1/4″ to 2″ range) is the right balance of speed and precision. For mobile service, the P20CS (battery, 120 ton) runs without a power outlet.
How do I test a finished hose assembly?
Per ISO 17165, pressurize the assembly to 1.5× the rated working pressure for at least 30 seconds. Check for leaks at the ferrule edge, bulging in the hose cover, and any fitting movement. Record the test pressure and result.
Can I start a hydraulic hose business from home?
A garage or workshop with 220V power is enough. Start with a manual crimper, hand cutter, and basic inventory of the 6 most common hose sizes. Mobile service with a battery crimper eliminates the need for a fixed location. Many successful hose businesses started this way.
What hose sizes sell the most?
The top 6 sizes cover 80%+ of demand: 3/8″, 1/2″, 3/4″, 1″, 1-1/4″, and 1-1/2″. Start with these in both braided (2SN) and spiral (4SP) construction. Add larger sizes (2″, 2-1/2″) as demand grows.
What standards apply to hydraulic hose assemblies?
The main standards are SAE J517 (hose specifications), ISO 8434 (fitting connections), and ISO 17165 (hose assembly performance). Following these ensures your assemblies meet accepted quality benchmarks.
Ready to Set Up Your Hose Assembly Line?
TRC offers complete equipment packages — cutting machines, skivers, crimpers, and test benches for every budget.