
What Is a Hydraulic Hose Maker Machine?
Hydraulic hose maker machines give workshops the ability to build hose assemblies from scratch — cut the hose, skive the cover if needed, insert the fitting, crimp it, and test it. Instead of ordering pre-made assemblies and waiting days for delivery, you produce them on demand.
A “hose maker” isn’t one single machine. It refers to a complete hose assembly setup: a crimper, a cutter, and optionally a skiver. Some suppliers bundle these as a 3-in-1 package. Others sell them individually and you build your own workstation.
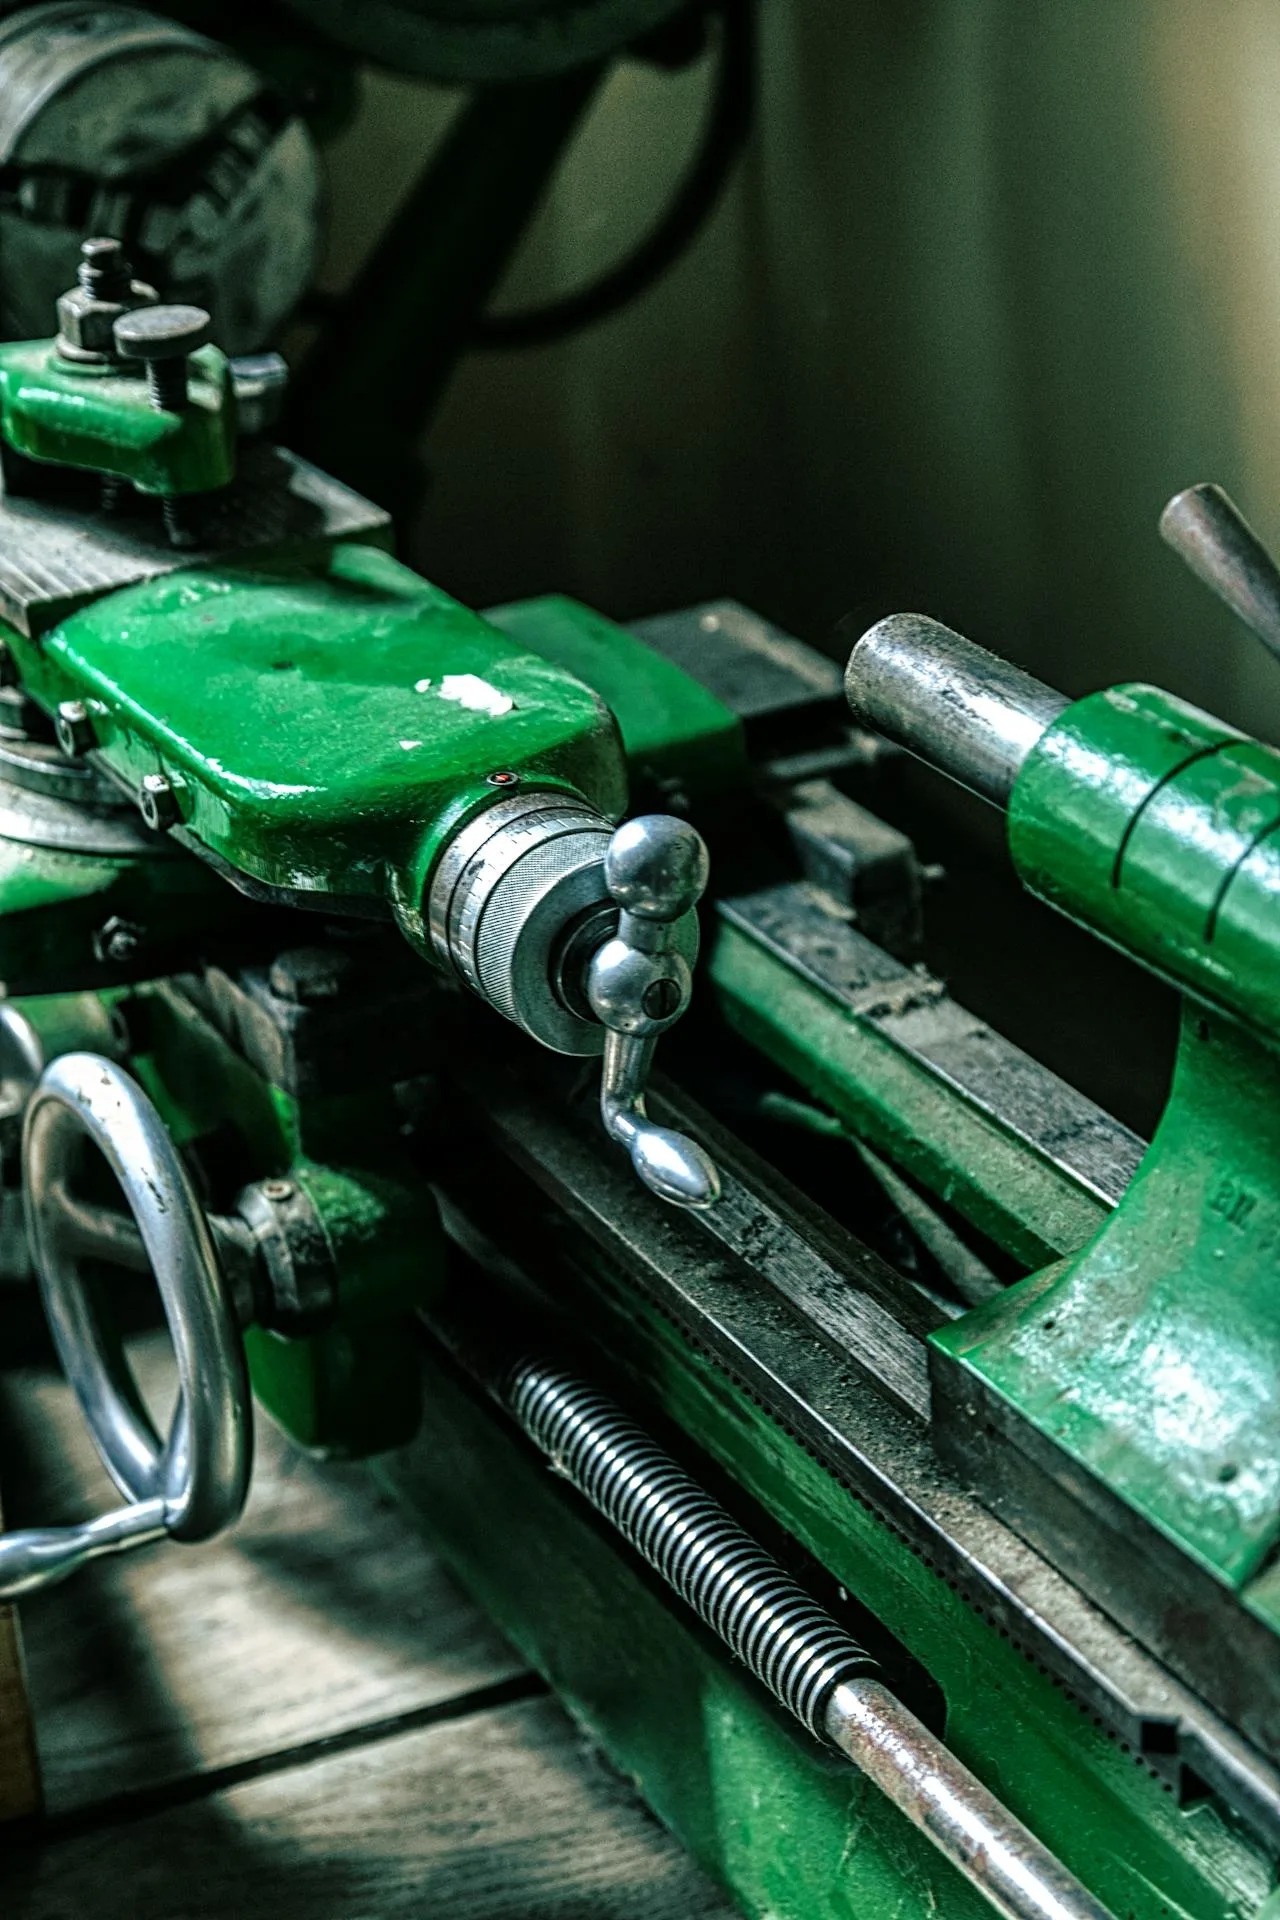
The core of any hose making operation is the hydraulic hose crimper — it compresses the ferrule onto the hose with controlled force. Without accurate crimping, the assembly leaks or blows apart under pressure.
3-in-1 vs Standalone: Which Setup Works Better?
There are two ways to set up a hydraulic hose maker workstation:
- 3-in-1 combined machine: Cutting, skiving, and crimping in one frame. Saves floor space and costs less upfront. The downside: if one function breaks, the whole machine goes down. Limited to smaller hose sizes (usually up to 2″).
- Standalone machines: Separate cutter, skiver, and crimper. More flexible — you can position each machine where it fits your workflow. If the cutter needs service, the crimper keeps running. Higher initial cost but better for production volumes above 20 assemblies per day.
For most professional workshops, standalone machines are the practical choice. You get better performance from each individual unit, and the workflow scales as your business grows.
Complete Workshop Setup: The 4 Essentials
Every hydraulic hose maker workshop needs four pieces of equipment:
- Hydraulic hose crimper — The heart of the operation. Electric models like the TRC P32 (200 ton) handle up to 2″ 4SP. For heavy industrial work, the P165 (680 ton) or P175 (830 ton) cover up to 6″.
- Hose cutting machine — Guillotine-style cutter for clean, square cuts. The TRC C300 handles up to 2″ 4SP. For production, the CNC C300D automates cutting with programmable lengths.
- Hose skiving machine — Removes outer rubber to expose wire reinforcement. Required for 4SP/6SP high-pressure assemblies. The TRC S50 does both external and internal skiving.
- Test bench — Proof-test finished assemblies at 2× working pressure. Not optional — it’s how you verify the crimp is correct and the assembly won’t fail.
ROI: Making Hose In-House vs Outsourcing
The math is straightforward. A shop making 10 assemblies per day spends roughly $15–25 per assembly on outsourcing (including markup, delivery, and waiting time). That’s $150–250 per day, or $3,000–5,000 per month.
A complete hydraulic hose maker setup — P32 crimper ($2,500–4,000), C300 cutter ($800–1,500), S50 skiver ($500–1,000) — totals $3,800–6,500. At 10 assemblies per day, the equipment pays for itself in 1–2 months.
The real savings go beyond money. When a machine breaks on a construction site at 2 PM, you can have a replacement hose ready in 15 minutes — not 2 days. That downtime avoidance is worth more than the crimping cost.
Step-by-Step Hose Making Process
- Cut — Measure and cut the hose to length. Use a guillotine cutter for a clean, square cut. Deburr the wire ends.
- Clean — Blow out debris with compressed air. Metal particles inside the hose destroy hydraulic components.
- Skive (if required) — Remove outer rubber to expose wire. Required for skive-type ferrules on 4SP/6SP hose.
- Insert fitting — Push the fitting into the hose. Lubricate with hydraulic oil if the fitting is tight.
- Crimp — Select the correct die, set the crimp diameter, and crimp. Verify the final diameter with calipers.
- Test — Proof-test at 2× working pressure. Check for leaks, bulges, or ferrule slippage.
TRC Hydraulic Hose Maker Packages
TRC offers three tiers of hose maker setups based on production volume:
| Tier | Crimper | Cutter | Skiver | Hose Range | Best For |
|---|---|---|---|---|---|
| Starter | P16HP (95T) | C250AC | — | up to 1″ 2SP | Small shops, <5/day |
| Professional | P32 (200T) | C300 | S50 | up to 2″ 4SP | Workshops, 10-50/day |
| Industrial | P175 (830T) | C520A | S50 | up to 6″ | Production, 50+/day |
Each crimper comes with standard die sets included. Optional dies (*) are available for less common sizes. Custom dies can be made to order with 2–4 week lead time.
Common Mistakes When Setting Up a Hose Maker Workshop
- Buying a crimper without a cutter. You’ll end up using a hacksaw — slow, dangerous, and never square. A proper cutter is not optional.
- Skipping the test bench. Without proof-testing, you’re guessing. One failed assembly in the field costs more than a test bench.
- Wrong die selection. Using a die that doesn’t match the hose/fitting spec gives under- or over-crimping. Always check the die compatibility chart.
- Not skiving when required. Skive-type ferrules must have the rubber removed. Skipping skiving on a 4SP assembly can reduce pull-out resistance by 30%.
According to Wikipedia’s crimping article, a well-executed crimp deforms the metal past its yield point, creating a gas-tight connection that resists corrosion. This only works when every step — cut, clean, skive, crimp — is done correctly.
Key Takeaways
- A hydraulic hose maker setup pays for itself in 1–2 months for shops making 10+ assemblies per day.
- Standalone machines (crimper + cutter + skiver) outperform 3-in-1 units for professional use.
- The four essentials: crimper, cutter, skiver (for high-pressure), and test bench.
- Never skip the test bench — one field failure costs more than the equipment.
Ready to set up your hose maker workshop? Contact TRC for package pricing and recommendations based on your hose sizes and daily volume.


