Table of Contents
- Quick Specs — Die Size Overview
- What Are Crimping Tool Dies?
- Die Materials & Hardness
- Die Types by Hose Standard
- Die Size Chart by Hose Series
- How to Select the Right Die
- Die Wear & Replacement
- Common Die Mistakes
- Crimp Tolerance & Measurement
- Die Compatibility Across Brands
- FAQ
- Get the Right Dies for Your Crimper
Quick Specs — Die Size Overview
Before getting into the details, here is a quick reference table covering the most common die specifications. Bookmark this page — you will come back to it.
| Spec | Typical Range | Notes |
|---|---|---|
| Die Material | Cr12MoV / SKD11 | Tool steel, quench-hardened |
| Surface Hardness | HRC 58–62 | Die seat HRC 60+ |
| Crimp Tolerance | ±0.05mm | Industry standard |
| Segments per Die | 6–8 | Depends on crimper model |
| Hose Range | 1/4″–4″ (DN6–DN100) | Full die set covers 9 series |
| Die Marking | Die number + range | Stamped on each segment |
| Operating Temp | -20°C to 80°C | Steel performance range |
| Service Life | 5,000–20,000 crimps | Varies by hose type |
These numbers matter because every crimper is only as good as the dies it pushes against the fitting. A worn or mismatched die turns a $5,000 machine into a safety hazard. Crimping tool dies are the single most important consumable in any hydraulic hose assembly operation, and understanding their specs is the difference between a reliable shop and one that ships dangerous assemblies.
What Are Crimping Tool Dies?
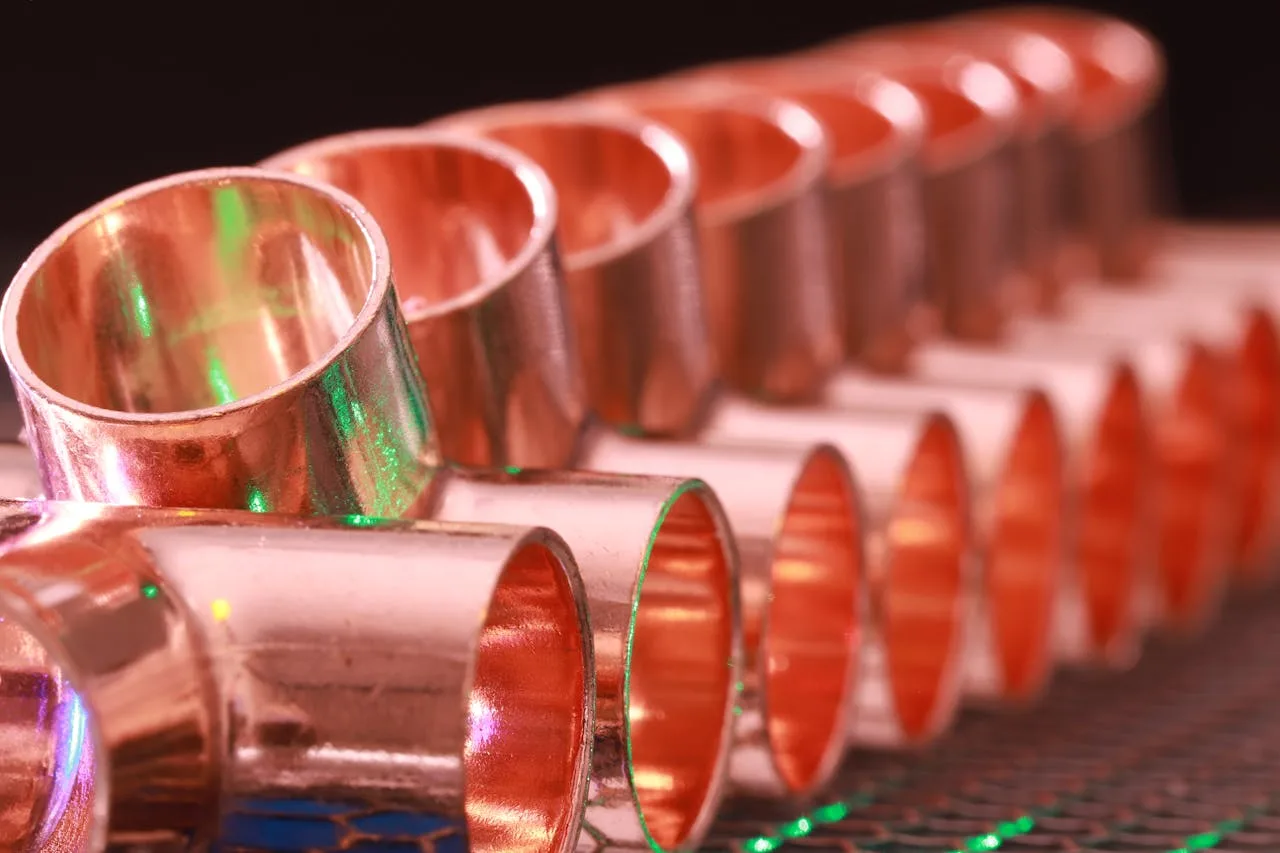
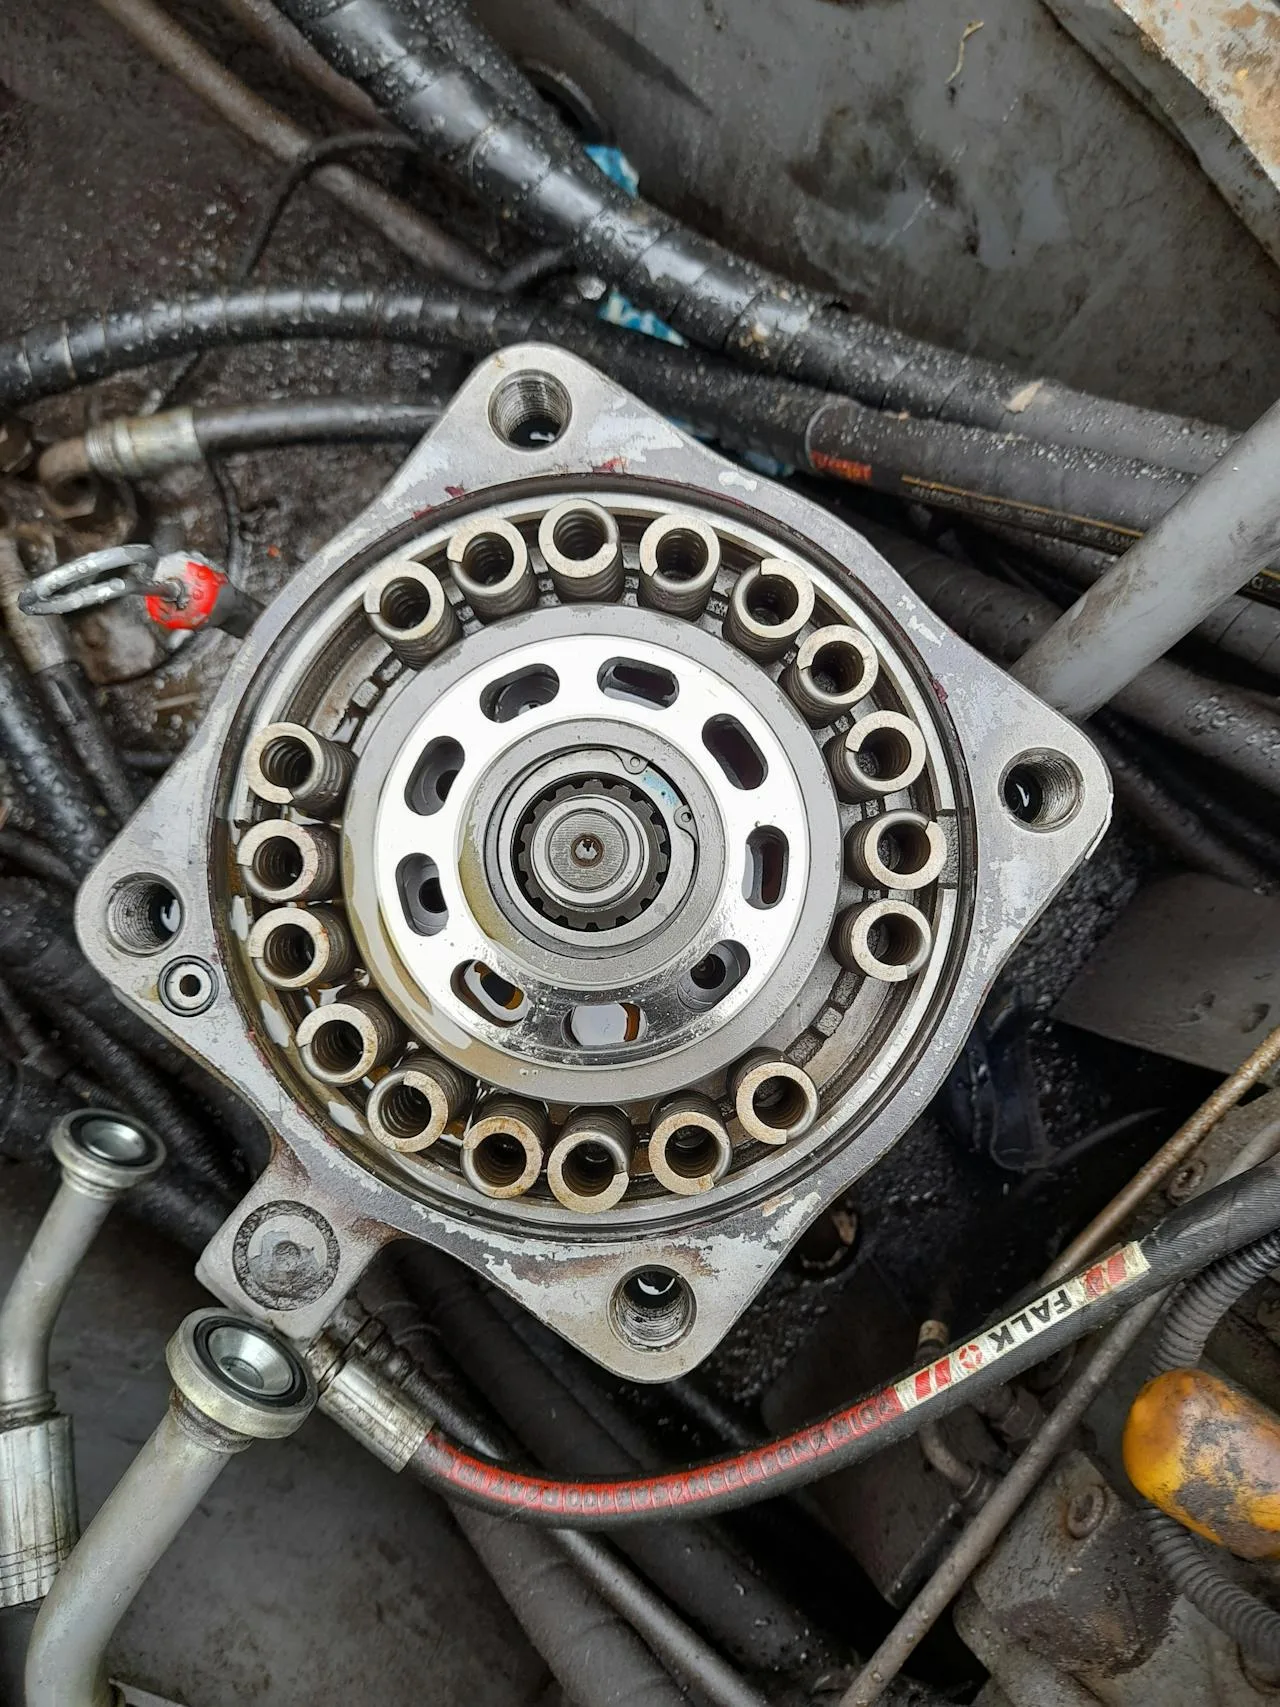
Crimping tool dies are the hardened steel segments that press against a hydraulic fitting during the crimping process. When the crimper’s ram pushes forward, these segmented dies close radially around the fitting and hose, compressing the metal into a permanent cold-weld bond between the fitting ferrule and the hose reinforcement layer.
Think of dies as the “jaws” of the crimper. Without the correct die set, the crimper cannot produce a leak-free, pressure-rated connection. Each die set consists of multiple segments (typically 6 or 8) that fit into the die holder or die seat on the front of the machine. The crimping tool dies compress the fitting ferrule uniformly around the hose, squeezing the metal into the wire reinforcement layers to create a permanent mechanical bond.
Here is what a die set looks like in practice:
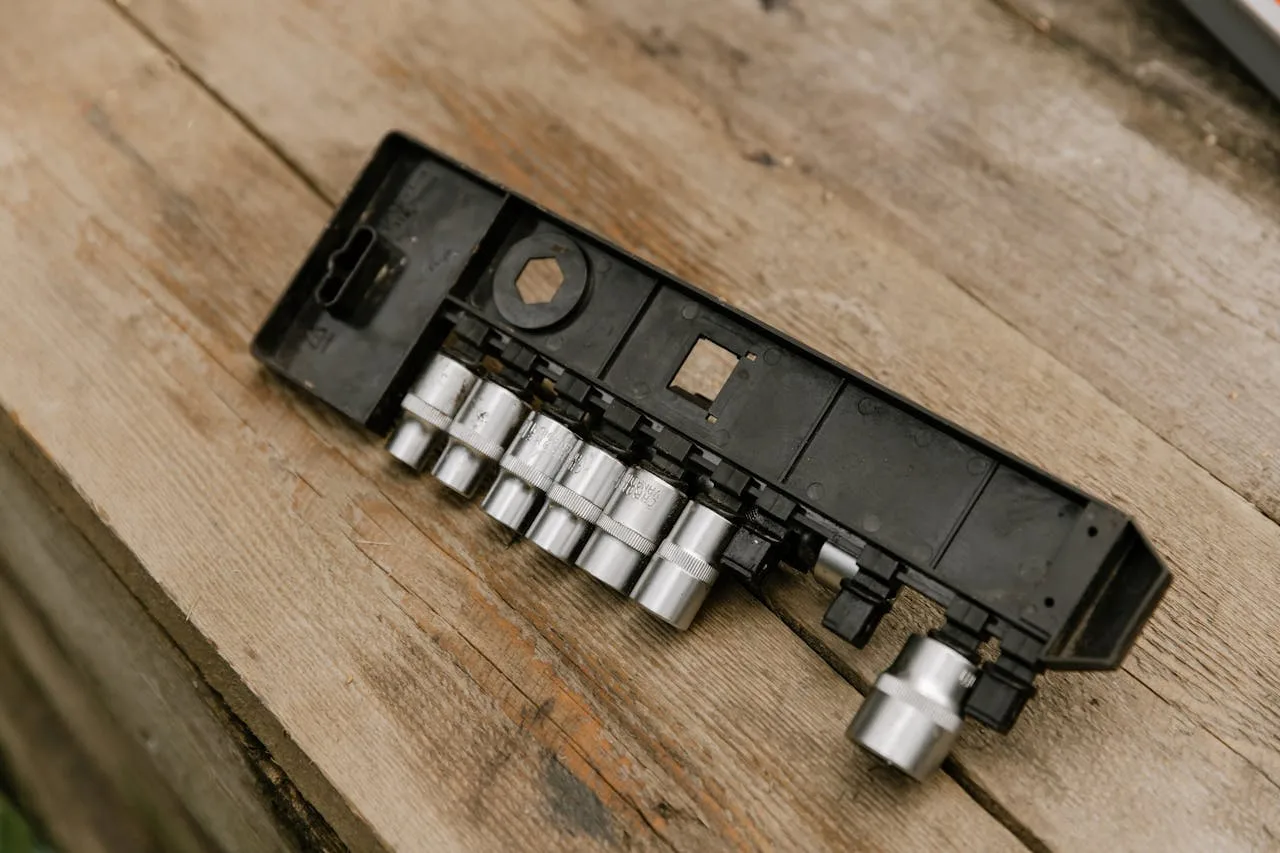
- Segments — Individual curved metal pieces that form a circle when closed. Each segment contacts the fitting directly.
- Die holder/seat — The circular ring that holds the segments in place. It must be harder than the dies (HRC 60+) to prevent deformation.
- Die markings — Each segment is stamped with a die number (e.g., “D8”, “D16”) that corresponds to a specific hose size range.
- Push ring — On some machines, a separate ring pushes the die segments forward into the crimp position.
The P32A crimper and similar machines use an 8-segment die system. Smaller portable units like the P10HP may use 6-segment dies. The segment count affects crimp quality — more segments produce a rounder, more consistent crimp because the force is distributed across more contact points.
A full crimping tool die set for a standard shop crimper typically includes 10 to 14 individual die sizes, covering the most common hose dash sizes from -4 through -32. Shops that work with large-diameter hoses (up to -48) need extended die sets that not all crimpers support.
For anyone buying a hydraulic crimper, the die set is not an accessory — it is the core working component. Choosing the wrong crimping tool dies is worse than choosing the wrong crimper. A mid-range crimper with the correct dies will outperform a top-end machine with mismatched or worn dies every time.
Die Materials & Hardness
The material and hardness of crimping tool dies directly affect crimp quality, die life, and dimensional consistency. This is not a place to cut corners.
Cr12MoV vs SKD11 — The Two Dominant Steels
| Property | Cr12MoV | SKD11 |
|---|---|---|
| Origin | Chinese GB standard | Japanese JIS standard |
| Carbon Content | 1.45–1.70% | 1.40–1.60% |
| Chromium Content | 11.0–12.5% | 11.0–13.0% |
| Molybdenum | 0.40–0.60% | 0.80–1.20% |
| Vanadium | 0.15–0.30% | 0.20–0.50% |
| Hardness After Heat Treatment | HRC 58–62 | HRC 58–62 |
| Toughness | Good | Slightly better |
| Wear Resistance | Excellent | Excellent |
| Cost | Lower | Higher |
Both steels perform well for hydraulic crimping dies. Cr12MoV is more common on Chinese-made crimpers (which covers a large share of the market). SKD11 is often specified on higher-end equipment. In practice, the heat treatment process matters more than which of these two steels is used. A properly heat-treated Cr12MoV die will outperform a poorly heat-treated SKD11 die every time.
Some budget die manufacturers skip the secondary tempering step to save time. This produces dies that test at the correct hardness on a surface tester but have internal stresses that cause premature cracking under repeated crimping loads. If your dies are chipping or cracking after only a few hundred crimps, poor heat treatment is likely the cause — not the steel grade.
Why Hardness Matters
Die surface hardness must be HRC 58–62. Here is what happens at different hardness levels:
- Below HRC 55 — Dies deform after a few hundred crimps. The crimp diameter drifts, producing inconsistent results. This is the “Amazon special” problem: cheap dies that lose accuracy fast.
- HRC 58–62 — The sweet spot. Dies maintain dimensional accuracy for thousands of crimps. Surface resists scoring from wire braids and spiral reinforcement.
- Above HRC 63 — Dies become brittle and can chip or crack under high-tonnage crimping, especially on large-diameter spiral hoses.
The die seat (the ring that holds the segments) should be HRC 60 or higher. Why? Because the die seat absorbs the reaction force during every crimp. If the seat deforms, the die segments no longer align properly, and crimp quality drops — even if the dies themselves are fine.
A Reddit user reported buying a hydraulic crimper from Amazon where “the dies are off” — the crimped fittings were either too loose or had visible oval deformation. This is almost always a hardness or tolerance problem in the die manufacturing process, not a crimper issue. Crimping tool dies from reputable suppliers undergo hardness testing on every batch, and the HRC value is typically stamped or laser-etched on the die seat.
Die Types by Hose Standard
Not all dies are created equal. The die profile — the curve of the inner surface — changes based on what type of hose it is designed to crimp. Using the wrong die type for a hose standard is one of the fastest ways to produce a failed assembly.
Hose construction determines which die series you need. Wire-braided hoses (DIN EN 853 / ISO 1436) have 1–2 braided wire layers and use standard die sets. Wire-spiral hoses (DIN EN 856 / ISO 3862) have 4–6 spiral layers — these need dies with a wider crimp stroke to compress the extra reinforcement. Using a braided-hose die on a spiral hose produces a loose crimp that can fail under pressure.
Braided Hose Dies (SAE 100R1 / R2 / R5)
Wire-braided hoses (covered under SAE J517 and DIN EN 853/ISO 1436) have a thinner wall construction compared to spiral hoses. The die profile for braided hose has a gentler curve because the material compresses more easily. These dies handle:
- SAE 100R1 — Single wire braid, low-to-medium pressure
- SAE 100R2 — Double wire braid, medium-to-high pressure
- SAE 100R5 — Single textile braid with wire, lower pressure applications
Spiral Hose Dies (SAE 100R12 / R13 / R15)
Wire-spiral hoses (DIN EN 856/ISO 3862) have much thicker walls — 4 or 6 layers of high-tensile wire wound in alternating spiral layers. The dies for spiral hose need a more aggressive profile and higher tonnage to compress all those layers properly.
- SAE 100R12 — 4-spiral wire, high pressure
- SAE 100R13 — 4 to 6-spiral wire, very high pressure
- SAE 100R15 — 4 to 6-spiral wire, extreme pressure (up to 420 bar working pressure)
Spiral hose dies wear faster because the hard spiral wire grinds against the die surface with every crimp. A shop that crimps mostly spiral hoses should plan for more frequent die replacement.
Compact / European Standard Dies (4SP / 4SH / 6SP / 6SH)
European-standard hoses (DIN EN 856) use a different construction method that produces a thinner, more compact hose for the same pressure rating. Dies for 4SP, 4SH, 6SP, and 6SH hoses have unique profiles — they cannot be interchanged with SAE-standard dies, even for the same nominal hose diameter.
This is a common source of confusion for shops that work with both US and European equipment. A 1-inch SAE 100R2 die will not produce a correct crimp on a 1-inch DIN EN 856 4SP hose, even though both hoses are “1 inch.” The wall thickness and fitting dimensions are different. The only way to know for sure is to consult the die chart published by your crimper manufacturer, which lists separate entries for each hose standard.
Some crimping tool dies are labeled as “universal” or “multi-standard.” These dies work across multiple hose types at the same dash size but still require different crimp diameter settings for each hose standard. The die itself may fit, but the machine setup must change.
Die Size Chart by Hose Series
This is the section you will reference most often. Below is a die size cross-reference chart covering 9 common hose series. Die numbers vary by manufacturer — the values shown are typical for TRCrimp machines. Always verify against your specific crimper’s die chart.
| Dash Size | Hose ID (mm) | SAE 100R1 Die | SAE 100R2 Die | SAE 100R12 Die | SAE 100R13 Die | 4SP Die | 4SH Die | 6SP Die | 6SH Die |
|---|---|---|---|---|---|---|---|---|---|
| -4 | 6.3 | D4 | D4 | — | — | — | — | — | — |
| -5 | 7.9 | D5 | D5 | — | — | — | — | — | — |
| -6 | 9.5 | D6 | D6 | D6 | — | D6 | — | — | — |
| -8 | 12.7 | D8 | D8 | D8 | — | D8 | — | D8 | — |
| -10 | 15.9 | D10 | D10 | D10 | — | D10 | D10 | D10 | — |
| -12 | 19.1 | D12 | D12 | D12 | D12 | D12 | D12 | D12 | D12 |
| -16 | 25.4 | D16 | D16 | D16 | D16 | D16 | D16 | D16 | D16 |
| -20 | 31.8 | D20 | D20 | D20 | D20 | D20 | D20 | D20 | D20 |
| -24 | 38.1 | D24 | D24 | D24 | D24 | D24 | D24 | — | D24 |
| -32 | 50.8 | D32 | D32 | — | D32 | D32 | D32 | — | D32 |
| -40 | 63.5 | — | — | — | D40 | — | — | — | D40 |
| -48 | 76.2 | — | — | — | D48 | — | — | — | — |
— = Not available for that hose series at this dash size. Die numbers shown are TRCrimp standard; other brands use different numbering.
Keep in mind that die numbering is not standardized across the industry. What TRCrimp calls “D16” might be labeled “#16” or “16S” by another manufacturer. The physical die might be the same size, but you should never assume — always use the chart that came with your specific crimper model.
Reading This Chart
Each cell tells you which die to reach for given a specific hose series and dash size. For example, crimping a SAE 100R2 -12 hose requires die D12. But crimping a DIN 4SP -12 hose also uses die D12 — so same die number, right?
Not quite. While the die number may be the same, the target crimp diameter is different. The die segments themselves are identical, but you program a different crimp diameter on the crimper (or use a different die spacer on manual machines). This is why having the correct die chart from the fitting manufacturer is non-negotiable.
For shops running TRCrimp’s P32D CNC crimper, the machine stores these values digitally — you select the hose series and size, and the controller sets the correct crimp diameter automatically. For manual crimpers, you need to set the die position manually based on the chart.
How to Select the Right Die
Picking the correct die is not guesswork. Follow this 6-step process every time:
Step 1: Identify the Hose Series
Read the hose lay line — the text printed along the hose outer cover. It will say something like “SAE 100R2AT” or “DIN EN 856 4SP.” This tells you which column of the die chart to use. If the hose has no markings, measure the outside diameter and compare against the hose spec sheet, but this is risky — always try to confirm the series first.
Step 2: Determine the Dash Size
Dash size equals the hose inner diameter in sixteenths of an inch. A -12 hose has a 12/16″ (3/4″) bore. Measure with a caliper if the hose lay line is worn off. Common mistake: measuring the outer diameter instead of the inner diameter. The dash size is always based on ID, not OD.
Step 3: Identify the Fitting Type
One-piece fittings, interlock fittings, and reusable fittings all have different ferrule dimensions. Check whether you are using a straight fitting, 45° elbow, or 90° elbow — the die does not change, but some crimpers require a die position adjustment for elbows to avoid the collar hitting the die.
Step 4: Check the Die Chart
Look up the die number for your hose series + dash size in the manufacturer’s chart. For crimp specifications, refer to the fitting supplier’s data sheet — Parker, Weatherhead, Gates, and ISO 8434 fittings all publish specific crimp diameter targets.
Step 5: Test Crimp
Before running production, make a test crimp on a short hose sample. Measure the crimped diameter at three points (two ends and the middle) with a vernier caliper. All three measurements should be within ±0.05mm of the target. If not, adjust the die position or crimp stroke.
Step 6: Record and Lock In
Once the test crimp passes, record the settings. On CNC machines like the P32D, save the recipe. On manual machines, note the die position marker. This prevents setup errors on repeat jobs.
Die Wear & Replacement
Dies are consumables. No die lasts forever. Knowing when to replace them prevents a steady creep in crimp quality that can go unnoticed until a fitting blows off.
Signs of Die Wear
- Visible scoring — Grooves or scratches on the die face where wire braid or spiral has worn into the steel surface. Light surface marks are normal; deep grooves that you can feel with your fingernail mean the die needs replacement.
- Crimp diameter drift — If the same die that used to produce a 25.00mm crimp now produces 25.08mm consistently, the die faces have worn. Time to replace.
- Oval crimps — When the die segments wear unevenly, the crimped fitting becomes slightly oval rather than perfectly round. Measure at 0° and 90° — if the difference exceeds 0.10mm, the dies are done.
- Inconsistent results between operators — If one operator gets good crimps and another does not, the dies may be worn enough that tiny differences in setup technique produce different results.
Die Life Expectancy
| Hose Type | Typical Die Life | Factors |
|---|---|---|
| Wire-braided (R1/R2) | 10,000–20,000 crimps | Lower wire hardness, gentler on dies |
| Wire-spiral (R12/R13) | 5,000–10,000 crimps | Hard spiral wire grinds dies faster |
| Compact (4SP/6SH) | 8,000–15,000 crimps | Thinner wall, moderate wear |
| Large diameter (2″+) | 3,000–8,000 crimps | Higher tonnage, more stress on die faces |
Replacement Best Practices
Replace dies as a complete set — never mix new and worn segments. A new segment next to a worn one creates uneven crimp pressure, which is worse than using a uniformly worn set. Also replace the die seat if it shows visible wear ridges.
For shops using the P140 heavy-duty crimper on large spiral hoses, keep a spare die set for the most common sizes. The P140’s high tonnage (140 metric tons) means dies wear faster than on smaller machines.
Cleaning crimping tool dies between jobs extends their life. Wire fragments, rubber residue, and metal shavings accumulate on the die faces and act as abrasives. A quick wipe with a clean rag and occasional solvent cleaning prevents this buildup. Some shops use compressed air to blow out the die holder between die changes.
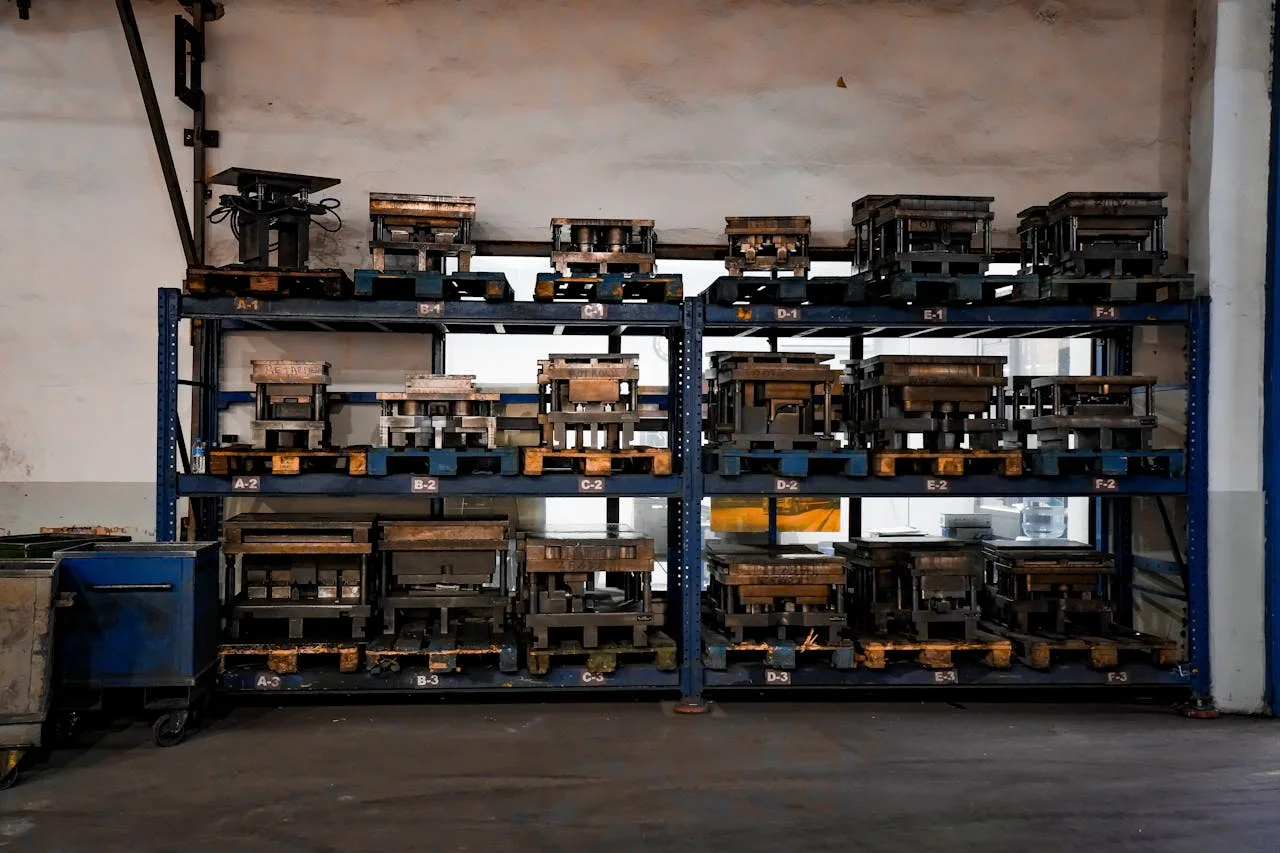
Die storage matters too. Tossing loose die segments into a toolbox drawer guarantees nicks and dings on the precision surfaces. Store each die set in its original case or a fitted foam block. Label the storage slots with the die number and hose range so operators can find the right die quickly without trial and error.
Common Die Mistakes
After years of observing hydraulic shops and reading forum threads like “Some General Questions about making hoses — Crimpers, Mixing Brands, Etc.,” the same mistakes show up repeatedly.
Mistake 1: Selecting the Wrong Die Size
This is the number one error. The operator grabs a die that “looks about right” instead of checking the chart. A die that is one size too large produces a loose crimp; one size too small crushes the inner tube. Both are dangerous. The fix is simple: check the chart, every single time. No exceptions.
Mistake 2: Not Checking the Die Chart After Changing Fittings
Switching from Parker fittings to Weatherhead fittings on the same hose? The die might stay the same, but the target crimp diameter almost certainly changes. Each fitting manufacturer specifies a different crimp OD for their ferrule design. Running the old settings with new fittings is a recipe for field failures.
Mistake 3: Using Worn Dies
Shops often push dies past their service life because “they still work.” They do not — the crimp diameter has drifted, and the operator compensates by adjusting the machine. This works until it does not, and a hose blows off a piece of equipment at 3,000 PSI. Track crimp counts and inspect dies on a schedule.
Mistake 4: Mixing Brand Dies and Crimpers
A Reddit thread about mixing brands asked: “Can I use Parker dies in my Gates crimper?” The answer is no. Die segments from different manufacturers have different angles, profiles, and seat dimensions. Even if the die physically fits the holder, the crimp geometry will be wrong. This is one of the most dangerous mistakes because the crimp might look okay but fail under pressure.
Mistake 5: Not Measuring the Finished Crimp
Skip the caliper and you are flying blind. The crimp might look fine visually but be 0.15mm oversize — well outside the ±0.05mm tolerance. Measure every crimp, or at minimum, measure the first and last crimp of every batch. Shops using the electric crimpers with digital readouts have an advantage — the machine displays the final crimp diameter, but even then, verify with a caliper periodically.
One pattern that shows up in field failure analysis: shops that skip measurement tend to discover problems only after a customer reports a leak or blow-off. By that point, hundreds of suspect assemblies may have shipped. The cost of a vernier caliper ($30–$80) and the 10 seconds it takes to measure is trivial compared to the cost of a product recall or liability claim.
Crimp Tolerance & Measurement
The ±0.05mm tolerance standard is not arbitrary. It represents the acceptable range where the fitting maintains a leak-free seal without damaging the hose inner tube. Here is how to hit it consistently.
Understanding ±0.05mm
If the target crimp diameter for a given fitting is 28.00mm:
- 27.95mm – 28.05mm — Acceptable. The fitting seal is good, and the inner tube is not crushed.
- Below 27.95mm — Over-crimped. The ferrule has compressed too far, potentially collapsing the inner tube and restricting flow. The hose may fail prematurely under pressure cycling.
- Above 28.05mm — Under-crimped. The grip between ferrule and hose reinforcement is insufficient. The fitting can blow off under pressure.
The tolerance is tighter for small-diameter hoses because the margin for error is smaller. A -4 hose (6.3mm ID) has less material to compress, so even a 0.05mm error represents a larger percentage of the total crimp compression.
For large-diameter hoses (-32 and above), some fitting manufacturers allow a slightly wider tolerance band of ±0.08mm. However, this is manufacturer-specific — always check the crimp specification sheet rather than assuming. The crimping process fundamentals remain the same regardless of hose size: measure, verify, and record.
How to Measure with a Vernier Caliper
- Use a quality vernier caliper with 0.02mm resolution. Digital calipers are faster and reduce reading errors.
- Measure the crimped diameter at the midpoint of the ferrule — not at the ends, where the diameter naturally flares.
- Take two measurements: one at 0° and one at 90° (rotate the fitting 90° between measurements). Both must be within tolerance.
- If the 0° and 90° readings differ by more than 0.10mm, the crimp is oval — check die alignment.
- Record the measurement. If the reading is at the edge of tolerance, re-crimp or replace the assembly rather than shipping it.
What Affects Tolerance
Several variables influence whether you hit the ±0.05mm target:
- Die condition — Worn dies produce oversized or oval crimps.
- Hydraulic pressure — The crimper’s system pressure (typically 31.5 MPa max) must be stable. Pressure fluctuations change the crimp force between cycles.
- Hose OD variation — Different hose batches have slight OD differences. A hose that is 0.3mm larger on the OD will crimp differently with the same die setting.
- Oil temperature — Using the correct 68# anti-wear hydraulic oil at proper temperature keeps the crimper’s hydraulic system consistent.
- Die seating — If the die segments are not fully seated in the die holder, one segment sits proud and creates an uneven crimp.
The P32D CNC crimper compensates for some of these variables by monitoring the actual crimp stroke and adjusting in real time. But even CNC machines need good dies to start with.
The crimp creates a cold-weld bond between the ferrule and the hose’s wire reinforcement. Based on Pascal’s Law, the hydraulic pressure inside the crimper’s cylinder translates into uniform radial force through the die segments. The ferrule is compressed past its yield point — typically deformed 10–15% — causing the metal to flow into gaps between wire strands. This metal-to-metal contact is permanent and pressure-rated.
Die Compatibility Across Brands
This section answers the question that comes up constantly on forums: “Can I use brand X dies in my brand Y crimper?”
The Short Answer: No
Dies are not interchangeable between crimper brands. Here is why:
| Factor | Why It Matters |
|---|---|
| Segment profile | The inner curve of each die segment is designed for a specific crimper’s stroke geometry. Different crimpers push the dies inward at different rates. |
| Seat angle | The angle where the die meets the holder varies. A die that fits loosely in the wrong holder will shift during crimping. |
| Push-out distance | How far the die segments extend past the die seat affects the final crimp diameter. This distance differs between brands. |
| Segment count | A TRCrimp 8-segment die physically cannot fit a 6-segment holder, and vice versa. |
| Overall diameter | The outer diameter of the die ring must match the die holder bore within tight tolerance. |
Brand-by-Brand Comparison
TRCrimp dies — Designed for TRCrimp machines (P16HP, P32A, P32D, P20LHP, P18XL, P10HP, P140, US18). Marked with die number and hose range. Cr12MoV steel, HRC 58–62. TRCrimp publishes die charts for all supported hose series.
Parker dies — Parker Parkrimp dies use a proprietary segmented design specific to each Parkrimp model (Parkrimp 1, 2, 3, 4). Parker die sets are color-coded. They cannot be used in non-Parker crimpers.
Weatherhead dies — Weatherhead (now part of Dana) uses their own die numbering system for the C-Series crimpers. The die profiles match Weatherhead fitting dimensions specifically.
Gates dies — Gates dies for the GC-Series crimpers are designed around Gates hose and fitting specs. Like other brands, the die geometry is proprietary.
When Dies Might “Work” — And Why That Is Dangerous
Sometimes a die from brand X will physically fit into brand Y’s die holder and produce a crimp that looks normal. This is misleading. The crimp diameter might be close to the target, but the internal stress distribution in the crimped fitting is different from what the fitting manufacturer designed for. Under pressure cycling, these assemblies fail at higher rates.
One Reddit user asked about mixing brands: “Some General Questions about making hoses. Crimpers, Mixing Brands, Etc.” The consensus from experienced hose technicians was clear — use the dies that match your crimper, and follow the die chart from your fitting supplier. Mixing saves a few dollars on dies and risks thousands in equipment damage or injury.
If you are switching from one crimper brand to another and have an inventory of old dies, do not try to make them work in the new machine. Sell the old dies and buy the correct set for your new crimper. The investment in proper crimping tool dies pays for itself the first time you avoid a field failure.
Fitting structure also affects die selection. One-piece fittings have the ferrule formed into the stem. Interlock fittings have a separate socket — these need dies with a larger inner bore. Reusable fittings do not require crimping at all. Thread types (BSP, metric, SAE) do not directly change the die, but different fitting brands may have slightly different ferrule outer diameters, which does affect the target crimp diameter.
FAQ
How do I know which die size to use for my hydraulic hose?
Match the die to three variables: hose series (SAE 100R1, R2, etc.), hose dash size, and fitting manufacturer. Check the crimper’s die chart — each die is stamped with a die number. For TRCrimp crimpers, die sets are labeled by hose range. Always verify with a test crimp and measure the finished diameter with a vernier caliper before running production batches.
Can I use dies from different brands on my crimper?
Not safely. Dies from different manufacturers have different segmented profiles, seat angles, and push-out distances. A Parker die in a TRCrimp crimper will not produce the correct crimp diameter, even if it physically fits the die holder. Always use dies designed for your specific crimper model.
What material are hydraulic crimping dies made from?
Most quality dies use Cr12MoV or SKD11 tool steel, heat-treated to HRC 58–62 hardness. The die seat (base ring) should be HRC 60 or higher to resist deformation under repeated crimping cycles. Cheaper dies using lower-grade steel will wear faster and lose dimensional accuracy.
How often should crimping tool dies be replaced?
It depends on usage volume and hose type. For a busy shop crimping 50+ hoses per day, inspect dies every 3 months. Signs of wear include visible scoring on die faces, crimp diameter drift beyond ±0.05mm, or inconsistent crimp quality. Spiral hose dies wear faster than braided hose dies because spiral wire is harder on the die surface.
What is the standard crimp tolerance for hydraulic hoses?
The industry standard is ±0.05mm (about ±0.002 inches). This means if the target crimp diameter is 25.00mm, the acceptable range is 24.95mm to 25.05mm. Anything outside this band risks either a leak (too loose) or hose damage (too tight). Measure with a vernier caliper after every crimp.
Why are my crimping results inconsistent with the same die?
Common causes: worn die segments creating uneven pressure, incorrect die seat position, varying hose outer diameter between batches, or hydraulic pressure fluctuation in the crimper. Start by cleaning the die set and checking for visible wear. Then verify the crimper’s hydraulic pressure is stable and consistent.
Do I need different dies for braided and spiral hoses of the same size?
Yes. Braided hose (SAE 100R1/R2) and spiral hose (SAE 100R12/R13) have different wall thicknesses and construction. Even at the same dash size, the target crimp diameter differs. Using a braided hose die on a spiral hose will over-crimp and damage the fitting. Each hose type requires its own die specification.
What happens if I use the wrong die size?
An oversized die produces a loose crimp — the fitting can blow off under pressure, causing fluid injection injuries or equipment damage. An undersized die over-crimps, crushing the inner tube and restricting flow. Both scenarios are safety hazards. Always cross-reference the die chart and verify with a test crimp.
Construction and engineering machinery accounts for 62% of all hydraulic fitting consumption. Every excavator has 20–50 hose assemblies, each requiring the correct die set for a safe crimp. Mining operations, shipyards, and oil-field maintenance teams often carry die sets for 5 or more hose series to cover the range of equipment they service.
Get the Right Dies for Your Crimper
Using the wrong die costs more than replacing it. One blown fitting can cause thousands in equipment damage and downtime.
TRCrimp stocks die sets for all 9 hose series, manufactured from Cr12MoV tool steel at HRC 58–62 hardness. Every die set includes a calibration certificate and crimp chart.


