
Table of Contents
- What Is a Hydraulic Hose Crimper Starter Kit?
- Step 1: Choose the Right Crimper Machine
- Step 2: Die Sets — The Most Overlooked Investment
- Step 3: Fittings, Ferrules, and Hose Stock
- Step 4: Cutting and Preparation Tools
- Step 5: Measurement and Quality Tools
- Complete Starter Kit Checklist with Costs
- What You Can Skip at the Beginning
- First 100 Assemblies: What to Expect
- Upgrade Path After 100 Assemblies
- FAQ
A hydraulic hose crimper starter kit is the collection of tools, dies, and supplies you need to start crimping hydraulic hose assemblies from scratch — whether you are opening a hose shop, adding hose assembly capability to an existing workshop, or starting a mobile hose service. This guide covers every item you need for the first 100 assemblies, what each item costs, and what you can safely skip until later.
What Is a Hydraulic Hose Crimper Starter Kit?
Starting a hydraulic hose assembly operation comes down to 5 categories of equipment:

- Crimper machine — the press that compresses ferrules onto fittings
- Die sets — the segmented tooling that shapes the crimp
- Fittings, ferrules, and hose — the consumables you assemble
- Cutting and preparation tools — for sizing and prepping hose
- Measurement and quality tools — for verifying each crimp
A complete starter kit for a small workshop runs $3,000–$8,000 depending on machine choice. A mobile service starter kit can be as low as $1,500 with a manual hydraulic hose crimper. The key is buying the right items once instead of upgrading twice.
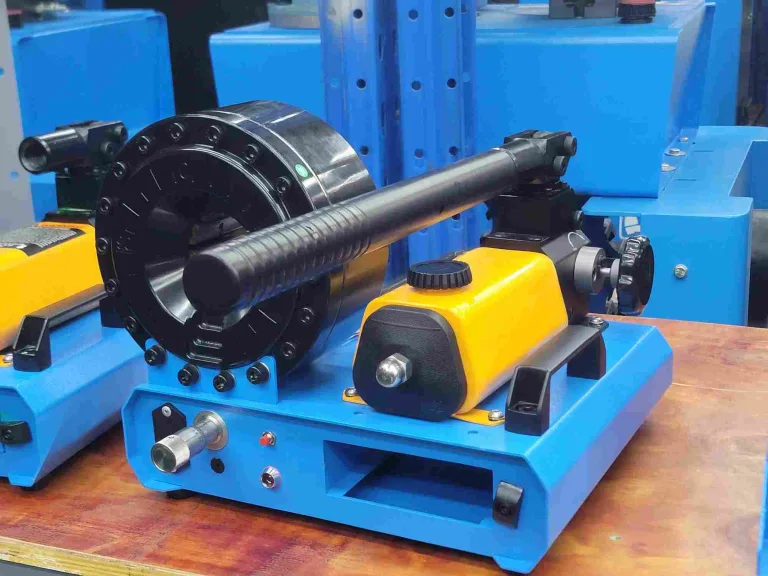
Step 1: Choose the Right Crimper Machine
The crimper is the biggest investment in your starter kit. Pick wrong, and you either outgrow it in 3 months or overspend on capability you never use.
| Scenario | Recommended Machine | Tonnage | Hose Range | Price Range |
|---|---|---|---|---|
| Mobile service / field repair | P16HP (manual) | 95 ton | 1/4″–1″ 2SP | $800–$1,500 |
| Small workshop (50 assemblies/month) | P32A (electric) | 200 ton | 1/4″–2″ 4SP | $2,000–$4,000 |
| Production workshop (200+/month) | P33 (CNC electric) | 200 ton | 1/4″–2″ 4SP | $3,500–$6,000 |
| Heavy duty (spiral hose R12/R13) | P140 or 120L | 400+ ton | Up to 4″ 6SP | $5,000–$10,000 |
Decision framework: If you are doing fewer than 100 assemblies per month and working with hoses up to 1″, start with the P16HP manual or the P32A electric hydraulic hose crimper. The P32A covers the widest range (up to 2″) and handles both 2-wire and 4-spiral hose, making it the safest single-machine choice for a new workshop.
If you plan to run a mobile service, the P16HP weighs only 34 kg and operates without electricity. Pair it with the US18/US20 vertical hydraulic crimper for standing operation on service calls.
Tonnage requirements by hose size (based on SAE standard hose types):
| Hose Size Range | Hose Type | Tonnage Needed | Recommended Model |
|---|---|---|---|
| 1/4″–3/4″ | R1/R2 (wire braid) | 20–60 ton | P16HP (95 ton) |
| 3/4″–1″ | R2 (wire braid) | 60–95 ton | P16HP or P18HP |
| 1″–1-1/2″ | 4SP (wire spiral) | 95–185 ton | P32A or P33 |
| 2″–3″ | R12/R13 (spiral) | 200–450 ton | P140 or P175 |
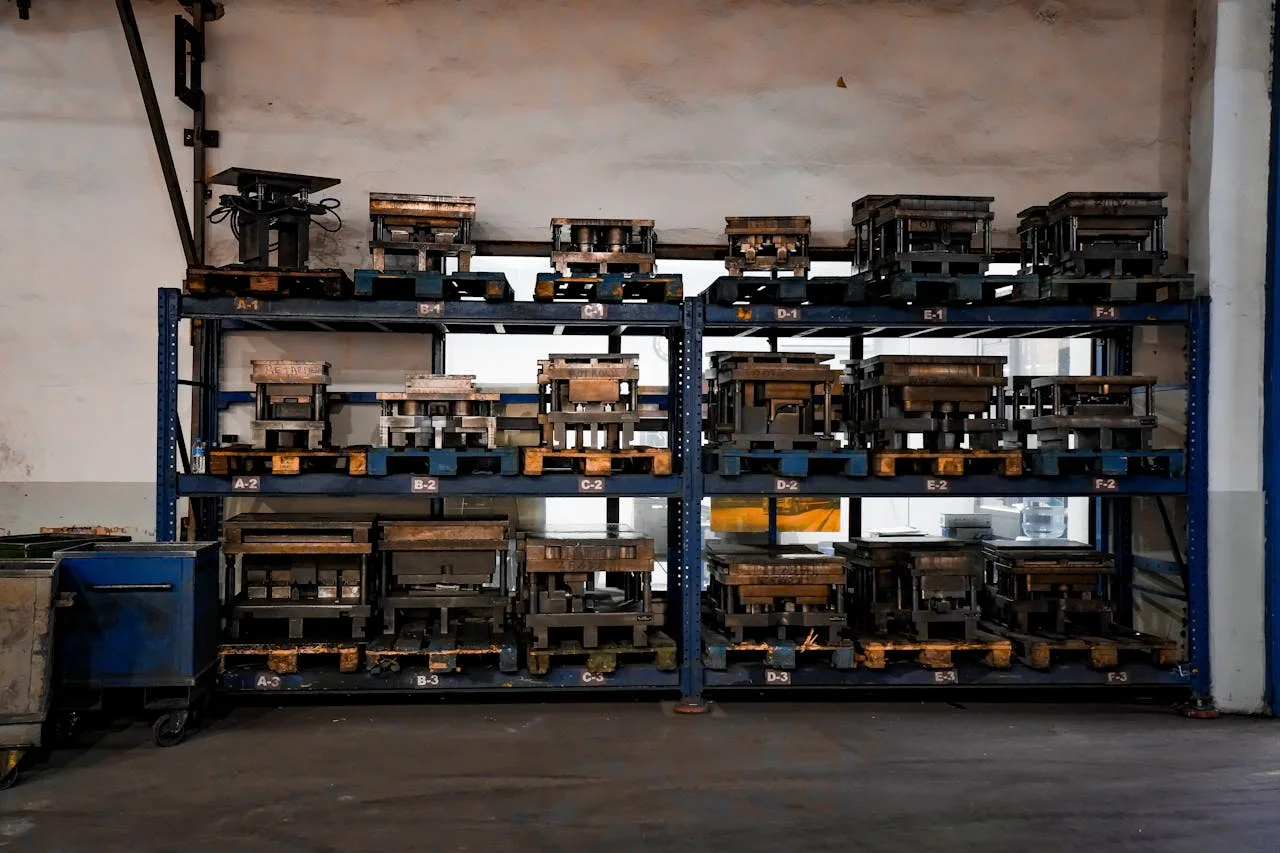
Step 2: Die Sets — The Most Overlooked Investment
Dies determine the crimp profile. Using the wrong die means a bad crimp — no exceptions. Each die set is sized for a specific ferrule diameter, and each hose-fitting combination requires a specific die.
Die set naming: Die numbers correspond to the ferrule bore size. For example, die “16” crimps a ferrule sized for 1/2″ hose with 2-wire braid. Die “23” crimps 3/4″ hose.
| Die Series | Crimper Models | Die Sizes Available | Hose Coverage |
|---|---|---|---|
| P16 series | P16HP, P18HP, P16AP | 6–31 (10 sizes) | 1/4″–1″ 2SP |
| P20 series | P20, P20S, P22, P20D | 6–52 (14 sizes) | 1/4″–1-1/2″ 4SP |
| P32 series | P32, P32A, P32D, P33 | 6–78 (19 sizes) | 1/4″–2″ 4SP |
Starter kit recommendation: Buy the 8 most common die sizes for your series. For the P32 series, start with dies 6, 12, 16, 19, 22, 26, 39, 51. This covers 80% of assemblies. Add dies as customer demand requires. Refer to the vertical hydraulic crimper series for standing-height production setups.
Die quality matters. TRCrimp dies are machined from Cr12MoV tool steel with HRC 58–62 hardness, holding ±0.03 mm crimp tolerance. Budget dies from unknown sources may have inconsistent hardness, leading to premature wear and out-of-spec crimps.
Step 3: Fittings, Ferrules, and Hose Stock
Without consumables, the machine is useless. Your starter kit needs an initial stock of fittings, ferrules, and hose.
Fitting Types to Stock
The crimper dies and accessories you carry determine which fittings you can crimp. Start with the 3 most common fitting series:
| Fitting Series | Description | Common Applications | Starter Qty |
|---|---|---|---|
| One-piece (straight) | Ferrule pre-attached to stem | General purpose, easiest to crimp | 30 pcs across sizes |
| One-piece (90° elbow) | Pre-attached, angled | Tight spaces, equipment connections | 20 pcs across sizes |
| Interlock | Two-piece with separate ferrule | High-pressure, 4-spiral hose | 15 pcs across sizes |
Hose Stock
Carry at least 50 ft of each hose type:
- SAE 100R1 / DIN EN 853 1SN — 1-wire braid, general purpose, working pressure up to 2,250 PSI for small diameters
- SAE 100R2 / DIN EN 853 2SN — 2-wire braid, most common, working pressure up to 5,000 PSI for 1/4″ (drops to 1,450 PSI at 2″)
- SAE 100R12 / DIN EN 856 4SP — 4-spiral wire, heavy equipment, working pressure up to 5,000 PSI (3,000 PSI at 2″)
Start with 3/8″, 1/2″, and 3/4″ in each type. These three sizes cover 75% of all hydraulic hose assemblies according to SAE J517 hose usage data. The QC Hydraulics crimp spec reference lists the exact die and ferrule pairing for each size.
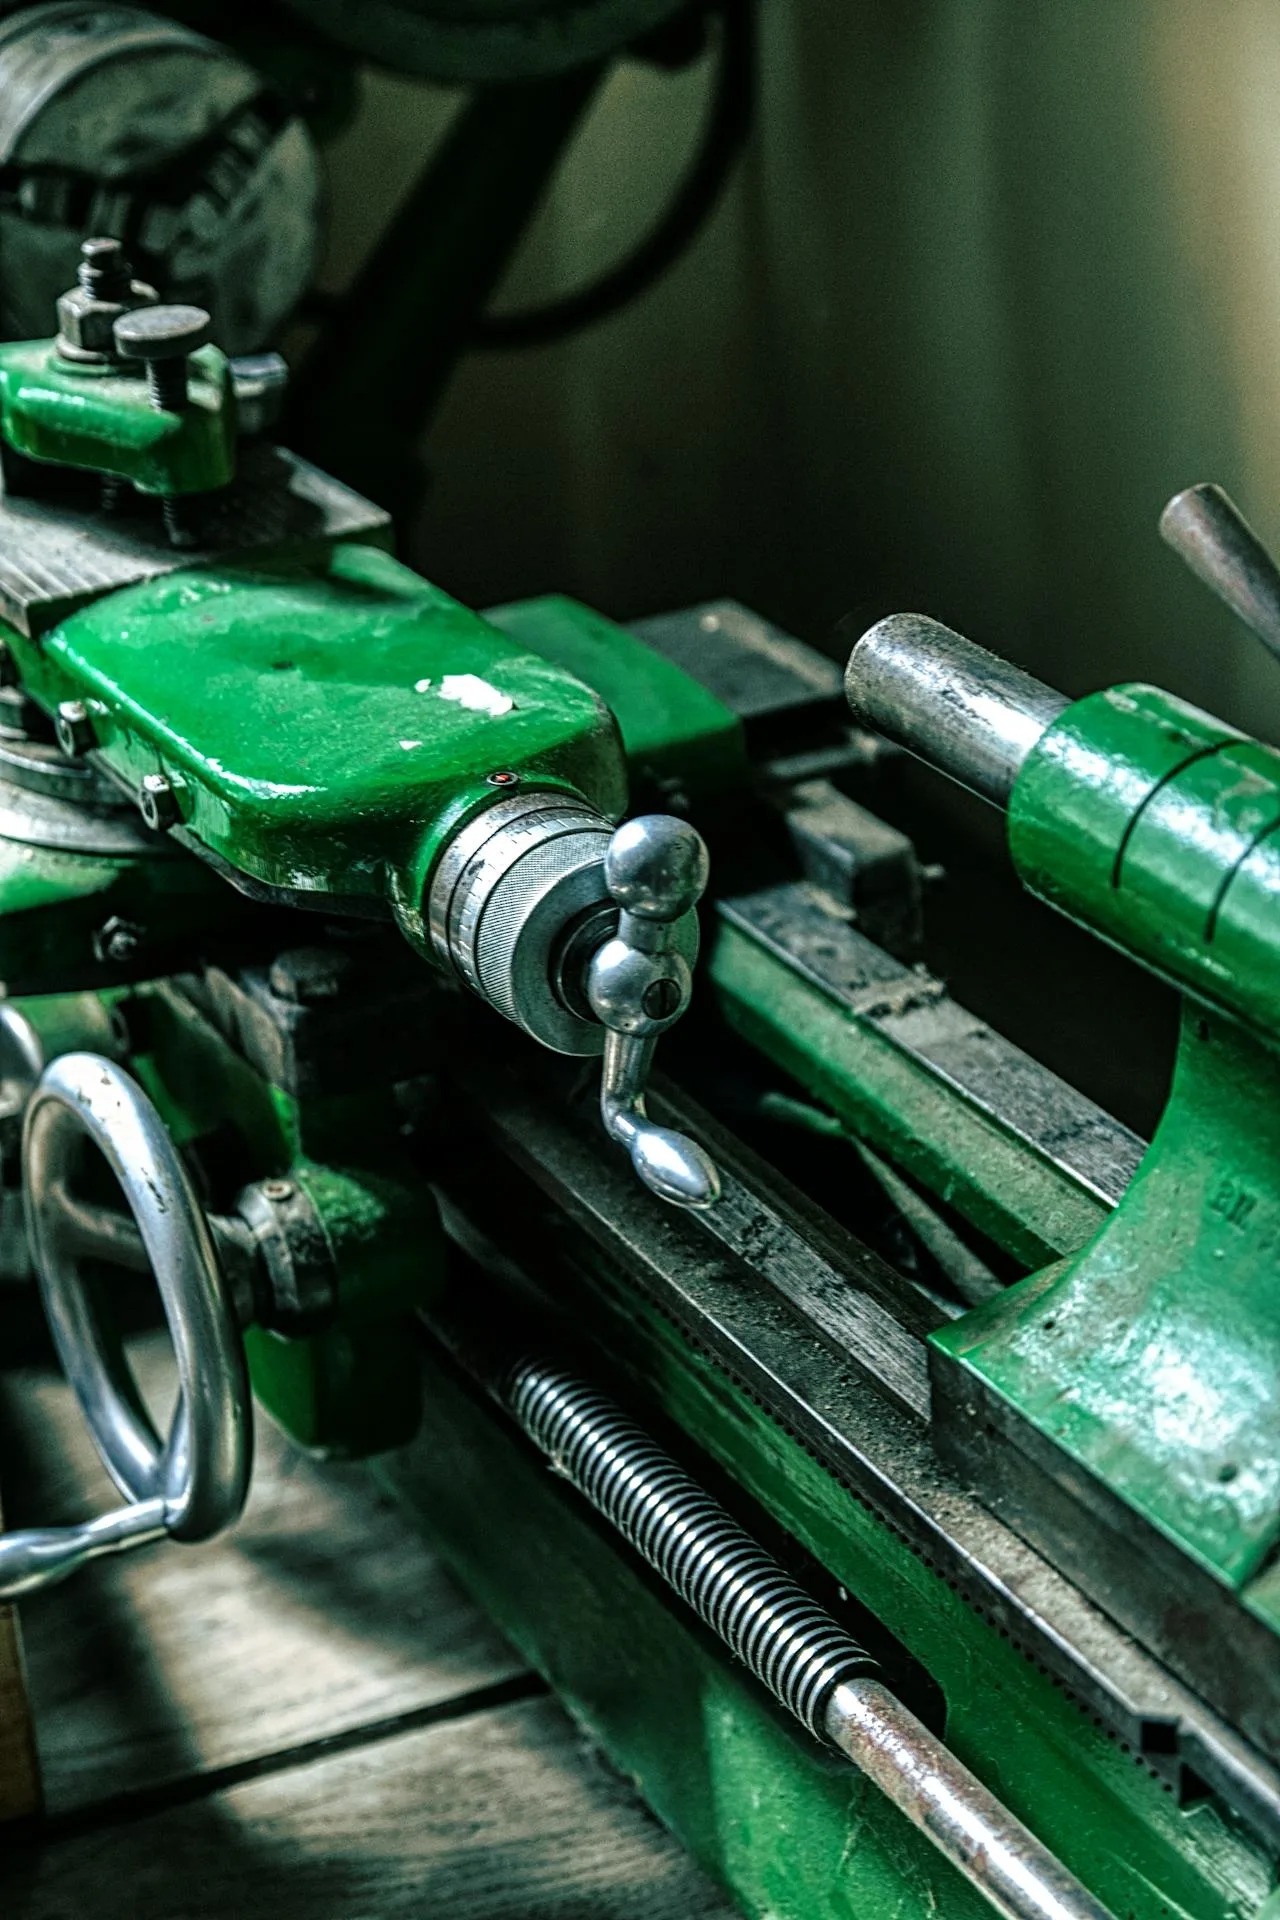
Step 4: Cutting and Preparation Tools
You cannot build hose assemblies without cutting hose to length and prepping the ends.
| Tool | Why You Need It | Starter Budget |
|---|---|---|
| Bench-mounted hose cutter | Clean, square cuts on wire-braid and spiral hose | $300–$800 |
| Deburring tool | Remove wire burrs after cutting — prevents fitting damage | $15–$30 |
| Tape measure + marker | Cut hose to specified length | $10 |
| Skiving machine (if using skive-type fittings) | Remove outer rubber cover for proper ferrule contact | $500–$1,500 |
| Oil bucket and lint-free rags | Clean hose inside before assembly — metal particles cause valve damage | $20 |
Skive vs no-skive: Many modern fittings are “no-skive” — the ferrule grips directly onto the rubber cover. If you are using no-skive fittings exclusively, you can skip the skiving machine initially. The S50 skiving machine becomes necessary when you work with high-pressure 4-spiral and 6-spiral hose.
A hose cutting machine is the second-largest equipment investment after the crimper. For mobile service, a portable cutter is sufficient. Workshop operators should invest in a bench-mounted unit for clean, repeatable cuts on hydraulic crimper assemblies up to 2″.
Step 5: Measurement and Quality Tools
Every assembly needs verification before it leaves your shop. These tools are non-negotiable.
According to Wikipedia’s swaging reference, crimping and swaging are related but distinct processes — crimping compresses the ferrule inward while swaging forces the fitting outward. Both require precise measurement to verify the final dimension.
| Tool | Purpose | Cost |
|---|---|---|
| Digital vernier caliper (0.01 mm) | Measure crimp diameter against spec | $20–$60 |
| Go/No-Go gauge set | Quick pass/fail crimp diameter check | $30–$80 |
| Proof pressure test bench | Test every assembly at 2× working pressure | $500–$2,000 |
| Flashlight | Inspect ferrule for cracks and alignment | $10 |
| Crimp specification binder | Reference sheets for every hose-fitting combination | Free (print from supplier) |
According to ISO 8434 and crimp joining standards, the minimum quality check for every assembly is:
- Visual inspection of ferrule (5 seconds)
- Crimp diameter measurement with caliper (15 seconds)
- Proof pressure test at 2× working pressure for 30 seconds
Complete Starter Kit Checklist with Costs
| Category | Item | Est. Cost |
|---|---|---|
| Machine | P32A electric crimper (200 ton, 1/4″–2″) | $2,000–$4,000 |
| Or P16HP manual crimper (95 ton, 1/4″–1″) | $800–$1,500 | |
| Dies | 8-piece die set (P32: 6, 12, 16, 19, 22, 26, 39, 51) | $200–$400 |
| Die storage rack | $30–$50 | |
| Consumables | Fitting assortment (65 pcs, one-piece straight + elbow) | $500–$1,000 |
| Ferrule assortment (matched to fittings) | $100–$200 | |
| Hose stock (3 types × 3 sizes × 50 ft) | $300–$600 | |
| Cutting | Bench hose cutter (up to 2″) | $300–$800 |
| Deburring tool | $15–$30 | |
| Tape measure + marker | $10 | |
| Quality | Digital caliper | $20–$60 |
| Go/No-Go gauge set | $30–$80 | |
| Proof test bench | $500–$2,000 | |
| Workspace | Workbench (8 ft) | $200–$500 |
| Hose rack for storage | $50–$100 | |
| Total (Electric Setup) | $4,255–$9,820 | |
| Total (Manual Setup) | $3,055–$7,320 | |
What You Can Skip at the Beginning
Not everything is needed on day one. Here is what you can delay:
| Item | When You Need It | Why Skip Initially |
|---|---|---|
| Skiving machine | When you get 4SP/6SP hose jobs | No-skive fittings handle 80% of initial demand |
| CNC crimper | When volume exceeds 200 assemblies/month | Semi-auto machines work fine for lower volume |
| Barcode/label printer | When you need full traceability | Hand-written tags work for first 100 assemblies |
| Full die set (19 sizes) | When customer demand justifies expansion | 8 common sizes cover 80% of work |
| Nut crimping machine | When you add fitting production | Nut crimping is a separate business from hose assembly |
First 100 Assemblies: What to Expect
Here is a realistic timeline for your first 100 assemblies:
Week 1 (Assemblies 1–10): Expect slow going. Each assembly takes 15–20 minutes as you look up die sizes, check crimp specs, and learn the machine. Expect 1–2 failures from wrong die selection or hose insertion depth errors. Keep a log of every crimp — hose type, fitting, die number, and measured diameter.
Week 2 (Assemblies 11–30): Speed picks up. You memorize the common die sizes and crimp specs for your top 5 assemblies. Each assembly drops to 8–12 minutes. Failure rate drops to near zero if you measure every crimp.
Week 3–4 (Assemblies 31–100): You have a rhythm. Each assembly takes 5–8 minutes including measurement and testing. You start recognizing patterns — which hose-fitting combinations need which dies, which sizes your customers request most. This is when you start ordering consumables based on actual demand rather than guesses.
Common mistakes in the first 100:
- Not inserting the hose fully onto the fitting stem before crimping
- Using the wrong die because the ferrule size was misread
- Forgetting to measure crimp diameter because “it looked fine”
- Not deburring the cut hose end — metal shavings inside the assembly damage downstream valves
- Crimping the ferrule in the wrong position (too close to the fitting thread or too far back)
Upgrade Path After 100 Assemblies
Once you hit 100 assemblies and know your actual demand, consider these upgrades:
| Upgrade | Trigger | Investment |
|---|---|---|
| Add missing die sizes | Customer requests for sizes you do not have | $30–$60 per die |
| CNC crimper (P33 or P20D) | Volume exceeds 200/month or customer requires data logging | $3,500–$6,000 |
| Skiving machine (S50) | Regular 4SP/6SP hose work | $500–$1,500 |
| Automatic hose cutter (C520A) | Cutting takes more than 10% of assembly time | $800–$2,000 |
| Test bench upgrade | Need to test larger assemblies or higher pressures | $1,000–$3,000 |
| Heavy duty crimper | R12/R13/R15 spiral hose demand | $5,000–$10,000 |
The goal is to grow with demand, not ahead of it. A well-equipped starter kit pays for itself within the first month of operation. Every upgrade after that is funded by revenue, not capital.
Ready to Build Your Starter Kit?
TRCrimp offers starter kit bundles with machine, dies, and fitting assortments at package pricing. Tell us your hose range and volume — we will recommend the right combination.
FAQ
What does a hydraulic hose crimper starter kit include?
A complete starter kit includes a crimper machine, die set (8–10 sizes), fitting and ferrule assortment, hose stock, cutting tools, a vernier caliper, and a proof pressure test bench. Total cost ranges from $3,000 (manual setup) to $10,000 (full electric workshop).
How much does it cost to start crimping hydraulic hoses?
A mobile service starter kit with the P16HP manual crimper, basic dies, and key tools costs $1,500–$3,000. A workshop starter kit with an electric P32A crimper and full equipment runs $4,000–$10,000.
Do I need an electric crimper or can I start with manual?
Manual crimpers like the P16HP work well for under 50 assemblies per month and hose sizes up to 1″. For higher volume or larger hoses (up to 2″), an electric hydraulic hose crimper is the better investment from day one.
What size dies do I need to start?
Start with 8 die sizes covering your most common hose diameters. For P32-series machines: dies 6, 12, 16, 19, 22, 26, 39, and 51 cover 80% of assemblies. Add sizes as demand grows.
Do I need a skiving machine in my starter kit?
Not usually. Most starter kits use no-skive fittings that grip directly onto the hose cover. You only need a skiving machine when working with 4-spiral or 6-spiral high-pressure hoses that require skive-type fittings.
How long does it take to get proficient at crimping?
Most operators reach consistent quality after 30–50 assemblies. The learning curve is steepest in the first week (10 assemblies), when die selection and hose insertion depth are the most common errors. By assembly 50, most operators produce consistent, spec-compliant crimps.
What is the most common mistake for beginners?
Not inserting the hose fully onto the fitting stem before crimping. If the stem is not completely inside the hose, the ferrule compresses over empty space and the assembly will pull apart under pressure. Always verify full insertion before crimping.
Can I build a starter kit for under $2,000?
Yes. A P16HP manual crimper ($800–$1,500), 8-die set ($100–$200), basic JIC fitting assortment ($200), small hose stock ($100), caliper ($30), and tape measure ($10) totals $1,240–$2,040. This handles mobile field service for hoses up to 1″.
Do I need to pressure test every assembly?
Yes. Proof pressure testing at 2× working pressure for 30 seconds is required by hydraulic hose assembly standards (ISO 17165-2). A hand pump test bench costs $200–$500 and is a mandatory part of any starter kit.
Where do I get crimp specification sheets?
Crimp spec sheets come from your fitting and hose suppliers. Each hose-fitting combination has a specific die number and target crimp diameter. Keep a printed binder at your workbench and reference it for every assembly until you have the common specs memorized.
Related Articles