Table of Contents
- Why Crimp Quality Checks Matter
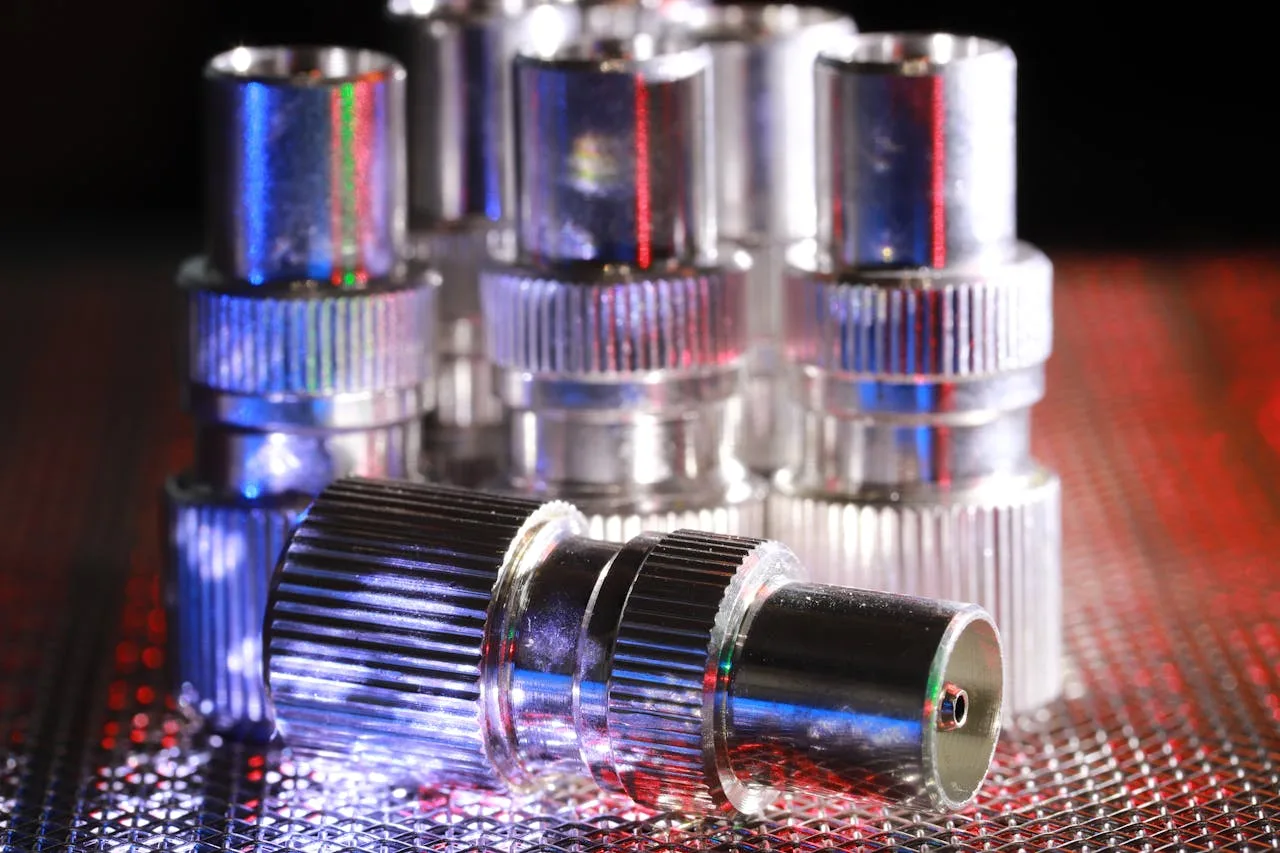
- Check 1: Visual Inspection of the Ferrule
- Check 2: Crimp Diameter Measurement with Caliper
- Check 3: Ferrule Alignment and Hose Insertion Depth
- Check 4: Die Mark Verification
- Check 5: Pressure Test the Assembly
- Common Crimp Defects Quick Reference
- Tools You Need for Quality Checks
- FAQ
A crimper for hydraulic hose is only as good as the quality checks that follow every crimp. Skip the inspection, and you risk leaks, blow-offs, and safety hazards at pressures up to 5,000 PSI. This guide walks through the 5 checks every operator should run before a hose assembly leaves the bench — whether you are using a manual hydraulic hose crimper or a production-grade electric hydraulic hose crimper.
Why Crimp Quality Checks Matter
A bad crimp does not always look bad. A ferrule can be 0.1 mm oversized and still appear normal to the naked eye — but at 4,000 PSI working pressure, that 0.1 mm gap between ferrule and fitting means the assembly will fail under impulse cycling. According to crimp joining standards, the cold-weld bond between ferrule and fitting stem must be complete around the full circumference.
ISO 17165-2 requires every hydraulic hose assembly to pass a proof pressure test at 2× working pressure before shipment. The QC Hydraulics crimp spec reference also documents tolerance ranges for common hose sizes. Shops that skip quality checks face:
- Field failures causing downtime (average cost: $500–$5,000 per hour for construction equipment)
- Safety incidents — hydraulic fluid injection injuries are serious medical emergencies
- Warranty claims and lost customers
Check 1: Visual Inspection of the Ferrule
Before reaching for any tools, look at the ferrule. The first check takes 5 seconds and catches 40% of crimp defects.
What to look for:
- Ferrule sits flush against the fitting stem — no visible gap
- No cracks, splits, or scoring on the ferrule surface
- Hose cover is not extruded beyond the ferrule edge
- Die marks are evenly spaced around the ferrule (8 or 10 marks, depending on die count)
If any die marks are missing or uneven, the crimper dies may be worn or misaligned. Uneven die contact creates weak spots in the crimp where the ferrule does not fully compress against the fitting. A properly executed crimp forms a gas-tight connection — no oxygen or moisture reaches the metal-to-metal contact surface, preventing corrosion from the inside out.
Check 2: Crimp Diameter Measurement with Caliper
This is the single most important check. Use a vernier caliper (digital preferred, 0.01 mm resolution) to measure the crimped ferrule diameter at three points: front, middle, and back.
How to measure correctly:
- Measure across the die mark valleys (the narrowest point), not the peaks
- Take 2 readings at 90° apart and average them
- Compare against the crimp specification sheet for your hose-fitting combination
| Hose Size | Typical Crimp Diameter (mm) | Tolerance (mm) |
|---|---|---|
| 1/4″ (6 mm) | 12.8–13.2 | ±0.15 |
| 3/8″ (10 mm) | 16.1–16.5 | ±0.15 |
| 1/2″ (12 mm) | 19.0–19.4 | ±0.20 |
| 3/4″ (20 mm) | 26.2–26.7 | ±0.20 |
| 1″ (25 mm) | 33.0–33.6 | ±0.25 |
| 1-1/2″ (38 mm) | 48.5–49.2 | ±0.30 |
Note: Values above are typical ranges. Always refer to the manufacturer’s crimp specification for your exact hose and fitting combination. Using a quality crimper for hydraulic hose with proper dies makes hitting these tolerances straightforward.
TRCrimp production crimpers hold tolerance to ±0.03 mm — well within the ±0.15 mm required by SAE J517. If your measurements are consistently off, check die wear or recalibrate the machine. For high-volume manufacturing environments, a portable hydraulic hose crimper with CNC data logging tracks every measurement automatically.
Check 3: Ferrule Alignment and Hose Insertion Depth
A ferrule crimped at the wrong position creates a weak joint even if the diameter is correct.
What to verify:
- The ferrule is positioned over the fitting stem — not too far forward (covering the thread) or too far back (missing the stem)
- Hose was inserted to the full depth before crimping — the internal stem should be fully inside the hose
- For skived hoses, the outer cover was removed to the correct length before inserting the fitting
A common error: the operator pushes the hose onto the fitting but does not seat it fully. The ferrule crimps over empty space instead of the stem. This assembly will pull apart under pressure. Use a hydraulic hose crimping machine with a pre-set stop to prevent this.
Check 4: Die Mark Verification
Count the die marks on the finished ferrule. A standard crimp die set has 8 or 10 segments, and every segment must leave a mark.
Why this matters: Missing die marks indicate a broken or stuck die segment. That segment did not apply full pressure, leaving a section of the ferrule uncompressed. At high working pressures, the hose can leak or blow off at that weak point.
Die segments made from Cr12MoV tool steel with HRC 58–62 hardness last 10,000–50,000 cycles depending on hose type. Check crimper dies and accessories for replacement schedules. The Omni Services SAE standards guide explains how die tolerance impacts assembly life.
Check 5: Pressure Test the Assembly
The final check is a proof pressure test at 2× the rated working pressure for 30–60 seconds. This is required by ISO 8434 and should be performed on every assembly.
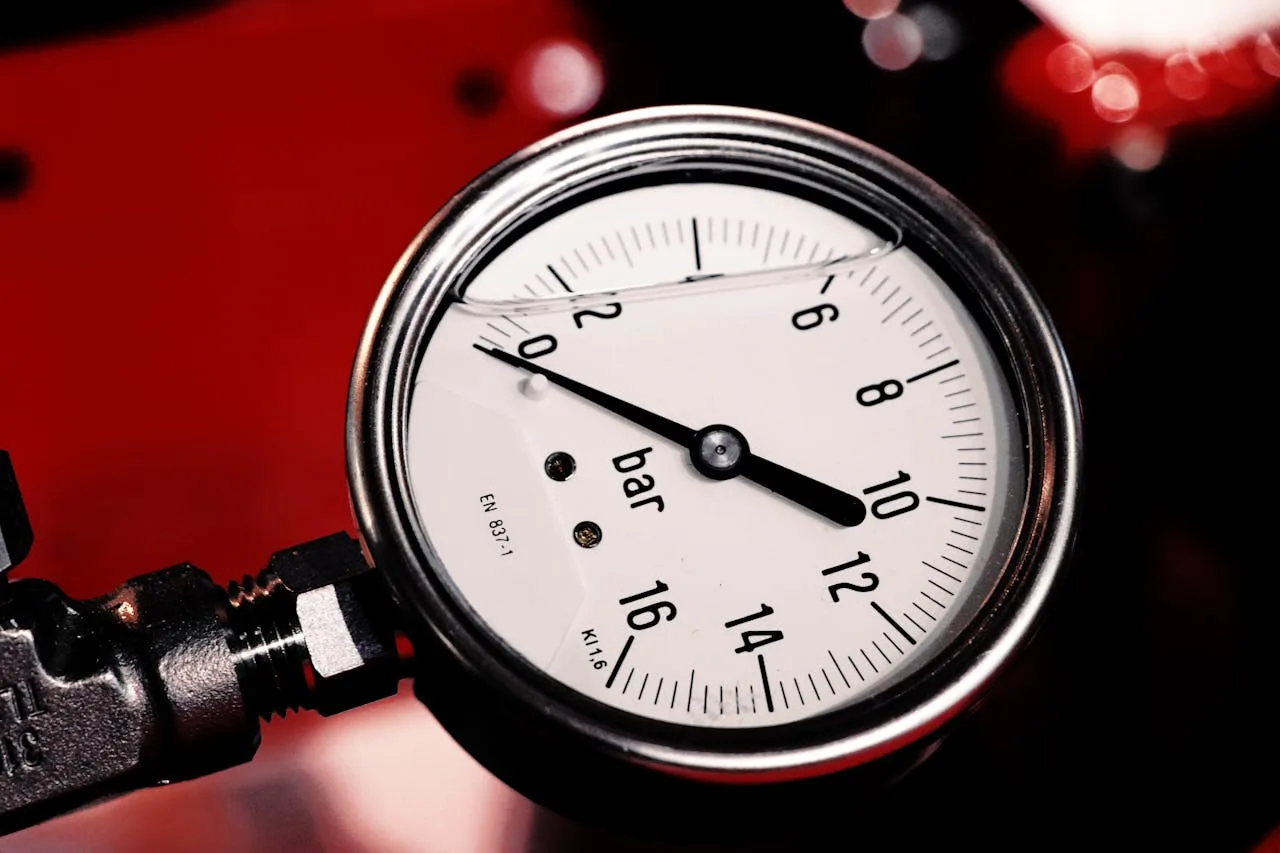
Proof test procedure:
- Connect both ends to the test bench
- Fill the assembly with clean hydraulic oil (AW 46 or per equipment spec)
- Ramp pressure to 2× working pressure (e.g., 4,000 PSI for a 2,000 PSI rated assembly)
- Hold for 30 seconds minimum
- Check for leaks, bulges, or fitting movement
- Release pressure and inspect the ferrule again
If the assembly passes, tag it with the test date and pressure. If it fails, cut it open and inspect the crimp to identify the root cause. Use a hydraulic hose cutting machine to make a clean cut for post-failure analysis — ragged cuts from hand saws can destroy evidence of the original defect. The swaging process reference on Wikipedia explains how crimp differs from swage for context.
Common Crimp Defects Quick Reference
| Defect | Visual Sign | Likely Cause | Fix |
|---|---|---|---|
| Overcrimp | Ferrule too narrow; hose cover crushed | Wrong die or excessive stroke | Use correct die; check stroke setting |
| Undercrimp | Ferrule diameter too large; hose pulls off | Wrong die or insufficient stroke | Re-crimp with correct die; increase stroke |
| Misaligned ferrule | Ferrule tilted on hose; one side compressed more | Hose not inserted straight | Re-train operator; use insertion guide |
| Missing die marks | Gap in die pattern | Broken or stuck die segment | Replace die set |
| Skive too long | Exposed wire braid visible past ferrule | Incorrect skive length | Adjust skiving machine setting |
Tools You Need for Quality Checks
| Tool | Purpose | Budget |
|---|---|---|
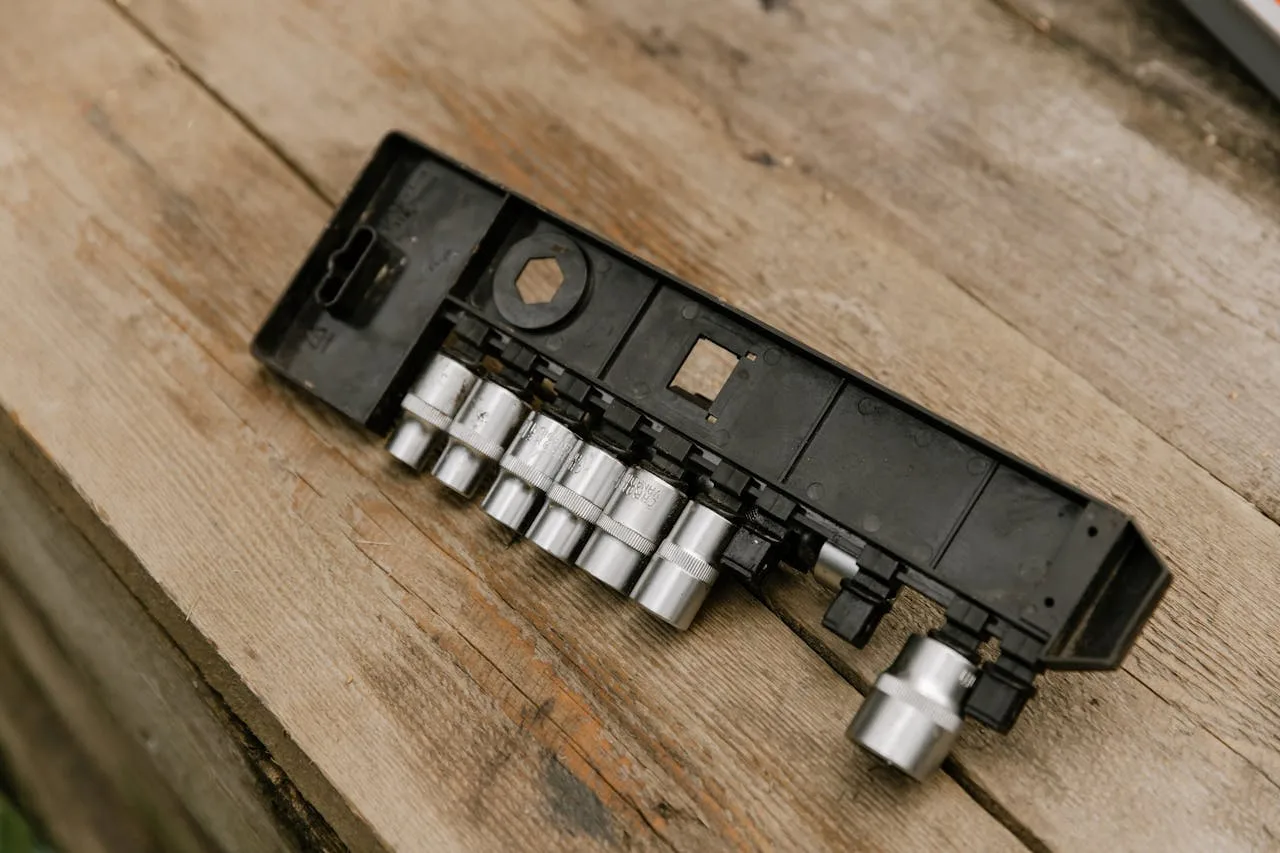
| Digital vernier caliper (0.01 mm) | Measure crimp diameter | $20–$60 |
| Go/No-Go gauge | Quick pass/fail check | $30–$80 |
| Test bench (hand pump) | Proof pressure test | $200–$800 |
| Flashlight | Visual inspection of ferrule | $10 |
| Magnifying glass (10×) | Check for micro-cracks | $15 |
Total investment for a basic quality check station: under $1,000. Compared to the cost of one field failure, this pays for itself within the first month. Pair these tools with a reliable hydraulic crimper and you have a production-ready setup.
FAQ
What is the most important crimp quality check?
Measuring the crimp diameter with a vernier caliper. This single measurement catches 60% of crimp defects — undercrimp, overcrimp, and wrong die usage all show up as an out-of-spec diameter.
How tight should a hydraulic hose crimp be?
The crimp diameter must match the specification sheet for your exact hose and fitting combination. Tolerance is typically ±0.15 to ±0.30 mm depending on hose size. There is no universal “tightness” — always refer to the manufacturer’s spec.
Can you overcrimp a hydraulic hose?
Yes. Overcrimping crushes the fitting stem and restricts flow, weakens the hose reinforcement, and can cause premature failure. Always measure the diameter rather than “feel” the tightness.
How do I know if my crimp dies are worn out?
Look for scoring, rounding of die edges, or inconsistent crimp diameters across identical assemblies. Dies made from Cr12MoV tool steel typically last 10,000–50,000 crimps depending on hose size and pressure. Track crimp count and replace proactively.
What pressure should I test a hydraulic hose assembly?
Test at 2× the rated working pressure for 30–60 seconds. This is the proof pressure test required by ISO 17165-2 and SAE J517. For example, a hose rated at 3,000 PSI should be tested at 6,000 PSI.
Do I need to check every assembly or just sample?
Every assembly should get at least a visual check and caliper measurement. Proof pressure testing every assembly is the safest approach. Sampling is acceptable for high-volume production only if your crimping machine has CNC data logging with automatic tolerance verification.
What happens if a crimp fails in the field?
Field failures at high pressure can cause hose whip, fluid injection injury, equipment damage, and environmental contamination. A blown hose on an excavator can shut down a construction site for hours. The average cost of hydraulic hose downtime in construction is $500–$5,000 per hour depending on equipment size.
Can I use a tape measure instead of a caliper?
No. Tape measures lack the precision needed for crimp inspection. The tolerance range is ±0.15 mm — a tape measure reads in 1 mm increments. A digital caliper with 0.01 mm resolution costs $20 and is the minimum tool for the job.
Need a Crimper with Built-In Quality Control?
TRCrimp CNC models log every crimp with diameter, pressure, and time stamp — full traceability for ISO-compliant production.
Related Articles


