
Tools and Materials You Need
Crimp hydraulic hose correctly and you get a connection that holds under full working pressure. Do it wrong and the fitting blows off — damaging equipment, causing leaks, and putting people at risk.
Before you start, gather these tools:
- Hydraulic hose crimper — electric bench model for workshop use, or portable model for field work
- Correct die set — matching the hose size and fitting type (check the crimp chart)
- Hose cutting machine or fine-tooth saw (guillotine cutter preferred)
- Deburring tool — for smoothing sharp wire ends after cutting
- Calipers — to verify the crimped diameter matches the specification
- Hydraulic oil — for lubricating fittings during insertion
- Clean rag and compressed air — for removing debris from inside the hose
- Personal protective equipment — safety glasses and gloves
Step 1: Measure and Cut the Hose
Measure the required length from the seat of one fitting to the seat of the other. Add 2–3% for hose shortening under pressure — a hose assembly shrinks slightly when pressurized.
Cut with a hose cutting machine whenever possible. A guillotine cutter gives you a clean, square cut in 5 seconds. Hacksaws and angle grinders are dangerous and rarely produce a perpendicular cut face.
After cutting, always deburr the wire ends. Sharp wire strands can damage the fitting during insertion and cut your hands. Use a deburring tool or file.
Blow out the hose with compressed air. Metal particles left inside will destroy pumps and valves downstream. Cut → deburr → blow → crimp. Never skip cleaning.
Step 2: Select the Correct Fitting and Die
Match the fitting to three things:
- Hose type — 1SC, 1SN, 2SC, 2SN, 4SP, 4SH, R12, R13, etc. Each type has specific ferrule dimensions.
- Hose size — dash size (-6, -8, -10, -12, etc.) or nominal bore in millimeters.
- Thread type — JIC 37°, ORFS, NPT, BSP, DIN, SAE flange. The fitting end must match the equipment port.
Once you know the hose + fitting combination, check the crimp chart to find the correct die size and target crimp diameter. Every manufacturer publishes these charts — they’re specific to their dies and ferrules. Using the wrong die is the #1 cause of crimp failures.
If the ferrule is a skive-type (common for 4SP/6SP high-pressure hose), you need to remove the outer rubber before inserting the fitting. Use a hose skiving machine for this — it peels the rubber in 10–15 seconds. No-skive ferrules skip this step.
Step 3: Insert the Fitting
Push the fitting into the hose until the stem bottoms out against the inner wire. If it’s tight, lubricate the stem with a small amount of hydraulic oil. Never force a fitting — if it won’t go in by hand with lubrication, the hose or fitting may be the wrong size.
Mark the insertion depth on the hose before pushing the fitting in. After insertion, verify the mark is still visible — this confirms the fitting is fully seated. If the mark is covered by the ferrule, the fitting may not be inserted far enough.
For 90° and 45° elbow fittings, position the fitting angle before crimping. Once crimped, the angle is locked and cannot be adjusted.
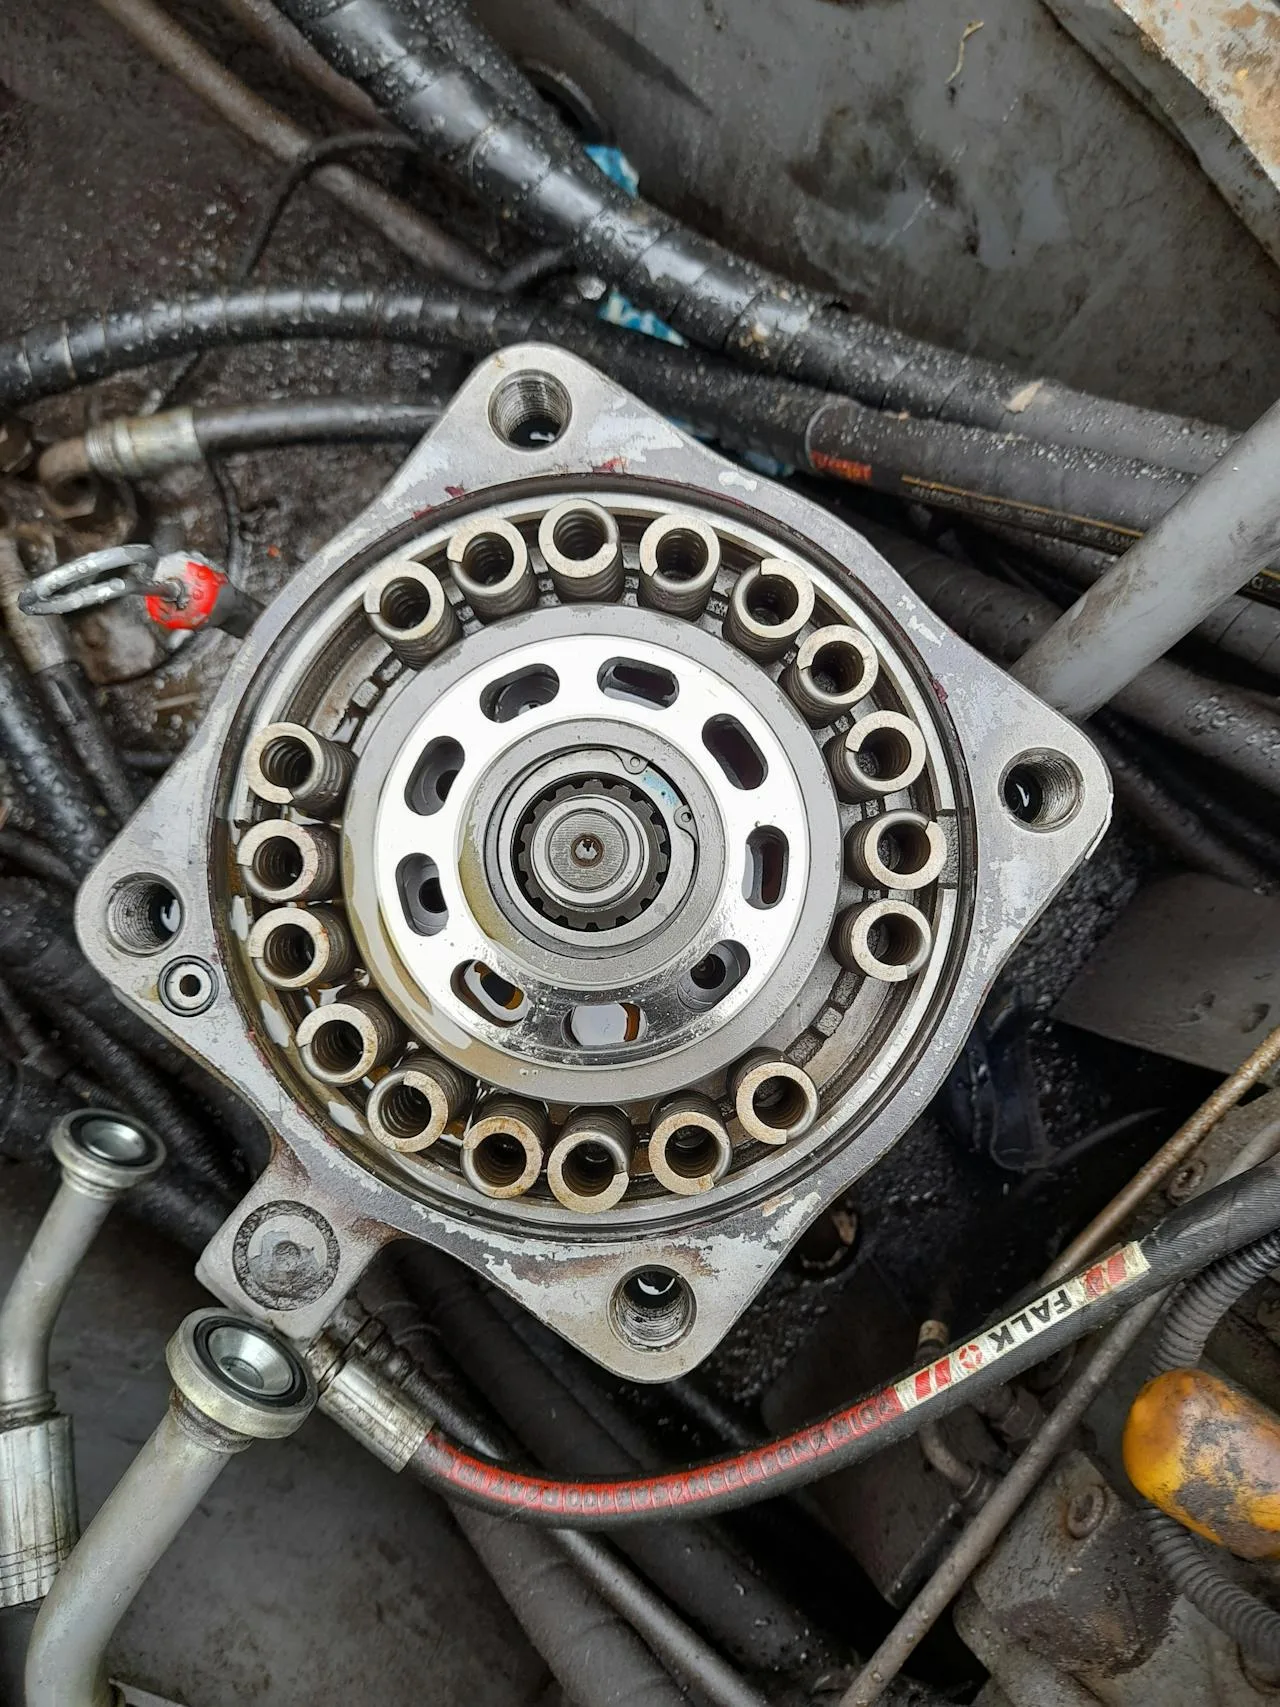
Step 4: Set Up the Crimper and Crimp
- Install the correct die set into the crimper. Dies must match the ferrule size exactly. TRC dies are universal within the same series (P32 dies fit all P32-series machines).
- Set the crimp diameter on the crimper’s digital display (if equipped) or adjust the die position according to the crimp chart.
- Position the assembly — place the ferrule in the die opening, making sure the ferrule is centered and the hose is supported.
- Start the crimp cycle — the dies close radially, compressing the ferrule onto the hose. A typical cycle takes 8–15 seconds.
- Remove the assembly after the dies open fully.
Step 5: Inspect and Verify
After crimping, do three checks:
- Measure the crimp diameter with calipers. Compare to the target diameter in the crimp chart. Acceptable tolerance is typically ±0.1 mm. Outside this range = reject and re-do.
- Visual inspection — check for scratches, cracks, or deformation on the ferrule surface. The ferrule should be smooth and evenly compressed with no gaps between die segment marks.
- Proof test — pressurize the assembly to 2× the working pressure for at least 30 seconds. No leaks, no bulges, no ferrule movement. This is the only way to be certain the crimp is correct.
If the crimp diameter is too large (under-crimped), the fitting may pull out under pressure. Too small (over-crimped) and the inner tube collapses, restricting flow. Both are dangerous.
Common Mistakes and How to Avoid Them
- Wrong die size. Always check the crimp chart before selecting a die. “Close enough” is not close enough — 0.5 mm off can mean a failed assembly.
- Not cleaning the hose. Metal particles from cutting contaminate the hydraulic system. Always blow out the hose after cutting.
- Skipping the skive. Skive-type ferrules are designed to bite into exposed wire. If you don’t skive, the ferrule grips rubber instead of wire — pull-out resistance drops by up to 30%.
- Not verifying crimp diameter. Without caliper measurement, you’re guessing. One bad crimp can cause a hose blow-off at 3,000 PSI.
- Re-using fittings. Crimped ferrules are permanently deformed. They cannot be re-crimped or re-used. Always use new ferrules.
According to Wikipedia’s article on crimping, a properly executed crimp creates a cold weld between the wire and the connector — the compressed wire generates high static friction that resists vibration and thermal shock better than soldered connections.
Key Takeaways
- Always use the correct die and verify crimp diameter with calipers.
- The workflow is: cut → deburr → clean → skive (if needed) → insert fitting → crimp → test.
- Skip proof-testing and you’re putting people and equipment at risk.
- One bad crimp at high pressure can cause serious injury. Take the time to do it right.
Need the right equipment? See our guides on electric hydraulic crimpers, hose cutting machines, and skiving machines.


