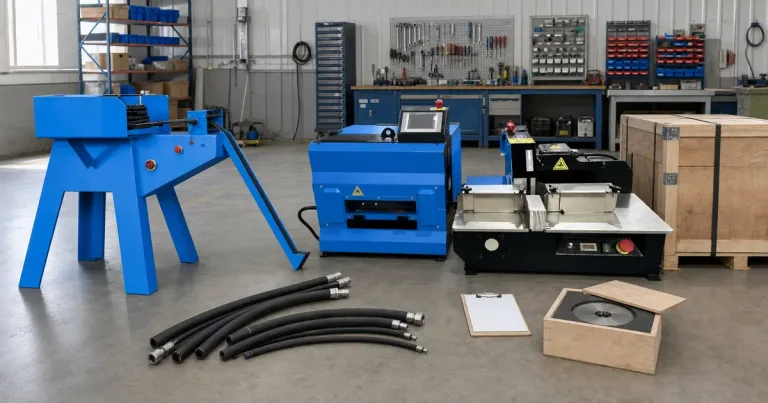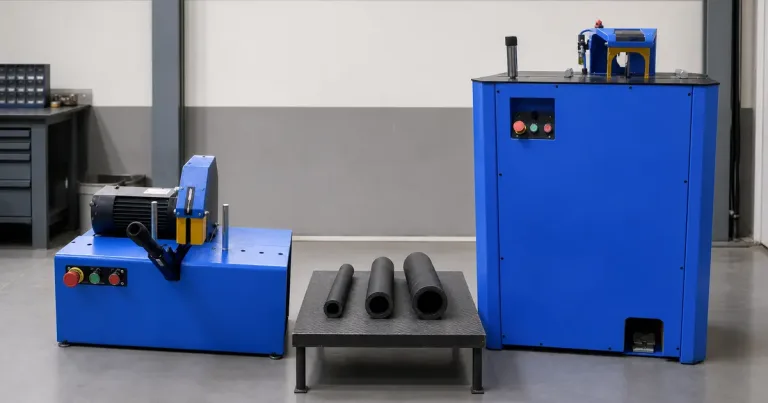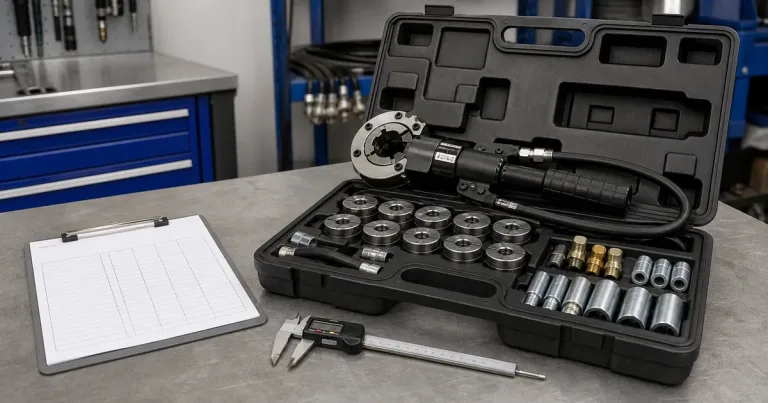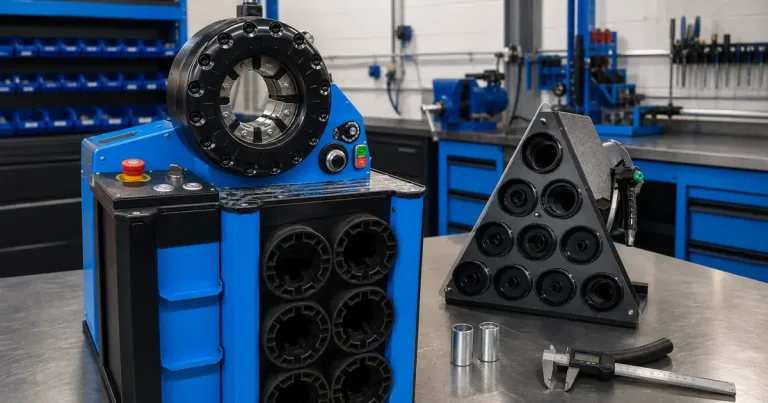

Inspect a hydraulic hose crimper used in another workshop as a machine first. Confirm its identity, condition and ability to make a controlled sample before discussing whether the price is attractive.
This page covers physical and functional inspection. Seller identity, service history and listing scope need separate document checks before the purchase is approved.
A no-load cycle is not an acceptance test
A used machine powers on and closes without load, but the seller cannot demonstrate it on the buyer’s component combination. A meaningful inspection includes identity, dies, hydraulic condition, controls and a measured sample.
Confirm machine identity
Photograph the nameplate, model, serial information, control panel and power data. Match them to a manual or manufacturer record. An unidentified used hose crimping machine is difficult to service and value.
Inspect the crimp head and tooling
Look for damage, uneven wear, corrosion, loose segments and contamination in sliding surfaces. Identify every die supplied. Unmarked dies should not be counted as usable production tooling until measured and verified.
Check the hydraulic system
Look for oil leakage around cylinders, hoses, fittings, pump and valves. Listen for abnormal noise from a safe position. Never use a hand to locate a suspected pinhole leak; an OSHA accident report records a worker hospitalized by injection from a pierced hydraulic hose.
Operate opening, closing and return functions according to the manual. A smooth empty cycle is useful but does not prove loaded performance.
Review controls
Test adjustment, stop and return functions. For electronic controls, check display, input, stored settings and emergency functions. Confirm destination power compatibility.
Run a documented sample
Use identified hose and fitting components with valid target data. Record the die and setting, make a first piece and measure it at the specified position.
A used hydraulic hose crimping machine that closes successfully may still need calibration, seals, dies or controller work.
Inspect the machine in three stages
Begin cold. Photograph the nameplate, oil level, die seat, electrical data, guards, controls and visible modifications before anyone warms the machine or wipes away a leak. A fresh coat of paint is not condition evidence.
Run the empty head only after the visual check. Listen through close, hold and return, then repeat under a representative crimp load. The machine must hold and return consistently with the actual tooling and component set you plan to use.
| Stage | What we check | Reason to stop |
|---|---|---|
| Cold inspection | Identity, leaks, wiring, tooling seat and modifications | Missing identity, unsafe changes or active leak |
| No-load cycle | Close, hold, return, controls and abnormal sound | Jerky travel, failed stop or unstable return |
| Sample crimp | Correct die, component identity and finished measurement | Unknown data, damaged tooling or inconsistent result |
A video helps a remote buyer, but it should show the machine identity and an uncut sequence. A close-up of the head moving without load proves very little.
Inspect the die seat and tooling as one system
Clean the die seat before judging wear. Look for uneven contact, impact marks, corrosion, improvised shims or tooling that does not seat squarely. Record every die marking and photograph the working surfaces.
“Dies included” is not the same as “dies usable for your hose program.” Match each die to current component data and the machine’s intended tooling system. If the seller cannot identify a die, place it in an unapproved group until its function is established.
Run a representative sample, then repeat it warm
Use an identified hose, fitting and ferrule with current crimp data. Mark insertion depth, use the specified die and record the completed measurement. Repeat enough cycles to see whether return, sound, temperature or finished result changes.
Used-machine rule: Do not use an unknown hose and fitting merely to prove that the head can squeeze metal. The sample must answer whether this machine can control a real assembly.
Keep the first accepted sample and measurement record with the inspection file. If the machine is refurbished, repeat the same test after the repair so you can compare like with like.
Price the repair path before making the offer
List evidence-backed repair items separately: seals, hoses, oil service, electrical repair, missing guards, tooling, measuring equipment, freight restraints and commissioning. Do not bury all uncertainty in one percentage.
ready-to-work cost = purchase + verified repairs + missing tooling + transport + installation + acceptance
A machine with a lower purchase price can still cost more than a supported alternative if identity, tooling or controls remain unresolved.
| Risk level | Evidence | Commercial response |
|---|---|---|
| Low | Clear identity, history, tooling list and accepted sample | Negotiate mainly on market value and freight |
| Medium | Machine works but service or tooling gaps remain | Price each gap and make the offer conditional |
| High | Identity uncertain, unsafe modification or no valid sample | Walk away or treat as a rebuild project |
Release the refurbished machine in stages
After repair, verify guards, controls, loaded operation and the agreed sample. Release the machine first for the identified component rows used in acceptance, not for every size the seller mentioned.
Keep early production conservative. Review completed measurements and defects until the process is stable. The release record should state the approved machine, dies, component program and operator method.
We recommend archiving the pre-purchase photographs, repair work order, replacement parts and post-repair sample together. That baseline makes the next fault easier to diagnose and prevents the old listing from becoming the machine’s only history.
Know when refurbishment is finished
Refurbishment is finished when the machine has a known identity, safe controls, serviceable hydraulic condition, usable documented tooling and repeatable sample evidence for the intended work. New paint and a no-load cycle do not meet that standard.
If several of those items remain unknown, compare the recovery budget with a ready-to-work machine. The decision is not “old versus new.” It is an unsupported project versus a controlled production asset.
A used-machine inspection should end with a release decision
The inspector should not finish with a collection of photographs and “appears operational.” Write one of three decisions: release for the named component rows, release after listed repairs, or do not purchase.
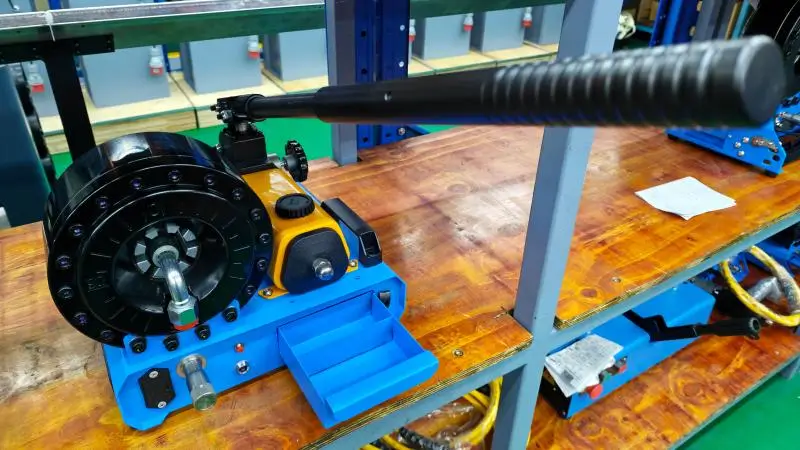
Use the nameplate to control the rest of the inspection
Copy the manufacturer, model, serial and electrical fields exactly. Compare them with the seller’s listing, manual and repair records. If the identity differs, stop using capacity claims from the listing until the actual model is resolved.
Then photograph the head from the loading side and both profiles. This helps the buyer judge access for elbows and long fittings. A machine can have enough force yet be wrong for the intended work because the fitting cannot be loaded through the opening.
Examine every die set outside the cabinet
Lay each set out, keep segments together and capture the markings. Mixed segments, chipped edges, corrosion or improvised grinding move the set to quarantine.
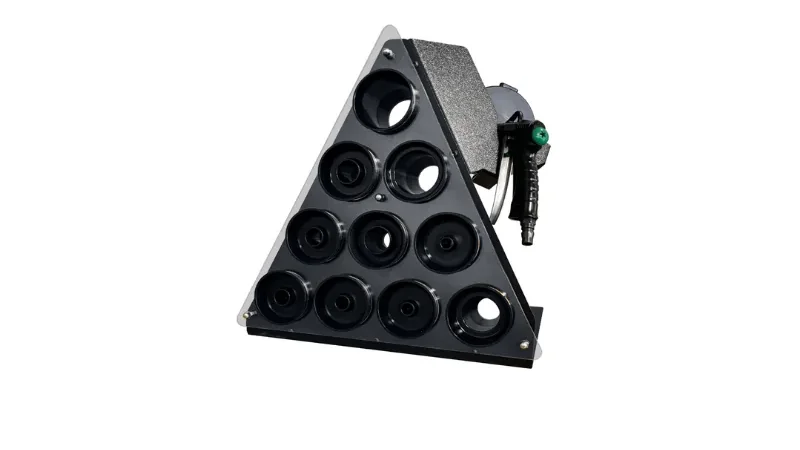
The finished crimp diameter and the number on the die are not interchangeable. Gates’ crimp-data and dies manual shows why operators need current component data, specified tooling and a completed measurement. Gates settings stay within the Gates system; the process principle is what matters here.
Use a real sample to separate force from control
Choose a component row that matters to the buyer, not the easiest loose ferrule in the seller’s shop. Record insertion, die, setting, completed diameter and observation after the crimp.
Measure in the locations required by the component system. A press that closes with no load may still return unevenly, drift under warm repeat work or carry damaged tooling.
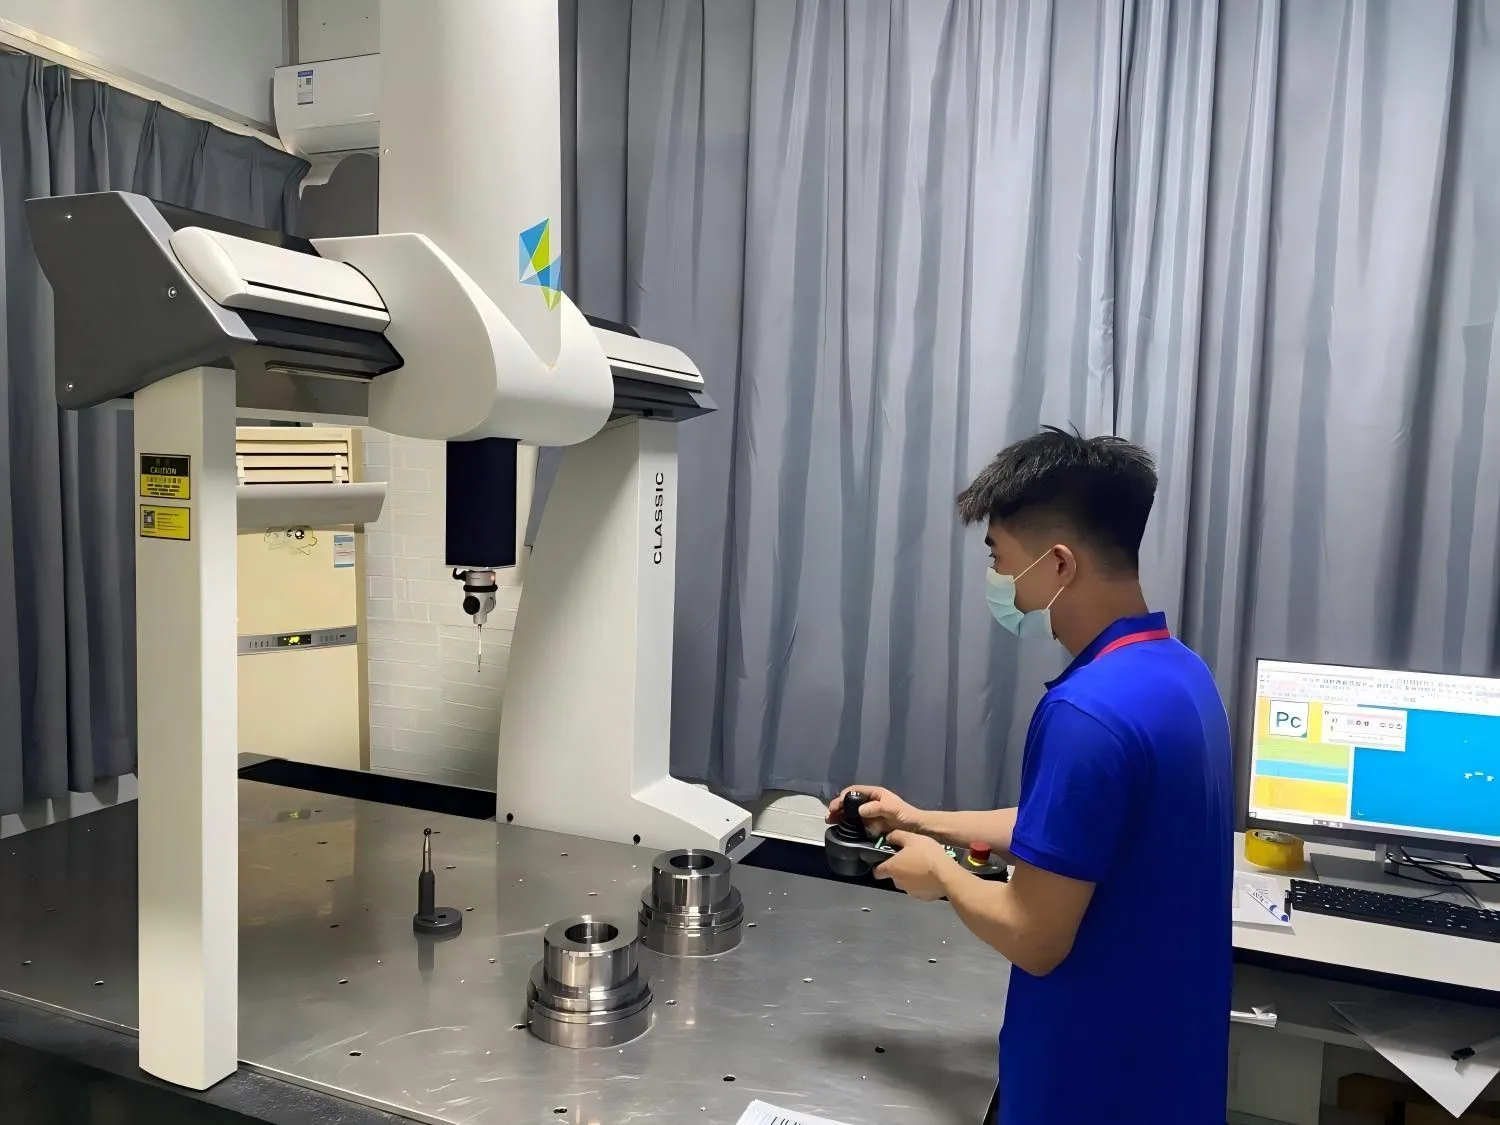
Run several controlled pieces, but do not invent a universal number. The test quantity should be enough to expose repeatability for the intended workload and the buyer’s risk.
Price a realistic recovery case
Imagine an auction machine that has a clear nameplate and cycles normally. The die cabinet is mixed, two hoses show surface cracking and no service invoice exists.
The buyer should not price this as a working complete station. The offer needs separate allowances for hydraulic inspection, replacement hoses, tooling identification, missing dies, transport and commissioning. If the seller refuses a representative sample, add that uncertainty to the decision instead of assuming success.
| Finding | Immediate action | Purchase effect |
|---|---|---|
| Clear identity | Continue inspection | Supports parts and manual search |
| Mixed dies | Quarantine and inventory | Reduces usable package value |
| Aged hydraulic hoses | Obtain repair scope | Adds cost before production |
| No service record | Inspect condition directly | Prevents reliance on seller history |
| No loaded sample | Hold approval | Leaves process capability unresolved |
This is an illustrative inspection scenario. It does not estimate a repair price or predict the machine’s final condition.
If the seller allows only a short inspection window, prepare the component, measuring tool and photo list before arrival. Assign one person to operate and another to record. Switching between tools, notes and the machine makes it easy to miss a leak that appears only during the loaded hold or return.
For a remote inspection, request the raw measurement photograph and the exact reference used. A caliper display without the crimp location, component identity and die information cannot release the sample. Keep uncertainty open rather than converting a single image into a pass.
Put the operating boundary on the asset
After commissioning, attach a controlled list of approved component rows and dies to the machine record. Unknown dies and untested components stay outside production.
That boundary is especially important when a restored machine enters a busy hose shop. Operators otherwise assume that every die in the cabinet belongs to every fitting program. A clear release list is faster than investigating a failed assembly after it leaves the shop.
Keep the seller’s original manual and records even when a newer copy is found. Differences in controls, pumps or optional tooling may explain why a generic manual does not match the machine on the floor. Mark the operating document that technicians should use, and retain the others as history.
If parts support remains uncertain, identify at least one likely failure that would stop production and ask how it would be repaired. The answer can change whether the machine is a useful backup, a refurbishment project or unsuitable for a critical workshop.
Frequently asked questions
I bought a hydraulic hose crimper at auction. Where do I start?
Start with identity, not with making a saleable hose. Record the model, nameplate, serial number, power supply, dies and manuals; inspect the hydraulic and electrical condition; then test the controls without a production part. Only after you have current component data and a known die route should you build and measure a controlled first piece.
I restored an old hose press. How do I know which dies and preparation process it needs?
Separate the press from the hose system. The hose, fitting and ferrule instructions determine whether skiving is required and what finished crimp data applies; the identified machine documentation determines the compatible dies and settings. If either side is missing, stop at an engineering trial rather than treating the restored press as production-ready.
Compare the used machine with a ready-to-work alternative
Use TRC’s used-machine buying resource and submit the inspection record before treating the asking price as the total cost.