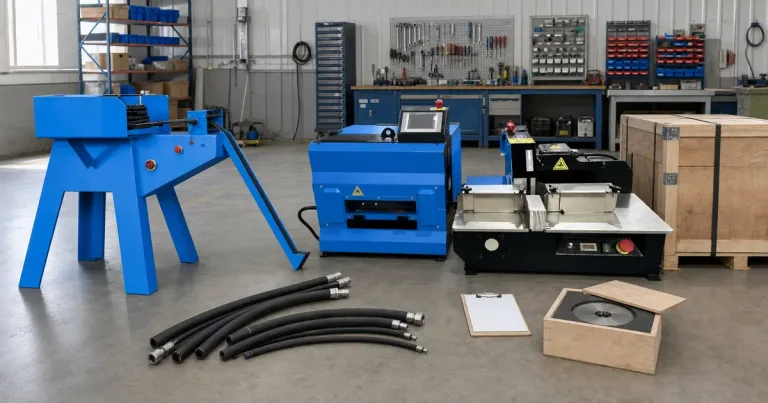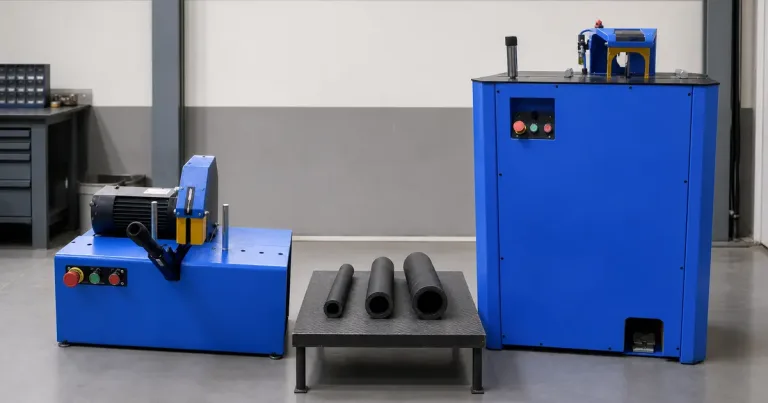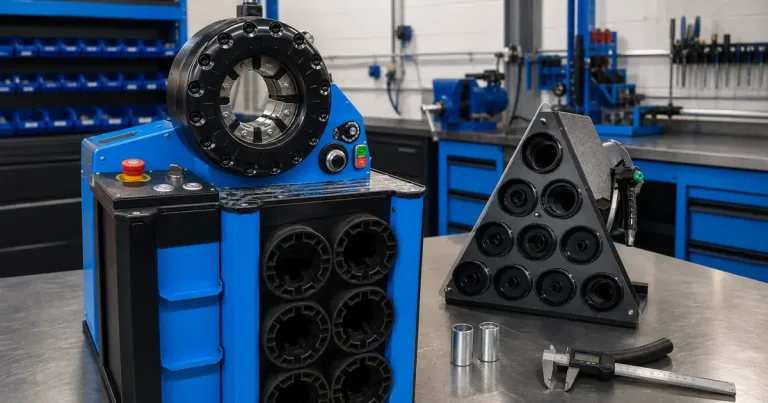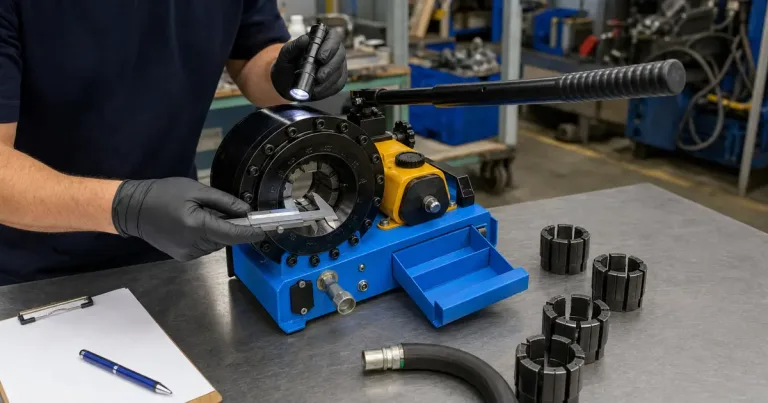

An AC hose crimper kit is useful only when its parts work as one assembly system. A case full of dies may look complete while still lacking the fitting family, crimp data or measuring method needed for your refrigerant hose.
Before buying, ask for a component-level packing list.
A full case can still be an incomplete system
A buyer receives a kit advertised with several dies and assumes it covers every common A/C hose. During the first repair, the sleeve profile does not match the die cavity. A useful kit therefore starts with a component schedule, not a die count.
What a workable kit contains
Depending on the operating route, the kit may need:
- crimping head or bench machine;
- manual or powered pump;
- identified die sets;
- hose- and fitting-specific crimp instructions;
- suitable cutting tool;
- insertion-depth marking method;
- caliper or specified gauge;
- storage that keeps dies identified and clean.
Fittings and sleeves are not automatically interchangeable with every automotive AC hose crimping tool kit. Confirm whether they are supplied, optional or sourced separately.
Check dies by data, not count
The useful question is not “How many dies are in the kit?” Ask which sleeve outside diameters and fitting systems each die supports. Record the die identification so an operator can reproduce the setup later.
An AC hose fitting crimper with many dies may still be unsuitable for reduced-barrier hose if the fitting and tooling system is intended for standard barrier hose.
Use a die-coverage sheet instead of accepting “sizes 6 through 12” as an answer.
| Hose and fitting row | Sleeve OD | Required die | Target or setting source | Status |
|---|---|---|---|---|
| Shop’s most common assembly | Buyer enters value | Supplier identifies | Current component instruction | Open until documented |
| Smallest planned assembly | Buyer enters value | Supplier identifies | Current component instruction | Open until documented |
| Largest planned assembly | Buyer enters value | Supplier identifies | Current component instruction | Open until documented |
| Reduced-barrier assembly | Buyer enters value | Dedicated tooling if specified | Reduced-barrier system data | Do not infer from nominal size |
Warning: Reduced-barrier hose can share a nominal ID with standard-barrier hose while using a smaller OD, sleeve and tooling route. Do not reuse a standard-hose setup unless the component supplier documents it.
Three kit types buyers often confuse
| Kit type | Best use | Main limitation |
|---|---|---|
| Compact manual set | Occasional controlled repair | Operator effort and limited working envelope |
| Powered workshop set | Repeated assembly work | Needs stable space and suitable utilities |
| Mixed “universal” bundle | Broad marketing coverage | Compatibility still needs component proof |
“Universal” should mean a clearly documented working range, not permission to mix any hose and fitting.
Separate machine parts from consumables
The word kit often hides the commercial boundary. Some packages contain the tool and dies only. Others add a pump, sample fittings or a case. Few include enough hose and fittings for an operating inventory.
| Kit layer | Typical items | Purchase question |
|---|---|---|
| Machine | Head, frame, pump or power unit | Is every power and mounting part included? |
| Tooling | Dies, adapters, storage | Which component rows do they cover? |
| Process control | Manual, crimp data, measuring tool | Can the first piece be checked? |
| Preparation | Cutter, insertion marker, cleaning items | Are these suitable for refrigerant hose? |
| Production stock | Hose, fittings, sleeves | Are parts from one approved system? |
| Service stock | Seals, wear parts, spare die references | What can the shop replace without long downtime? |
Price these layers separately. The case price is not the ready-to-work cost.
ready-to-work cost = kit + missing dies + preparation tools + measurement tools + usable component inventory + delivery
This formula uses supplier quotations and your inventory plan. It does not require a guessed market price.
Request a sample workflow
Ask the seller to show how your chosen hose is cut, inserted, crimped and measured. The sample should identify the hose, fitting, sleeve, die and target result. A video without those references proves only that the machine moves.
Build the full workstation
The crimper is not the whole process. Repeated assembly work also needs controlled cutting, clean components, fitting storage and inspection. Review the air conditioning hose crimper category for the dedicated machine route, then check the cutter, dies and inspection tools against the same refrigerant-hose system.
For an AC-specific purchase, keep the scope narrow. Match the refrigerant hose system first, then choose the pump and machine format that suit the workload.
Turn the packing list into a capability map
Write every hose and sleeve combination down the left side of a worksheet. Across the top, record the fitting series, required die, crimp setting, measurement point and validation method. A kit covers a row only when all of those cells are known.
This approach exposes two common gaps. First, several dies may overlap a small diameter range without supporting the required profile. Second, a tool may accept the right die but lack clearance for an elbow, short stub or rigid tube attached to the fitting. A capability map is more useful than a photograph of an open case.
Inspect the kit when it arrives
Do not move the package straight into production. Match every item to the approved packing list and photograph any transport damage.
- Confirm the model and power source.
- Count dies by identification, not by loose pieces.
- Check die seating surfaces for impact damage or corrosion.
- Confirm the pump, hoses, adapters and mounting parts.
- Compare the manual and component instructions with the approved versions.
- Run one documented assembly from a known hose, fitting and sleeve row.
- Measure the finished piece before accepting the package.
If the seller supplied sample consumables, keep their identities with the sample. An unmarked sleeve is poor acceptance evidence because the result cannot be reproduced.
Use P70C as a package example
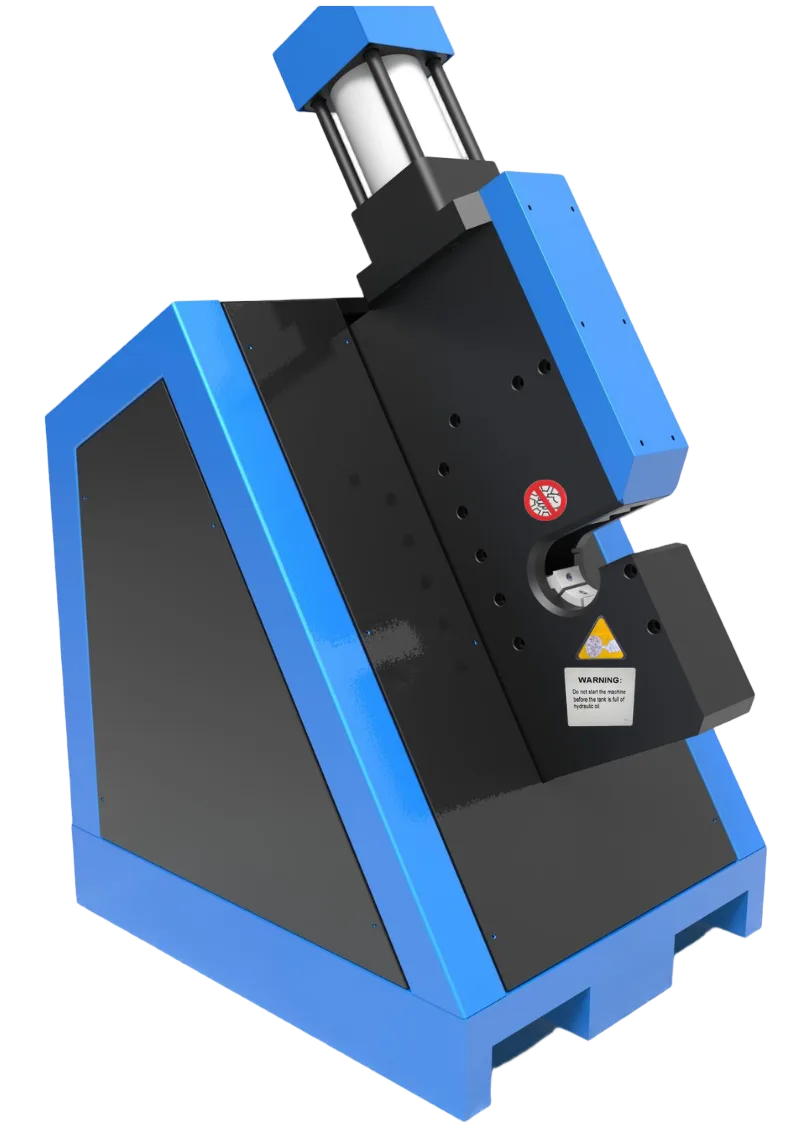
TRC records the P70C air-conditioning hose crimper with a 0.16–2 inch range and 20-ton maximum force. The record excludes hydraulic-oil hose.
Those three facts define the machine family; they do not define the kit. A P70C quotation still needs an identified die list, power configuration, documentation, packing scope and component-match review.
| P70C quote line | Acceptable description | Weak description |
|---|---|---|
| Machine | Exact P70C configuration | “A/C crimper” |
| Dies | Identifications and working ranges | “Several dies included” |
| Application | Named refrigerant-hose component rows | “Universal hose” |
| Inspection | Sample method and measurement source | “Tested before shipping” |
Keep consumables and controls with the kit
Dies should remain identified and protected from damage. The kit also needs the current component instructions, a way to mark insertion depth and the specified measuring tool. A cutter is useful only if it produces a square end without leaving material in the bore. Cleaning and any final leak check remain separate process steps.
If the kit moves between vehicles or technicians, add a simple job record. Record the hose, fitting, sleeve, die, setting and measured result. This prevents a successful setup from turning into undocumented tribal knowledge.
Decide what stays in the case
A mobile automotive AC hose crimping tool kit needs a tighter inventory than a fixed workshop. Heavy or rarely used dies consume vehicle payload and make the common items harder to find.
Keep the approved component chart, identified dies, required adapters, insertion marker and measuring tool with the crimper. Store hose and fittings so their labels remain readable. Put damaged dies and uncertain components in a separate quarantine container.
For a fixed bench, add a shadow board or labeled rack. The operator should see a missing die before starting the job, not after cutting the hose.
Use a commissioning job with known parts
Choose a common assembly, an awkward elbow and a reduced-barrier row if the shop intends to support it. Record setup time, operator intervention, finished measurement and any rework.
This is not a production-rate guarantee. It is an acceptance exercise that shows where the kit is complete and where the supplier still owes tooling, instructions or support.
Pro tip: Keep one accepted first-off record for each component row. It is much more useful than a generic photo of a finished sleeve.
Build a receiving checklist that mirrors the purchase order
Receiving should not rely on the sales photograph. Put the approved machine, pump, die references, adapters, manuals, service parts and packing units into a checklist before dispatch.
| Receiving row | Quantity | Identity check | Condition check | Action if wrong |
|---|---|---|---|---|
| Crimping machine or head | Per order | Model and nameplate | Damage and movement | Hold acceptance |
| Pump or power unit | Per order | Power and connection | Leakage or damage | Isolate |
| Die sets | Per schedule | Number and series | Mixed or damaged segments | Quarantine |
| Adapters | Per schedule | Part reference | Seating condition | Do not substitute |
| Documents | Per order | Model and language | Current revision | Request correction |
| Service items | Per order | Part number | Packaging | Record shortage |
Photograph the unpacking sequence. If a die case arrives damaged, the buyer can connect the condition to the shipment rather than discovering it after production starts.
Decide which consumables belong in the first stock order
The first stock should cover the component rows the shop has approved, not every fitting visible in a supplier catalog. Start with the hose, fittings and sleeves used in normal work, plus a sensible allowance based on actual demand and supplier lead time.
Do not invent demand from the machine range. A crimper capable of a broad diameter span does not mean the shop should stock every size.
Use:
reorder point = expected demand during replenishment lead time + buyer-defined safety stock
The buyer supplies both inputs. The formula helps avoid a “complete kit” that can crimp many sizes but runs out of the only sleeve used every week.
Keep calibration and measurement separate from marketing
Ask which measuring tool the component instruction requires and who controls its condition. A caliper packed beside the machine is not automatically calibrated for the buyer’s quality system.
Record the tool identity on first-off sheets. If two technicians disagree, check technique, measurement location and instrument condition before changing the crimper setting.
Plan for one missing or damaged die
A kit often stops working as a system when one high-frequency die is damaged. Ask for replacement identification, ordering route and expected commercial lead time before purchase.
Do not buy an unverified substitute because its nominal size looks close. Segment length, profile and machine fit belong to the approved tool record.
Keep spare tooling only where downtime exposure justifies it. Use the shop’s own demand and supplier lead time:
expected downtime exposure = affected jobs during replenishment lead time × buyer-owned delay cost
The result can support a spare-die decision without inventing a universal spare-parts list.
Label the case for the next technician
Put a durable die map inside the lid or beside the bench. Each location should show the die reference, not only the hose size.
Store the latest component chart with document control. If a supplier revises the hose or fitting data, remove the old copy so two technicians cannot follow different settings.
Review the kit after the first month
Count which dies were used, which components ran short and where operators lost time. Ask whether the measuring tool stayed with the kit and whether any parts returned unlabeled.
Use those observations to change storage and stock. Do not add more dies simply because the case has empty spaces.
If a promised component row never reached an accepted first piece, keep it marked unresolved. A month of ownership does not turn missing compatibility data into approval.
Ask the second technician to assemble one normal row using only the case labels and controlled instructions. If that person must call the original installer to find the die or setting, the kit is still dependent on memory.
Fix the label, document or storage gap. The goal is a package that a trained operator can reproduce without guessing.
The case is ready only when the second operator can close the loop from component identity to measured first piece.
Repeat the exercise after a size change. The operator should return one die, retrieve the next identified set, confirm the component row and release a measured first piece. If any step depends on an unlabeled box or remembered setting, the kit is not ready for shared use.
SAE J3062 and SAE J2064 support the distinction between hose requirements and the completed coupled assembly. The kit still needs component-system instructions for its exact rows.
Build one working station on paper before buying the kit
A useful kit should let a trained operator receive a cut hose and finish one documented assembly without searching for an unlisted adapter or guessing at a die. We recommend drawing that work path on one page. Start with component identification, then cutting, cleaning, insertion marking, crimping, finished measurement and the required leak or assembly check.
For an illustrative small workshop, assume twenty A/C assemblies in a busy month and four component families. A kit containing ten dies looks broad, but the supplier can map only two of those dies to current sleeve references. Another package contains five dies and maps all four families, includes the pump and adapter, and identifies a replacement route. The second package has the smaller accessory count and the stronger production case.
Check storage as part of the system. Loose dies with hand-written size labels are difficult to audit after six months. Give each die an ID, a fixed location and a component-row reference. Keep the current data sheet near the tool, and record which die and setting produced each first-off sample. If a fitting family changes, quarantine the old row until the new data and tooling have been reviewed.
The receiving check should also cover what is not in the sales photograph: pump connection, mounting hardware, measuring tool, manuals, power plug where applicable and spares. A missing low-cost adapter can stop the entire station.
Purchase rule: Do not ask “how many dies are included?” first. Ask “how many of my planned hose, fitting and sleeve combinations have a documented die route in this package?” That wording turns a box of accessories into a testable production scope.
When the kit arrives, repeat the component-row check against the packing list. Do not let a generic substitute die or adapter enter service simply because the package closes around the sample.
Frequently asked questions
AC hose crimping tools: what works for automotive A/C lines?
Choose a kit around one documented refrigerant-hose system. It needs a head or machine, power source, identified dies, current component data and a finished-measurement method. Add cutting, marking and storage items only after confirming that they suit the same work.
Ask for the kit by component row
Review TRC’s A/C crimper range and send the component list. A useful quotation will separate the included machine and dies from items that remain component-system or workshop responsibilities.