Choose an automotive air conditioning hose crimping tool around the assemblies you will actually build. A garage repairing a few passenger-vehicle lines has different needs from a hose shop producing repeated batches.
The first decision is not manual versus powered. It is whether the automotive AC hose crimping tool, dies and instructions belong to the hose-and-fitting system in use.
Start with the refrigerant-hose system
A repair shop handles passenger vehicles, light trucks and occasional custom A/C routing. A compact tool may suit low-frequency work, while recurring production needs stable positioning and repeatable tooling, but both routes still depend on the approved component system.
The common buying mistake is to start with die count. Six or seven dies look generous in a listing, yet the package may still miss the sleeve profile used by the shop. The useful starting document is a list of hose, fitting and sleeve combinations.
| Item to record | Example of useful evidence | Why the crimper supplier needs it |
|---|---|---|
| Hose family | Manufacturer, series, size and visible marking | Separates standard-barrier, reduced-barrier and other refrigerant hose |
| Fitting | Part number or clear stem and beadlock photographs | Shows stem geometry and loading space |
| Sleeve | Part number, uncrimped OD and length | Helps identify the required die profile and range |
| Finished requirement | Current system instruction or target dimension | Defines how the first piece will be checked |
| Work pattern | Normal assemblies per week and peak batch | Helps choose manual or powered operation |
Engineering note: SAE J3062 covers automotive refrigerant hose requirements, while SAE J2064 addresses coupled hose assemblies. A compliant hose does not make an arbitrary hose, fitting, sleeve and crimp combination acceptable.
Build a service list before choosing the machine
List the vehicle or equipment types, refrigerant hose families, fitting styles and expected monthly work. Photograph hose markings and measure the uncrimped sleeve. Do not mix this task with hydraulic oil hose, brake tube or power-steering hose unless the machine supplier documents each separate system.
Use three columns: work accepted now, work planned within 12 months and work the shop will continue to outsource. This keeps an occasional unusual repair from forcing the purchase of tooling that will sit unused.
| Service pattern | Sensible equipment direction | Limitation to accept |
|---|---|---|
| A few known A/C assemblies each month | Manual or compact hydraulic A/C tool with identified dies | More operator effort and slower changeover |
| Regular mixed vehicle repair | Stable bench machine with repeatable adjustment and organized tooling | Requires a controlled component list |
| Repeated hose production | Powered bench route, first-piece records and planned material flow | Machine speed cannot fix poor cutting or insertion |
| Mobile A/C repair | Compact equipment plus secure mounting and measurement tools | Vehicle access and storage can limit usable tooling |
The shop should also set a refusal rule. If the hose marking is missing, the sleeve cannot be identified or the fitting system has no current crimp instruction, do not solve the uncertainty by trying progressively smaller dies.
Pick an operating format
Occasional repair
A manual auto AC hose crimping tool may be suitable when the shop controls the component system and can verify the result. Check that the tool can load elbows and short assemblies without awkward bending.
Regular workshop work
A powered bench machine can reduce pumping effort and speed repeat work. Look for clear setting control, practical die changes and stable mounting. Production planning should include preparation, insertion, measurement and record keeping, not just closing time.
Mobile work
Portability involves more than machine weight. Include the pump, dies, fittings, measuring tools and safe mounting. A tool that is easy to carry but difficult to stabilize may not be the best field option.
Use P70C only inside its recorded boundary
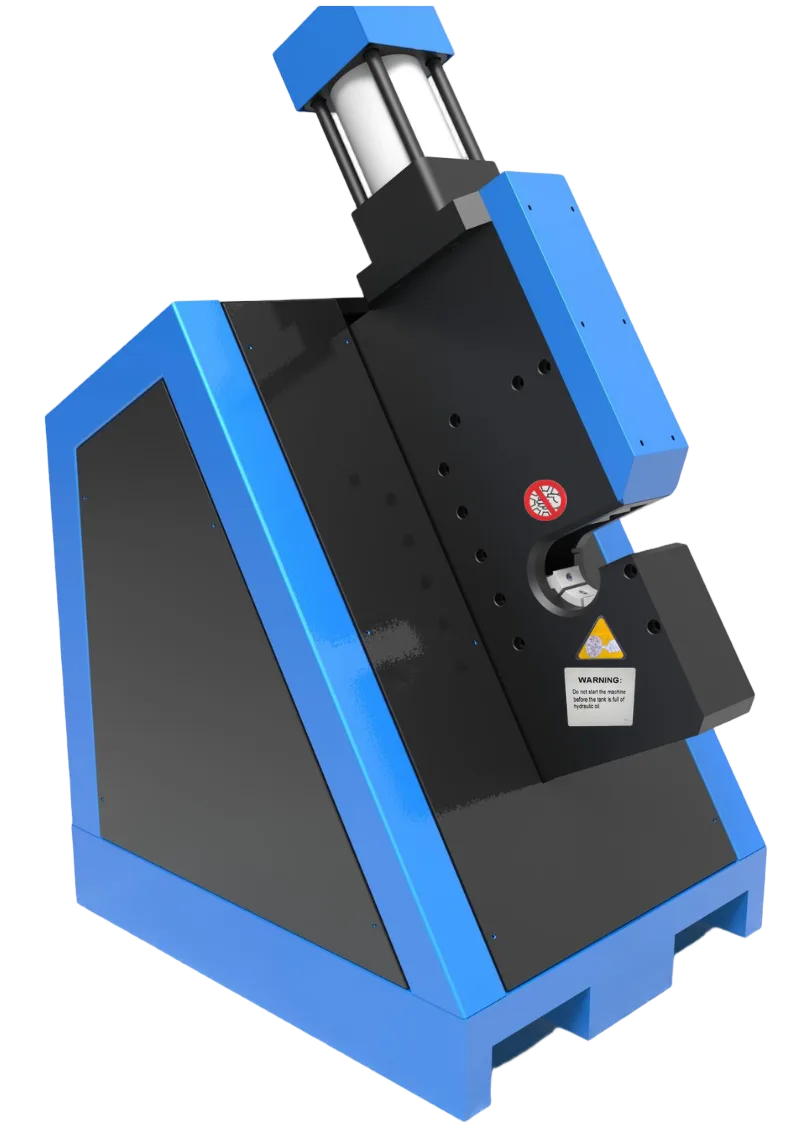
TRC records the P70C 20-ton A/C hose crimper as a dedicated air-conditioning hose machine. Its product file states a 0.16–2 inch crimping range and 20-ton maximum force. The same record says it is not intended for hydraulic-oil hose.
| P70C field | Recorded value | What the value does not prove |
|---|---|---|
| Application | Air-conditioning hose | Compatibility with every refrigerant hose brand |
| Crimping range | 0.16–2 inch | A die schedule for every sleeve in that span |
| Maximum force | 20 ton | Finished hose pressure rating |
| Hydraulic-oil hose use | Not intended | Suitability as a general hydraulic-hose crimper |
Those limits are useful. They prevent a buyer from treating a dedicated A/C machine as a universal workshop press. The next check is still the actual component schedule.
Inspect the complete package
Ask the supplier to state:
- machine model and power source;
- included die identifications;
- compatible fitting and sleeve families;
- adjustment method;
- service parts and technical support;
- sample-crimp process.
“Suitable for common AC hose” is not a technical specification.
The quote should separate standard supply from options. A machine with five useful dies can be a better purchase than a larger kit whose profiles cannot be linked to the shop’s fittings.
| Package line | What to ask for in writing | Cost hidden when omitted |
|---|---|---|
| Crimper | Exact model, power route and adjustment method | Pump or power unit added later |
| Dies | Identification, working range and sleeve family | Extra tooling and uncertain coverage |
| Measurement | Required gauge or measuring method | First pieces cannot be released |
| Preparation | Cutter and insertion-marking method | Rework caused by poor end preparation |
| Support | Manual, parts list and response route | Longer downtime after a simple wear issue |
Run a first-piece process, not a visual check
Follow the hose-and-fitting supplier’s crimp dimension and measurement location. Confirm insertion depth before crimping. Afterward, inspect the sleeve for uneven deformation, damaged hose and poor fitting alignment.
Leak testing or other validation must follow the component system and applicable service procedure. SAE J2064 is useful standards context for coupled automotive refrigerant hose assemblies, but a reference to the standard should not be presented as machine certification.
Use this sequence for the first assembly from every new component combination:
- Check the hose, fitting and sleeve identities against the current system data.
- Cut the hose squarely and inspect the bore.
- Mark insertion depth before fitting assembly.
- Load the specified die and keep the fitting aligned.
- Complete the crimp using the documented setting.
- Measure at the location stated by the component supplier.
- Record the result and complete the required leak or service check.
Warning: A smooth, even sleeve can still be under-crimped, over-crimped or assembled on the wrong stem. Appearance supports inspection; it does not replace the specified measurement.
Calculate workload from the whole job
Do not compare machines by closing time alone. For A/C repair, the operator spends time identifying parts, cutting, marking, changing dies, crimping, measuring and documenting the assembly.
Use a shop-owned timing study:
accepted assemblies per hour = 60 ÷ observed minutes per accepted assembly
Suppose a trial records 3 minutes for identification and preparation, 2 minutes for loading and crimping, and 2 minutes for measurement and paperwork. The result is 60 ÷ 7 = 8.6 accepted assemblies per hour before rework and interruptions. This is a worked example, not a TRC customer result.
Now test the real bottleneck. If hand pumping adds 30 seconds but component lookup adds three minutes, buying a faster pump will barely change output. If a regular batch uses one approved sleeve family and preparation is already controlled, powered operation has a stronger case.
Treat awkward fittings as the purchase test
Straight fittings rarely expose the limits of an auto AC hose crimping tool. Test the short elbow, the long rigid tube and the fitting that cannot rotate after assembly.
Record four dimensions: sleeve OD, sleeve length, rigid-tube length and the distance from the sleeve to the first bend. Send photographs from the side and along the fitting axis. The supplier can then check head opening, loading direction and removal clearance.
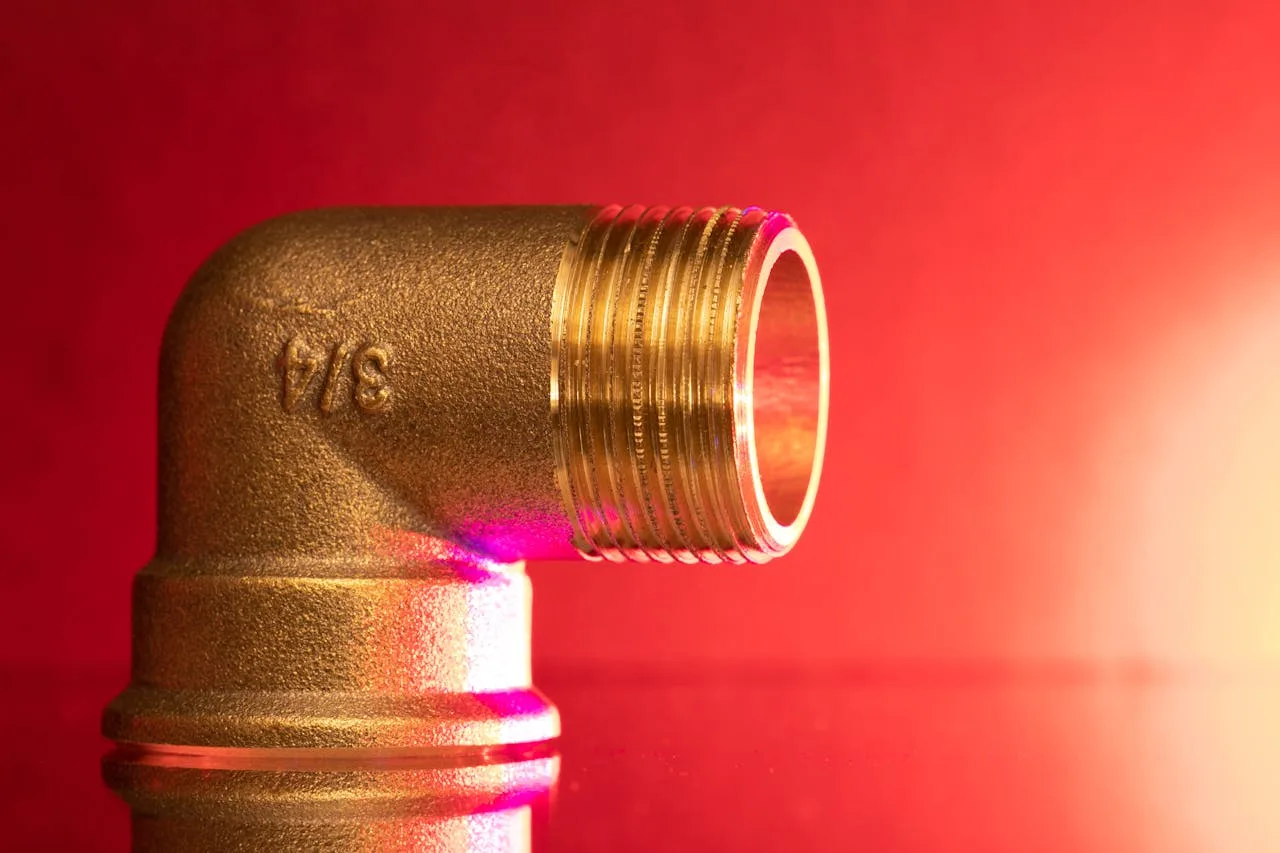
The linked image shows hydraulic fittings rather than A/C beadlock parts, so use it only to understand geometry. Do not infer refrigerant-hose compatibility from the fitting style shown.
Use a hard buying rule
Buy for the narrowest controlled system you can define, then confirm any additional system in writing. That is safer than buying the largest kit and assuming every die is interchangeable.
Review TRC’s automotive AC hose crimping equipment and send the hose, fitting, sleeve and workload details for a technical match.
Separate hose approval from assembly approval
This distinction prevents many poor tool decisions. SAE J3062 covers automotive refrigerant hose requirements. SAE J2064 addresses the coupled assembly. A hose that meets its own requirement does not prove that an arbitrary fitting, sleeve and crimp will produce an acceptable assembly.
For the workshop, that means retaining a job record with the hose identity, fitting and sleeve series, die reference, insertion mark, machine setting and final inspection. The crimper is one part of this record, not the authority that makes unrelated parts compatible.
Check the awkward assembly before the common one
Straight fittings are easy to load on most tools. The real test is often a short hose with an elbow close to the sleeve, a long rigid tube attached to the fitting, or a vehicle-specific bend that cannot rotate freely. Measure the sleeve OD and sketch the space around the fitting. Ask the supplier to show how that workpiece enters and leaves the head.
This check also separates a portable tool from a merely small tool. A field kit still needs a secure operating position, organized dies and enough room to keep the fitting aligned during closure.
Price the missing parts before comparing quotes
The lowest machine price can produce the highest working cost when the shop must later buy dies, a pump, a bench, measurement tools and compatible components. Put each quotation into the same worksheet.
ready-to-work cost = machine + required dies + power unit + preparation tools + measurement tools + freight + destination charges
Do not invent a percentage for any line. Ask each supplier to state what is included, then obtain freight and import figures for the destination. If one seller cannot identify the die coverage, enter that line as unresolved rather than zero.
For a repair shop, downtime also has a cost. Use the shop’s own gross margin per accepted repair and average outsourcing delay. That produces a defensible payback calculation without pretending there is one universal A/C crimper price.
A worked purchase example
Consider a workshop that accepts three standard-barrier component rows, one reduced-barrier row and two awkward elbow fittings. The buyer first maps all six rows to hose, fitting, sleeve and finished-target records. The supplier can document five rows but cannot identify tooling for one elbow.
The honest quotation covers five rows and marks the sixth as outside scope. The shop can keep outsourcing that assembly until the tooling is proven. Calling the package “six-size universal” would hide the exact gap that matters.
The same worksheet helps with workload. If the shop records 40 accepted A/C assemblies per month and each outsourced job adds two working days, it can compare the actual delay and margin with the ready-to-work equipment cost. Those values belong to the shop; they should not be replaced with a generic internet payback claim.
What we would reject in a quotation
We would reject a quotation that lists only “20-ton A/C crimper with dies.” Force, range and die count do not identify the supported component system.
We would ask the supplier to revise it with the exact machine, power, die identifications, component rows, measurement route, standard and optional supply, destination voltage, packing and first-piece plan. That document gives purchasing, the technician and the receiving inspector one version of the order.
The revised quotation should also name exclusions. If reduced-barrier tooling, a cutter or measurement instrument is not supplied, put that fact beside the price. Clear exclusions prevent the receiving team from treating an incomplete package as a shipping shortage.
Before signing, give the same document to the technician who will operate the machine. Purchasing may see ten die sets; the technician may notice that none is tied to the sleeve used every day. That ten-minute review is cheap insurance.
Keep the approved worksheet with the machine. When the shop adds a new refrigerant-hose family, create another component row and run a first-piece review instead of borrowing the nearest existing setup.
That discipline is the difference between owning a crimper and controlling an A/C hose process.
A service-shop decision that looks small but is not
Consider an independent workshop that repairs ten to fifteen older vehicles a month. Only two or three need a new refrigerant hose, so a powered production machine looks unnecessary. The owner is tempted by a low-cost hand tool advertised with seven dies. The missing question is whether those dies map to the sleeves the shop can actually buy.
We would ask the shop to list the five assemblies it sees most often, including hose construction, fitting part number, sleeve OD before crimping and access around any 90-degree end. That list might show that four assemblies use one documented reduced-barrier family while the fifth needs a different service route. In that case, a smaller tool with the correct four rows is safer and more useful than a larger kit with anonymous dies.
The shop should also price the workbench around the crimper. It needs a clean cutter, insertion marks, a suitable measuring tool, protected component storage and a written inspection record. If a hose fails the visual or dimensional check, the operator should scrap the assembly and find the cause rather than “touching up” the sleeve with another press cycle.
Shop-floor view: Tool cost is easy to see on an invoice. The expensive error is an undocumented assembly that returns after refrigerant charging, consumes another service slot and leaves the shop unable to explain which component or setting was wrong.
This is why we recommend buying against a component matrix, not a die count. The same matrix becomes the training sheet, quotation boundary and reordering record once the tool enters service.
Frequently asked questions
AC hose crimping tools: what works for automotive A/C lines?
Start with the approved refrigerant hose, fitting and sleeve system, then choose a tool with identified dies for that system. A manual tool can cover occasional controlled work; regular production benefits from stable powered operation. The question comes from Reddit and was retained because it matches the purchase intent exactly.
Can I use a hydraulic hose crimper for brake lines?
Do not assume so. Metal brake tube, refrigerant hose and hydraulic-oil hose use different components, forming methods and validation rules. Use equipment and tooling documented for the exact brake-line system rather than relying on available force.
Match the tool to the service list
Send TRC the hose markings, fitting and sleeve photos, uncrimped dimensions, difficult workpiece and monthly workload through the contact page. The reply should identify a machine route and the compatibility information still required before production.