Tabla de Contenidos
Lo que un taller nuevo realmente necesita
Starting a hydraulic hose assembly workshop? Most equipment dealers will try to sell you 15 items you don’t need in month one. Here’s the reality: a profitable hose shop can start with 4 core pieces of hose crimping equipment.
We’ve seen 300+ distributors set up shops across 50+ countries. The ones who succeed fast start lean.
The ones who overspend on day one take 12–18 months to break even. This guide covers what you actually need — and what to skip until month six.
Configuración de 4 estaciones (mínimo viable)
A hydraulic hose assembly workshop needs 4 stations: cut → skive → crimp → test. Each station handles one step. Here’s the minimum equipment for each, with specific TRC models.
Estación 1: Corte
You need a clean, square cut. Hacksaws don’t cut it — literally. Ragged hose ends cause fitting alignment problems and leaks.
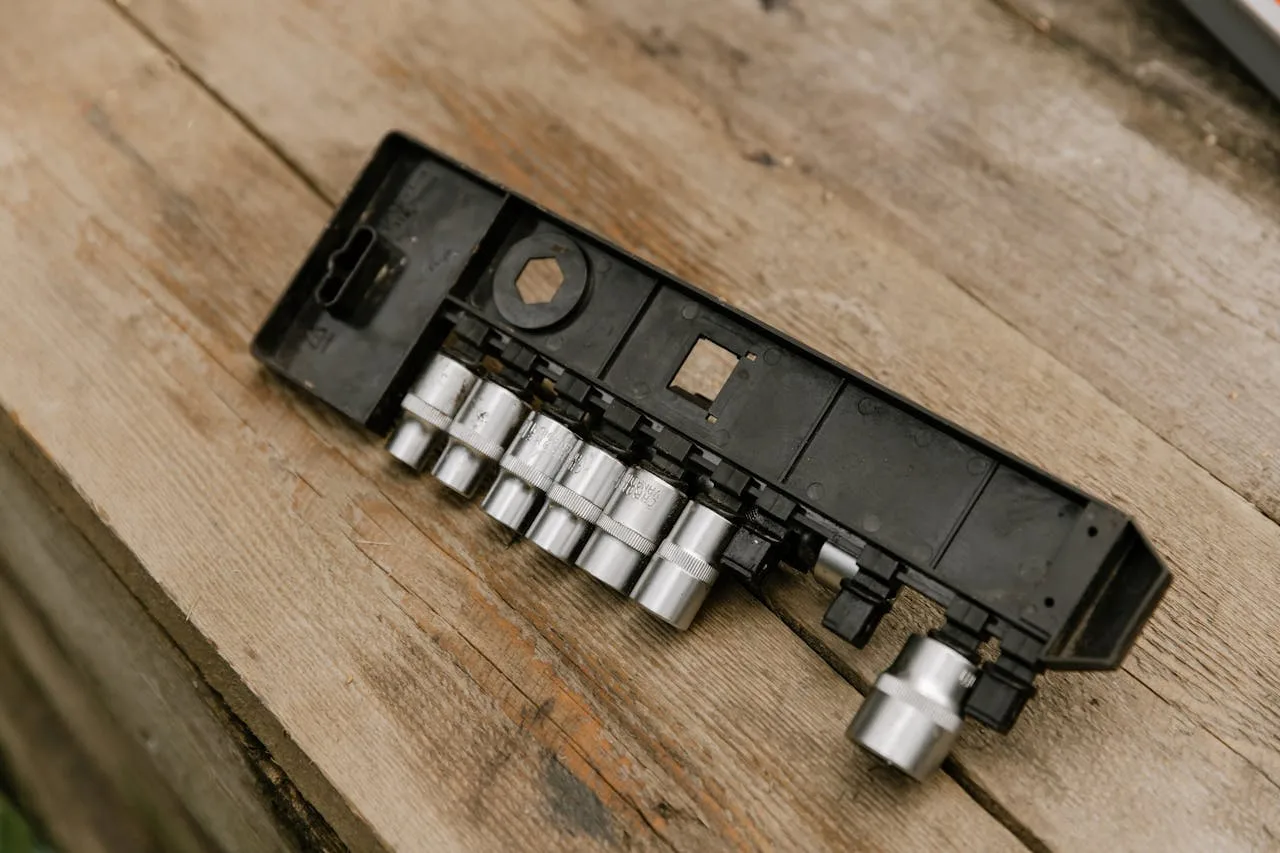
The TRC cutting machine lineup starts with the C300 (up to 2″ hose) and goes up to the C520A (up to 4″). A C300 handles 90% of workshop demand for under $800.
| Modelo | Max Hose Size | Cut Type | Energía |
|---|---|---|---|
| C300 | 2″ 4SP | Rotary blade | 380V / 220V |
| C400F | 2½″ 4SP | Rotary blade | 380V / 220V |
| C520A | 4″ 6SP | Rotary blade | 380V |
La mayoría de los talleres nuevos pueden prescindir de la máquina de corte en el primer mes si su proveedor vende longitudes de manguera precortadas. Añádala cuando su volumen diario llegue a más de 20 conjuntos.
Estación 2: Pelado (opcional)
El pelado retira la cubierta exterior de goma del extremo de la manguera para que la férula contacte directamente con el refuerzo de alambre. No todas las conexiones requieren pelado — muchas conexiones de una pieza e interlock se prensan directamente sobre la goma.
Skip the skiving machine if you primarily use standard crimp fittings with pre-skived ferrules. Add the S50 máquina de pelado when you start handling 4SP or 6SP multi-spiral hose regularly. For more on the skiving process, see Wikipedia’s skiving article.
Estación 3: Prensado
This is the core of your hose crimping equipment. Get this right, and everything else follows.
The crimping process deforms the ferrule past its yield point, creating a gas-tight cold-weld bond between the ferrule and the hose’s wire reinforcement. This joint is mechanically stronger than soldering and resistant to vibration and thermal shock. A proper crimp has zero voids — all wire strands compressed uniformly.
The crimping machine you choose depends on your target hose range. Most new workshops cover ¼″ to 2″ hose — that’s 80% of market demand.
| Modelo | Crimp Force | Rango de manguera | Ideal para | Price Tier |
|---|---|---|---|---|
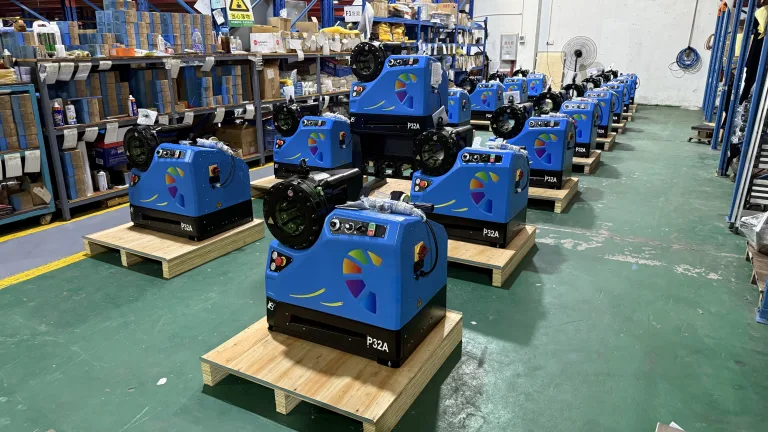
| P32S | 200 ton | ¼″–2″ 4SP | New taller norma | $$ |
| P32A | 200 ton | ¼″–2″ 4SP | valor pick with die cabinet | $$ |
| P32D | 200 ton | ¼″–2″ 4SP | CNC de precisión + datos registro | $$$ |
| P32E | 200 ton | ¼″–2″ 4SP | compacta presupuesto option | $ |
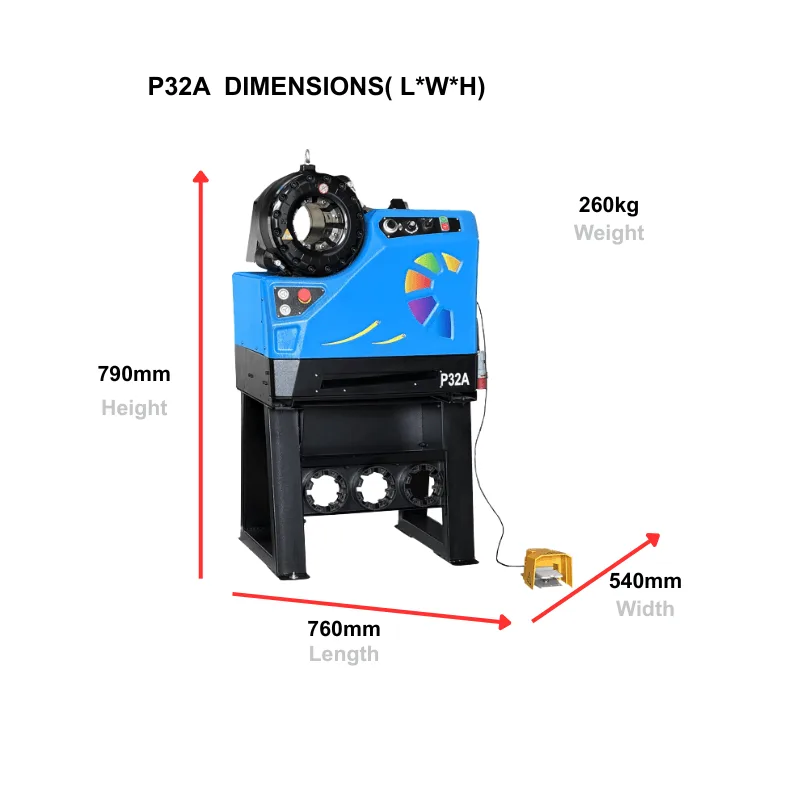
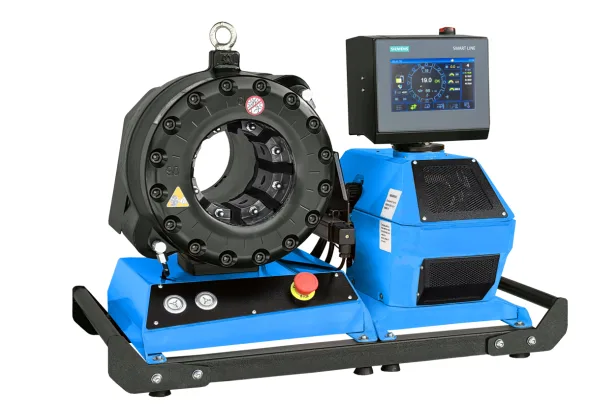
The P32A is the most popular choice for new workshops. It comes with 12 die sizes (P32 series), an auto-return mechanism, and a built-in die storage drawer. Crimp tolerance: ±0.04 mm per ISO 8434 requirements.
Características clave a buscar en su primera prensadora:
- Auto-return: Dies retract automatically after crimp. Saves 2–3 seconds per cycle.
- Die storage: Built-in cabinet keeps dies organized. Lost dies cost $30–80 each to replace.
- Motor voltage: Check your local power supply. TRC machines support 110V, 220V, and 380V.
- Die compatibility: P32 dies cover 19 sizes from 6mm to 78mm — enough for SAE J517 standard hoses.
Estación 4: Prueba
Cada manguera ensamblada debe probarse a presión antes de la entrega. Un banco de pruebas presuriza la manguera a 1,5× o 2× la presión de trabajo y la mantiene durante 30-60 segundos.
For a new shop, a portable hydraulic test pump ($200–400) is enough. You don’t need a full test bench until you’re doing 50+ assemblies per day or serving oil and gas customers who require certified test reports. For test pressure standards, refer to SAE standards testing guidelines.
Lo que los vendedores ofrecen vs lo que necesita
| Lo que ofrecen | Lo que realmente necesita (Mes 1) | Cuándo comprar |
|---|---|---|
| Prensadora CNC con registro de datos | P32A estándar con retorno automático | Mes 6+ (cuando la auditoría ISO lo requiera) |
| Juego completo de matrices (19+ tamaños) | Las 8 matrices principales cubren el 90% de los trabajos | Añada tamaños según lleguen los pedidos |
| Cutting machine | Compre manguera precortada del proveedor | Mes 3+ (cuando el volumen lo justifique) |
| Skiving machine | Use conexiones sin pelado | Mes 6+ (volumen 4SP/6SP) |
| Banco de pruebas con impresora | Bomba de prueba manual | Mes 4+ (cuando necesite certificados de prueba) |
| Bench with herramienta board | Workbench + shelf | Anytime |
Realidad del presupuesto de equipos
| Elemento | Needed Day 1? | Estimated Cost |
|---|---|---|
| máquina de prensado (P32A or P32E) | ✅ Yes | $1,200–2,000 |
| Die set (8 most common tamaños) | ✅ Yes | $300–500 |
| aceite hidráulico + caliper | ✅ Yes | $50 |
| Ferrule + fitting starter stock | ✅ Yes | $200–400 |
| corte máquina (C300) | ❌ Later | $600–800 |
| máquina de pelado (S50) | ❌ Later | $800–1,200 |
| Banco de prueba | ❌ Later | $500–2,000 |
| Minimum Start Total | $1,750–2,950 |
You can start a hose assembly business for under $3,000 in hose crimping equipment. The crimping machine is 60–70% of that budget. Don’t cheap out on it — a bad crimper produces bad crimps, and bad crimps cause hydraulic failures.
¿Va a montar un taller de mangueras?
Tell us your target hose sizes and daily volume. We’ll build an equipment list with exact model recommendations.
Preguntas frecuentes
What’s the minimum equipment to start a hydraulic hose workshop?
A crimping machine, 8 die sizes, a vernier caliper, and fitting stock. That’s under $3,000 total. Add cutting, skiving, and testing equipment as volume grows.
¿Qué prensadora debo comprar primero?
The P32A is the best value pick for new workshops. 200-ton capacity, 2″ hose range, auto-return, and die storage.
It covers 90% of common hydraulic hose sizes. The 200-ton force comes from a 2.2 kW electric motor driving hydraulic fluid through a cylinder — the same Pascal’s Law principle that makes a hand pump work, but with motor-driven pressure instead of manual pumping.
¿Necesito una prensadora CNC para empezar?
No. CNC machines like the P32D add data logging and multi-step crimp profiles. These matter for Fabricación and aerospace clients.
For general ensamblaje de manguera, a norma máquina is enough.
¿Cuántos tamaños de matriz necesito al principio?
Empiece con 8 tamaños: 12, 16, 19, 22, 26, 39, 45 y 57. Estos cubren los tamaños de manguera SAE 100R1 hasta 100R12. Añada matrices especiales según lo requiera la demanda de los clientes.
¿Puedo prescindir de la máquina de corte al principio?
Yes. Buy pre-cut hose lengths from your supplier for the first 2–3 months. When you hit 20+ assemblies per day, the time savings from an in-house cutting machine justify the cost.
¿Qué voltaje admiten las máquinas TRC?
La mayoría de las prensadoras TRC admiten 110V, 220V monofásico y 380V trifásico. Especifique su voltaje local al hacer el pedido. El motor de la P32A es de 2,2 kW — funciona bien con energía estándar de 220V de taller.
¿Cuánto espacio necesito para un taller?
Una distribución de 4 estaciones (cortar, pelar, prensar, probar) cabe en 25-30 m². Si inicialmente prescinde de corte y pelado, una sola prensadora en un banco necesita unos 4 m².
What’s the ROI timeline for workshop equipment?
Most distributors recoup their equipment investment in 2–4 months at 10–15 assemblies per day. Each crimped hose assembly generates $15–40 in labor margin.
A $2,000 setup paid off in under 100 assemblies. For detailed ferrule specifications and fitting standards, refer to the relevant industry documentation.