Hydraulic Hose Crimping Machine Setup: From Unboxing to First Crimp
Setting up a hydraulic hose crimping machine is the single most important step between buying equipment and producing leak-free assemblies. Whether you’re running a new hose crimper machine for the first time or rebuilding a workshop, this guide walks through every step.
This hydraulic hose crimping machine setup covers unboxing, die selection, calibration, and your first 100 crimps. It also covers the five mistakes that waste material on day one.
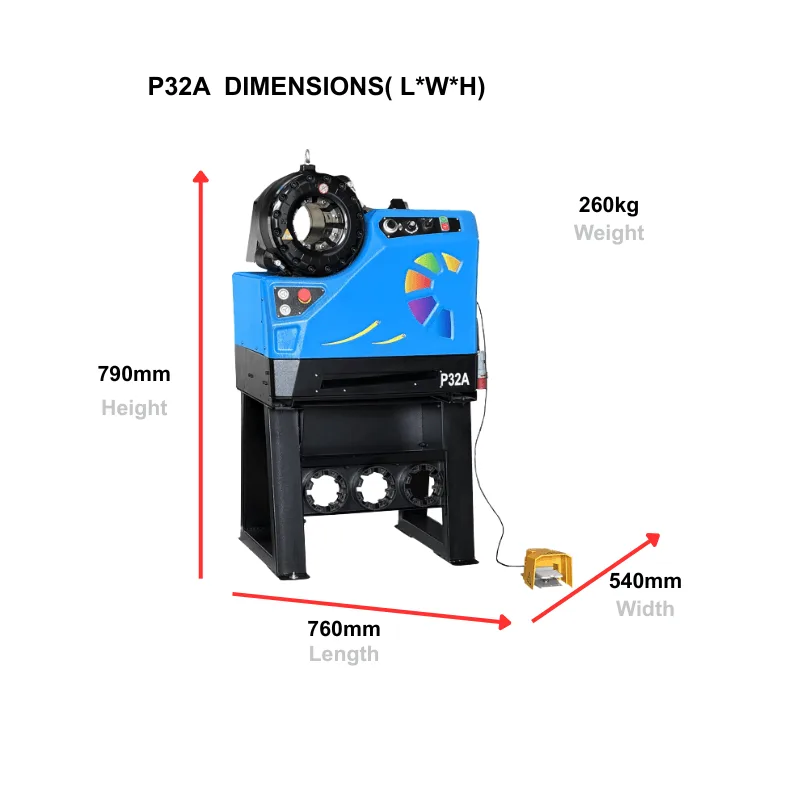
Tabla de Contenidos
- Quick Specs: What You’re Working With
- Lo que necesita antes de la configuración
- Paso 1: Desembalaje e inspección
- Paso 2: Montaje en banco y nivelación
- Paso 3: Selección e instalación de matrices
- Paso 4: Calibración
- Paso 5: Su primer prensado
- 5 Common Setup Mistakes
- producción Optimization
- Cronograma de ROI
- Preguntas frecuentes
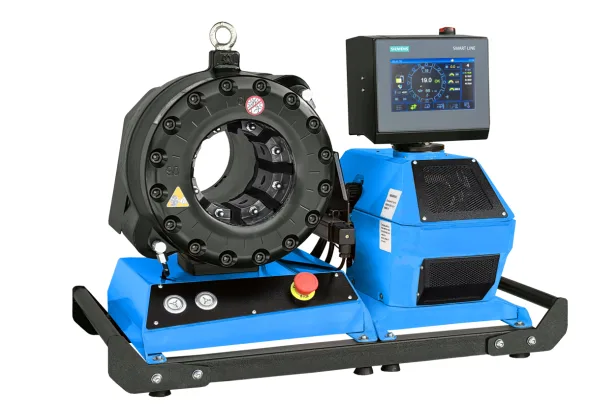
Quick Specs: What You’re Working With
| Parámetro | Rango | Por qué importa |
|---|---|---|
| Tonelaje | 60–1,750 T | Determina el diámetro máximo de manguera |
| Hose range | ¼″–6″ | Debe cubrir su trabajo diario |
| Control type | Manual / Auto / CNC | Afecta la velocidad y repetibilidad |
| Precisión de prensado | ±0.1 mm (CNC: ±0.05 mm) | Sin fugas vs. reclamación de garantía |
| Cycle time | 8–30 seconds | Volumen de producción por día |
| Energía | 220V / 380V / batería / Hand pump | Taller vs. campo |
| Juegos de matrices incluidos | 6–18 sets typical | Cubre cuántos tipos de conexiones |
Lo que necesita antes de la configuración
Antes de que llegue el cajón, asegúrese de tener estas tres cosas resueltas.
1. Electrical
- 220V single-phase for machines up to 200 T (P16HP, P20 class)
- 380V three-phase for machines above 200 T (P32, P120, TRC120L class)
- Dedicated 30A breaker — don’t share the circuit with a welder or compressor
- Enchufe con toma de tierra. Sin adaptadores.
2. Bench Space
- Minimum 1.2 m × 0.6 m work surface for the machine
- 0.5 m clearance on all sides for die changes and hose handling
- Bolt the machine down. A 200 T crimper generates real force — it will walk across the bench if you don’t.
3. Tools
- Calibrador digital (resolución de 0,01 mm) — no una cinta métrica
- Tabla de matrices del fabricante — lamínela y péguela en la pared
- Trapo limpio y alcohol desnaturalizado para limpiar las matrices antes de cada uso
- Kit de prueba de conjunto de manguera (manguera + férulas + conexiones) para la verificación del primer prensado
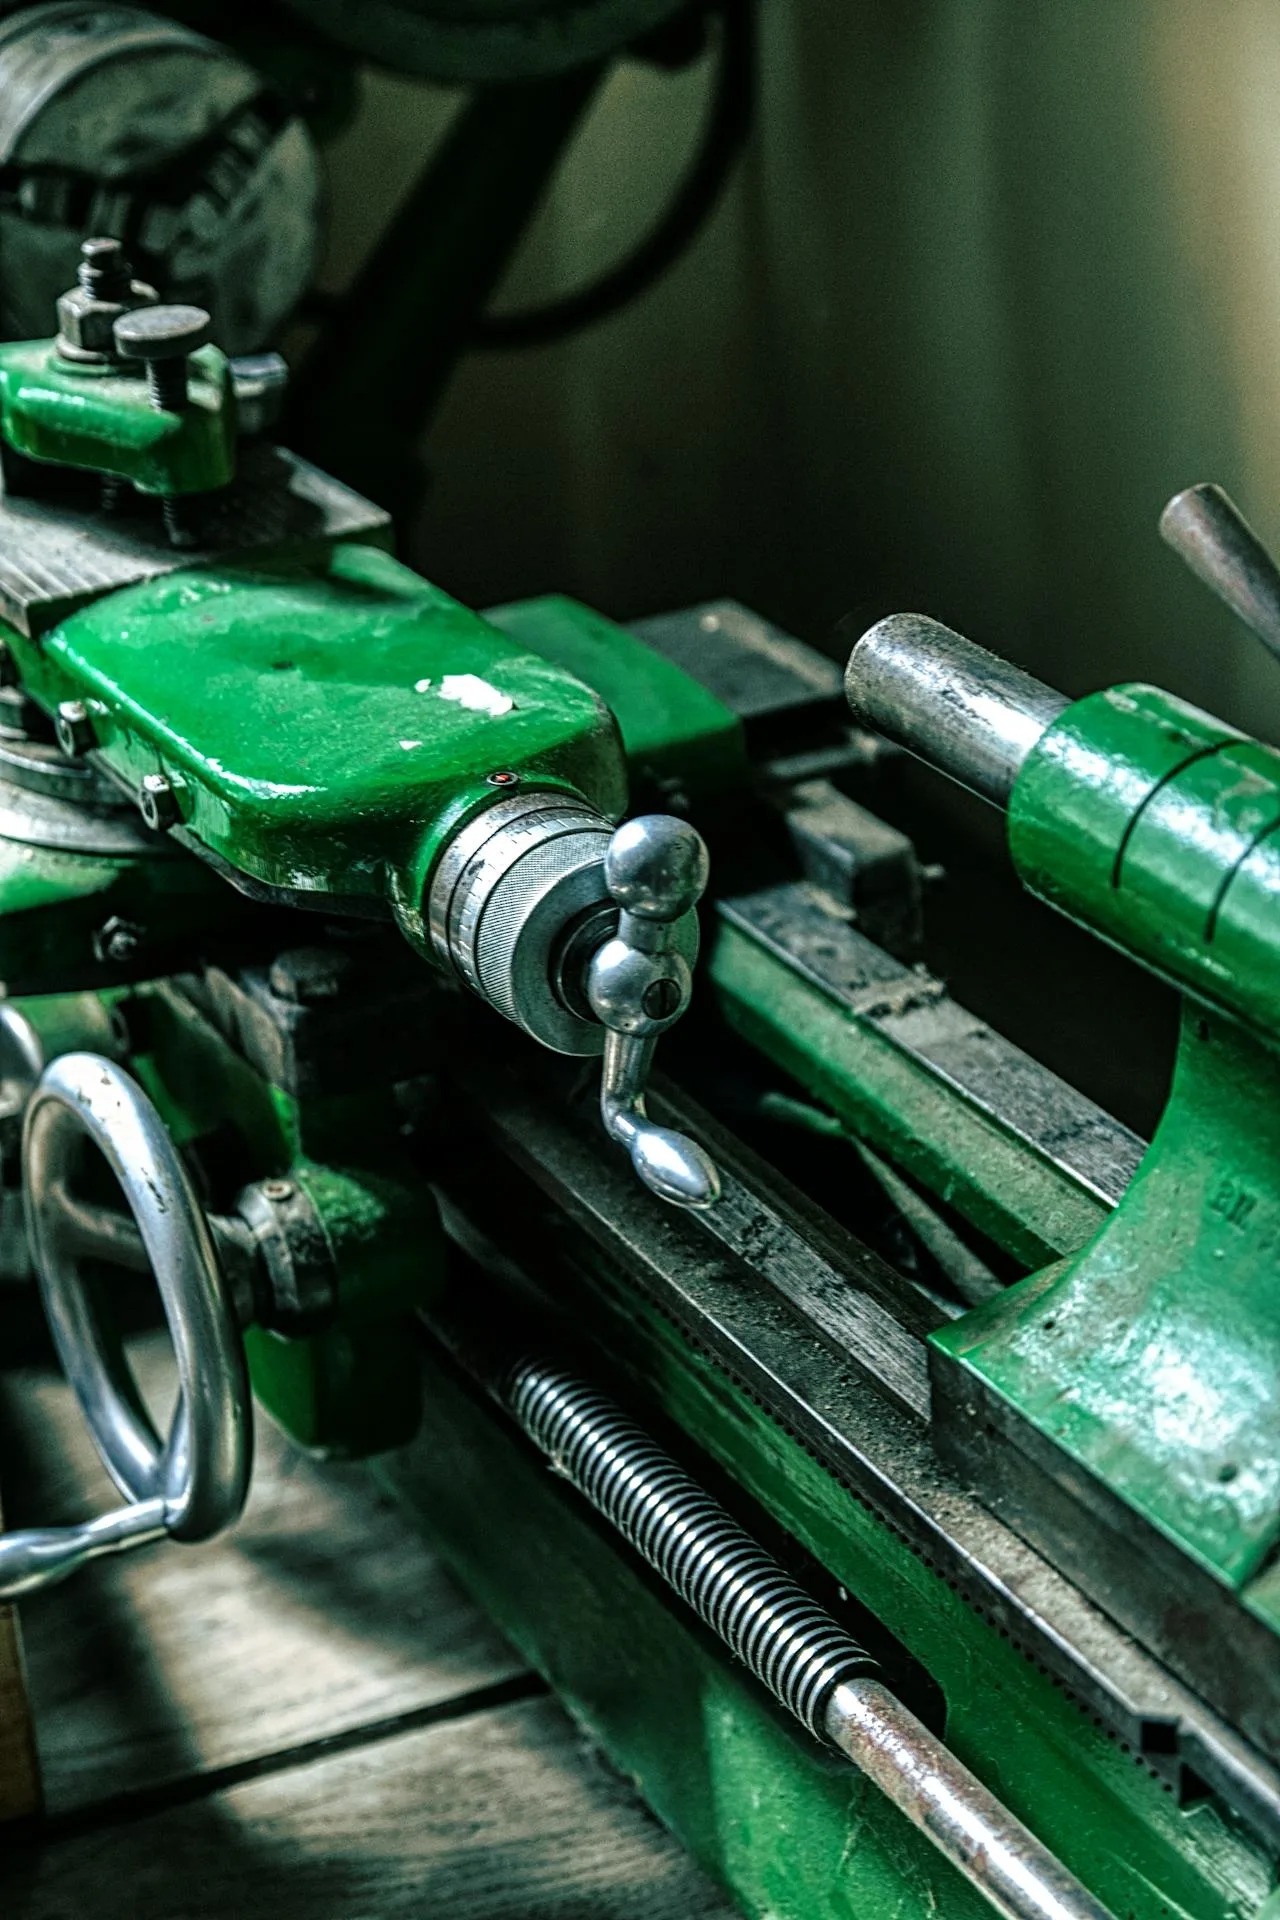
Paso 1: Desembalaje e inspección
Don’t skip this. Shipping damage to a prensa hidráulica happens more often than you’d think. Larger hydraulic hose crimp machines that weigh 200+ kg are especially vulnerable.
- Check the crate for impact marks. If the crate is cracked or dented, photograph it before opening.
- Remove all packing material. Check for loose parts in the bottom of the crate — die sets and hoses sometimes shift during transit.
- Inspect the die holder. The crimping head should move freely with no visible scoring or rust.
- Check hydraulic oil level. Sight glass should show oil between the two marks. Top up if needed (ISO VG 46 hydraulic oil).
- Verify die set count. Match against the packing list. A missing die set on day one stops work.
Paso 2: Montaje en banco y nivelación
The machine needs to be level. If it’s tilted, the die closure won’t be concentric — and concentricity is what makes a crimp seal.
- Coloque la máquina en el banco en su posición final.
- Use un nivel de burbuja sobre la cara del portamatrices. Ajuste las patas o las cuñas hasta que la burbuja esté centrada.
- Atornille a través de la placa base hacia el banco. Use los cuatro puntos de montaje — no solo dos.
- Aplique el par de apriete a los tornillos de montaje según el manual (típicamente M12 a 45 Nm).
- Vuelva a verificar el nivel después de atornillar. El banco puede deformarse.
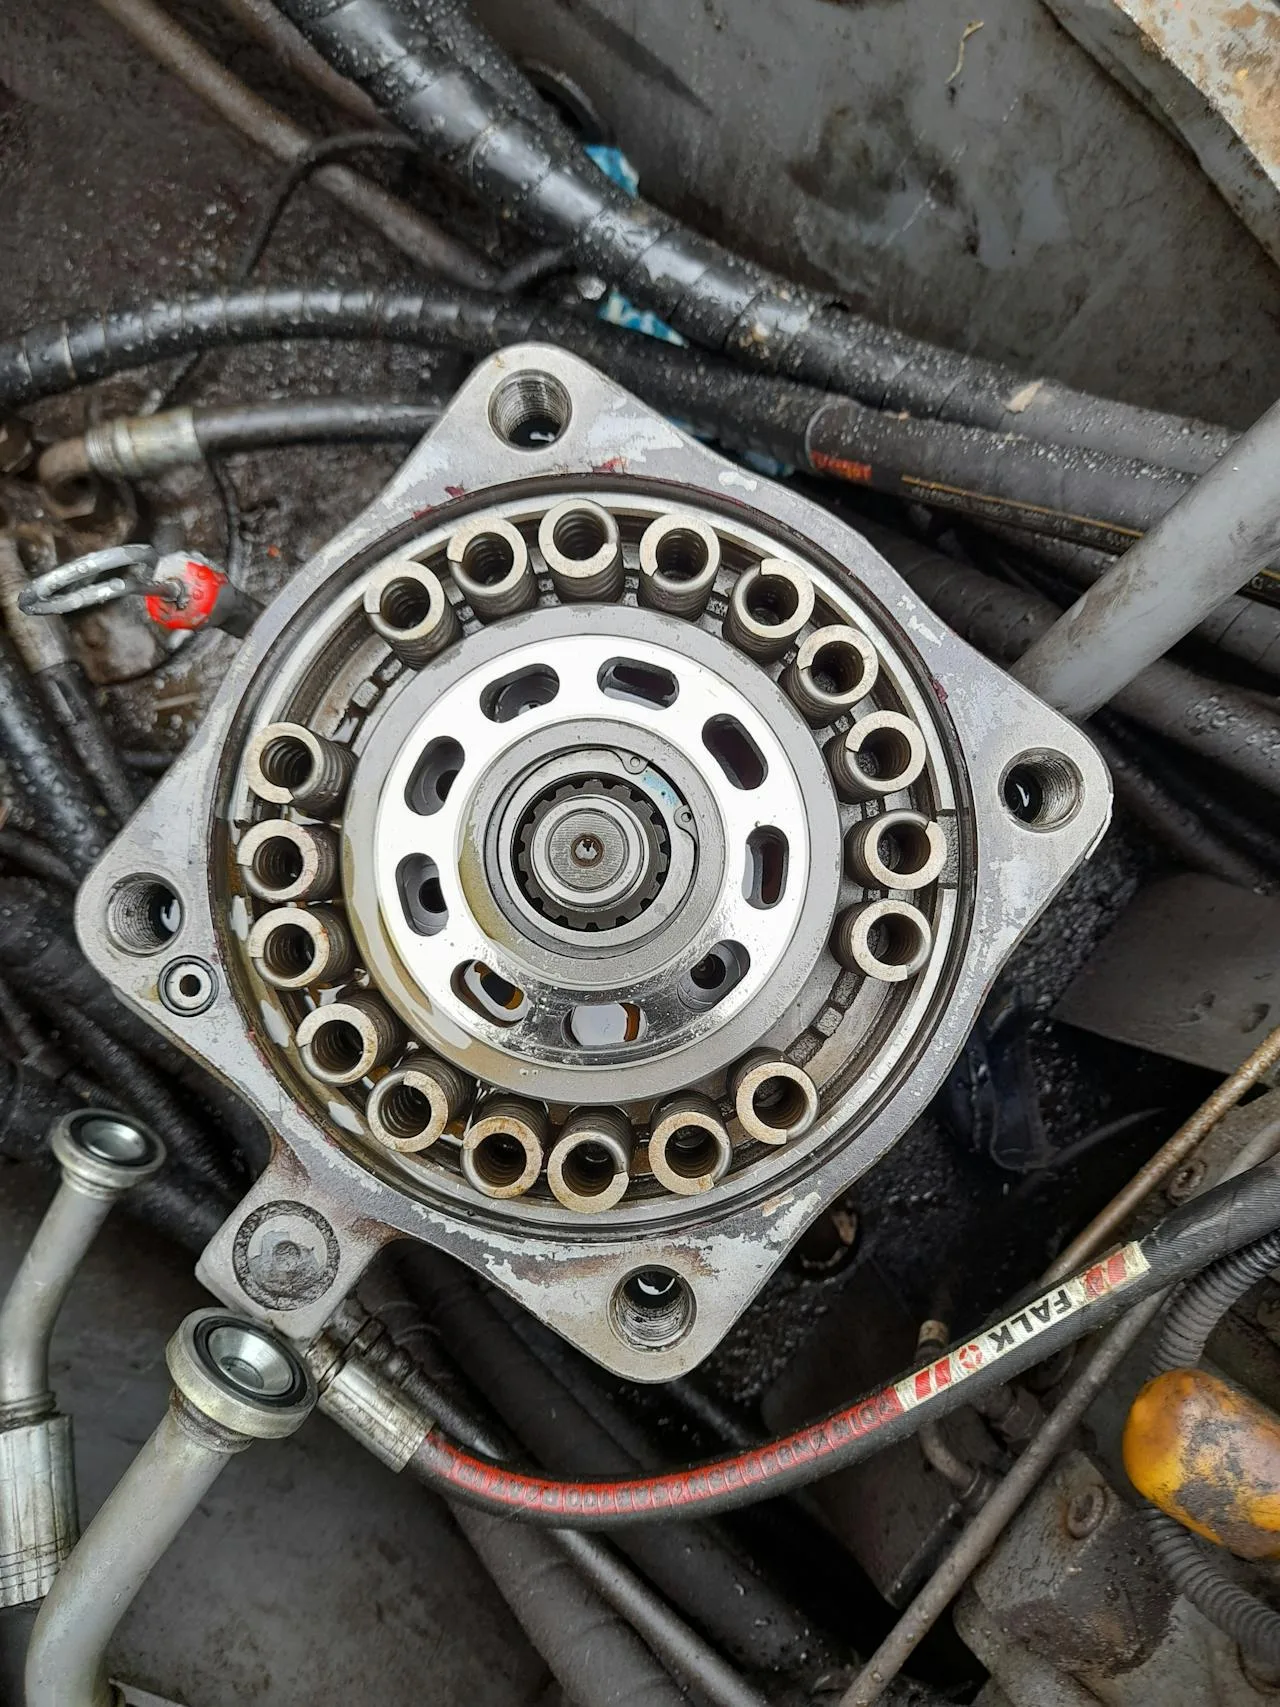
Paso 3: Selección e instalación de matrices
This is where most first-timers make mistakes. The die set must match three things: hose type, fitting type, and hose size.
Die Compatibility Quick Reference
| Tipo de manguera | Estilo de conexión | Serie de Matrices | Ejemplo |
|---|---|---|---|
| Trenza de 1 hilo (R1) | Una pieza | Estándar | ¼″–1″ |
| Trenza de 2 hilos (R2) | Una pieza | Estándar | ¼″–2″ |
| 4 espirales (R12) | Interlock | Pesado | ¾″–2″ |
| 6 espirales (R13) | Interlock | Extra pesado | 1½″–6″ |
Installing the wrong die produces an undercrimp or overcrimp — both cause leaks. When in doubt, check the manufacturer’s die chart, not the die number stamped on the metal.
instalaration Steps
- Limpie el portamatrices y las caras de las matrices con alcohol desnaturalizado.
- Inserte las mitades de la matriz en el portamatrices. Las caras numeradas van hacia afuera.
- Verifique que todos los segmentos de la matriz queden al ras — sin espacio entre segmentos.
- Ejecute un ciclo vacío (sin manguera) para verificar que el cierre de las matrices sea uniforme.
According to SAE J517 standards, die-to-hose compatibility is the single biggest factor in crimp quality. The crimping process requires tolerances within ±0.1 mm. Using dies from a different manufacturer — even if they physically fit — voids this tolerance. See Pascal’s Law for the physics behind hydraulic force multiplication, and the hydraulic cylinder reference for how crimp force is delivered.
Paso 4: Calibración
Calibration separates a workshop that produces 99.7% good crimps from one that gets 85%. Your target: ±0.1 mm on crimp diameter.
- Select a test hose + ferrule + fitting combination you’ll use daily.
- Establezca el diámetro de prensado de la tabla de matrices (p. ej., 27,3 mm para un conjunto R2 de ¾″).
- Ejecute el ciclo de prensado.
- Mida el diámetro prensado en tres puntos (arriba, medio, abajo) con un calibrador digital.
- If the average is within ±0.1 mm of target: you’re calibrated. Record the setting.
- If it’s off by more than 0.1 mm: adjust the crimp stop and repeat. Most CNC machines store this automatically.
“We calibrate every morning before the first run. It takes 3 minutes and saves us from 2-3 bad crimps per day. At $15 per assembly, that’s $30-45 saved before lunch.” — Workshop foreman, hose assembly shop, Texas
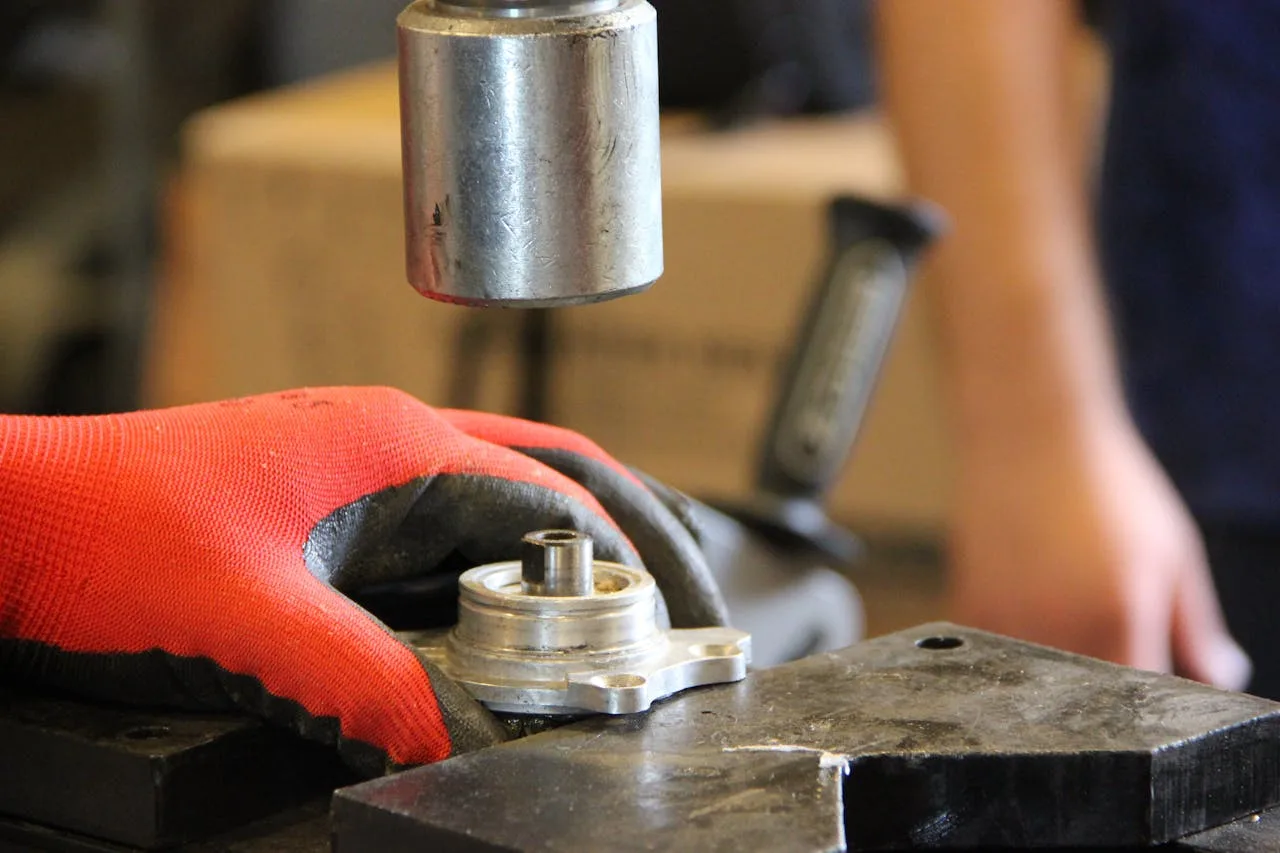
Paso 5: Su primer prensado
Ahora el momento por el que compró la máquina.
- Cut the hose square using a Máquina de corte de mangueras or a fine-tooth saw. Deburr the end.
- Insert the fitting into the hose. Push until the ferrule seats fully against the hose cover.
- Measure the insertion depth. Mark it with a grease pen. If the ferrule pulls back during crimping, the assembly is scrap.
- Place the assembly into the die holder. The ferrule must be centered in the die opening.
- Ejecute el ciclo de prensado. Hold the hose steady — don’t let it twist.
- Measure the crimped diameter at three points. All within ±0.1 mm of target.
- Visual inspection: No die marks deeper than 0.1 mm on the ferrule surface. No visible gap between ferrule and fitting stem.
The crimping process permanently deforms the ferrule onto the hose. This is why measuring insertion depth before crimping matters — once compressed, there’s no undoing it. For more on hose standards, see hose coupling specifications and hydraulic cylinder design.
5 errores comunes en la configuración de máquinas prensadoras de mangueras hidráulicas
Error 1: Juego de matrices incorrecto para la conexión
Symptom: Ferrule is visibly deformed after crimp — oval instead of round.
Cause: Using a standard die set on an interlock fitting, or vice versa.
Fix: Check the fitting type (one-piece vs. interlock) before selecting the die. Die charts list this explicitly.
Error 2: Férula no completamente asentada antes del prensado
Symptom: Ferrule pulls back 2-3 mm during crimping. The crimped assembly leaks at the stem.
Cause: Operator didn’t push the fitting all the way in, or the hose end wasn’t cut square.
Fix: Measure insertion depth and mark it before crimping. If the mark moves, stop and re-seat.
Error 3: Máquina no nivelada
Symptom: Crimp diameter varies more than 0.2 mm between top and bottom measurement.
Cause: Uneven bench or loose mounting bolts.
Fix: Re-level with a spirit level. Re-torque mounting bolts monthly.
Error 4: Omitir el paso de calibración
Symptom: First 10 assemblies fail pressure test.
Cause: Crimp stop set to factory default, not adjusted for your specific hose + fitting combination.
Fix: Always calibrate with a test assembly before production. Different hose brands have slightly different wall thicknesses.
Error 5: Caras de matrices sucias
Symptom: Deep gouge marks on ferrule surface after crimp.
Cause: Metal shavings or debris on die segments from previous work.
Fix: Wipe die faces with denatured alcohol before each crimp session. Takes 10 seconds.
Optimización de producción: Llegar a 100 prensados por día
Once your electric hydraulic hose crimper is calibrated and you’re comfortable with the process, here’s how to scale up.
Workflow Layout
| Estación | Equipment | Time por ensamblaje |
|---|---|---|
| Cortar | Hose cutting machine | 30 seconds |
| Skive (if required) | Skiving machine | 45 seconds |
| Insert fitting | Bench vise + mallet | 20 seconds |
| Prensar | Hydraulic hose crimping machine | 15 segundos (cycle) + 10 segundos (carga/descarga) |
| Inspect | Digital caliper + visual | 15 seconds |
| Total | ~2 minutes por ensamblaje |
At 2 minutes per assembly with a 7-hour work day: 210 assemblies per day with a CNC machine. Manual machines run slower at roughly 60-80 per day due to hand pump fatigue.
For hydraulic hose fittings crimping machine workflows that handle multiple hose types, consider a portable unit as backup. Also, our hydraulic hose crimping machines come with quick-change die systems that cut swap time from 5 minutes to 30 seconds. Whether you’re running a hose machine crimping 200 assemblies per day or a field unit doing 10 repairs, the workflow is the same: cut, insert, crimp, measure.
Cronograma de ROI
A manual hydraulic hose crimper costs $400-800 and pays for itself in 2-3 months at 5 assemblies per week. An electric CNC machine costs $2,500-8,000 and pays for itself in 3-6 months at 20+ assemblies per week.
| Machine Type | Cost Range | Weekly Volume | Punto de equilibrio |
|---|---|---|---|
| Manual (bomba de mano) | $400–800 | 5–15 ensamblajes | 2–3 months |
| eléctrica (norma) | $1,500–3,000 | 15–40 ensamblajes | 3–4 months |
| CNC (servo control) | $3,000–8,000 | 40–200+ ensamblajes | 3–6 months |
Every crimp saves $25-65 compared to buying pre-made assemblies. For help choosing the right hydraulic hose crimp machine, compare our electric workshop series and manual series. Also see our full hydraulic crimper lineup covering all 9 product series.
Need Help Setting Up Your Crimper?
Our team walks you through selección de matriz, calibración, and first crimp — step by step.
Preguntas Frecuentes
¿Cuánto tiempo toma configurar una máquina prensadora de mangueras hidráulicas?
Planee 2-4 horas desde el desembalaje hasta su primer prensado bueno. Esto incluye montaje en banco (30 min), instalación de matrices (20 min), calibración (30 min) y prensados de prueba (20 min).
¿Necesito cableado eléctrico especial?
Las máquinas de menos de 200 T funcionan con 220V monofásico estándar. Las máquinas de más de 200 T necesitan 380V trifásico. Revise la placa de datos de su máquina específica.
¿Puedo prensar diferentes tipos de manguera en la misma máquina?
Sí. Cambia el juego de matrices, no la máquina. Una sola máquina maneja mangueras R1, R2, R12, R13, R15 y R17 — siempre que tenga las matrices correctas y el tonelaje suficiente.
¿Con qué frecuencia debo recalibrar?
Cada mañana antes de la primera tirada, o siempre que cambie los juegos de matrices. Las máquinas CNC con registro de datos pueden durar más, pero la verificación diaria detecta problemas temprano.
What’s the most common cause of crimp failure?
Juego de matrices incorrecto para el tipo de conexión. Usar matrices de una pieza en una conexión interlock produce un prensado que se ve bien pero falla bajo presión. Siempre empareje matriz → conexión → manguera antes de prensar.