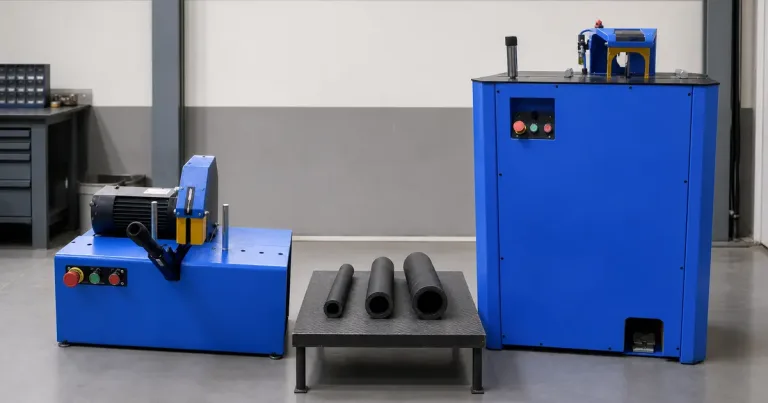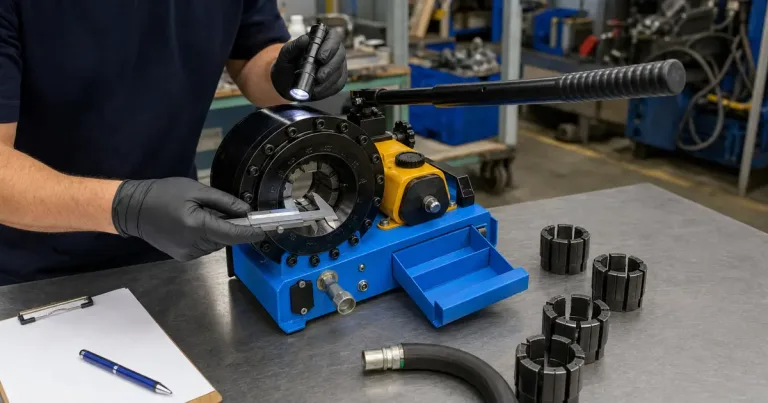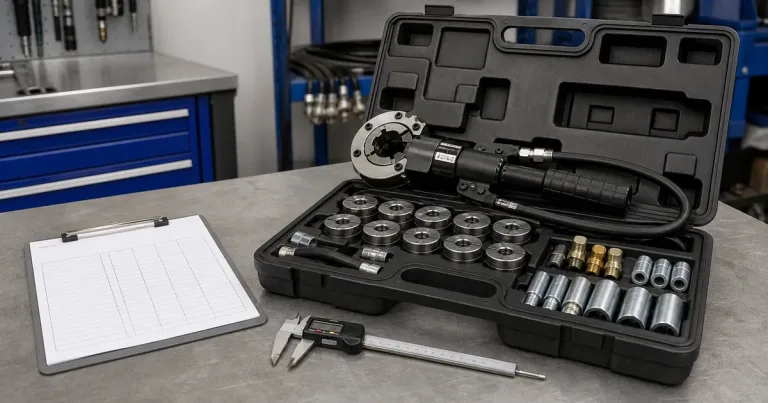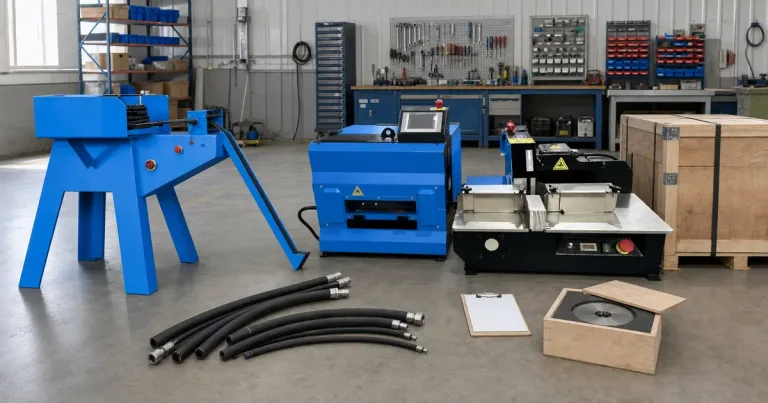

Eine Hydraulikschlauch-Crimpmaschine mit Crimpeinsätzen ist nicht automatisch eine Komplettlösung für jeden Schlauch im angegebenen Größenbereich. Die mitgelieferte Werkzeugausstattung deckt möglicherweise ausgewählte Presshülsen-Außendurchmesser ab, während andere Profile oder große Armaturen optional bleiben.
“Crimpeinsätze inklusive” ist keine Abdeckungskarte
Ein Angebot sagt “Crimpeinsätze inklusive”, während die Komponentenliste des Käufers mehrere Presshülsen-Außendurchmesser umfasst. Der mitgelieferte Satz ist erst dann nützlich, wenn jede Baugruppe einem unterstützten Crimpeinsatz zugeordnet und jegliches optionale Werkzeug identifiziert ist.
Fragen Sie nach dem Crimpeinsatz-Plan
Das Angebot sollte jeden mitgelieferten Crimpeinsatz mit Kennzeichnung und Arbeitsbereich auflisten. Fragen Sie auch, ob Adapter, Grundbacken oder Aufbewahrung enthalten sind.
“Zehn Sätze” erklärt nicht:
- welche Presshülsen sie abdecken;
- ob sie direkt auf die angebotene Maschine passen;
- welche Crimpeinsatz-Länge und welches Profil sie verwenden;
- welche Sätze optionale Ersatzteile sind.
Ordnen Sie Crimpeinsätze realen Komponenten zu
Erstellen Sie eine Tabelle aus Ihrem Schlauch- und Armaturenbestand. Notieren Sie für jede gängige Kombination den erforderlichen Zieldurchmesser und den vorgeschlagenen Crimpeinsatz. Markieren Sie jede Komponente ohne bestätigten Pfad.
Schlauch-Crimpeinsätze sollten nicht allein nach dem Nenn-Innendurchmesser des Schlauchs ausgewählt werden. Presshülsen-Außendurchmesser und Systemdaten bestimmen die Werkzeugausstattung.
Prüfen Sie, was sonst noch erforderlich ist
Ein hydraulischer Crimpeinsatz-Satz ersetzt nicht:
- gültige Schlauch-und-Armatur-Anweisungen;
- eine geeignete Pumpe oder Stromversorgung;
- Messwerkzeuge;
- stabile Maschinenbefestigung;
- Erstmusterprüfung;
- Reinigung und Komponentenlagerung.
Diese Punkte beeinflussen die tatsächlichen Anlaufkosten.
Standard- und optionale Konfiguration
Bitten Sie den Lieferanten, Standardkonfiguration, empfohlene Optionen und kundenspezifische Werkzeuge zu trennen. Dies macht Angebote vergleichbar und verhindert, dass ein optionaler Crimpeinsatz als enthalten dargestellt wird.
Stellen Sie bei ungewöhnlichen Presshülsen Muster bereit und fordern Sie einen kontrollierten Versuch an. Jeder kundenspezifische Crimpeinsatz sollte eine Kennzeichnung und dokumentierte Verwendung haben.
Betten Sie das Crimpeinsatz-Paket in die gesamte Werkstatt ein
Der Die Hydraulikschlauch-Crimpmaschine Starter-Kit-Ressource deckt den weiteren Montage-Workflow ab. Nutzen Sie sie, um Schneiden, Vorbereitung, Messung und Überprüfung sowie die Crimpmaschine zu prüfen.
Die sinnvolle Bedeutung von “mit Crimpeinsätzen” ist ein dokumentiertes Werkzeugpaket für Ihre Komponentenliste, keine pauschale Abdeckungsbehauptung. Wir empfehlen, die fehlende Prozessausrüstung auf demselben Blatt zu bepreisen, anstatt das Crimpmaschinen-Paket als komplette Werkstatt zu behandeln.
Lesen Sie den Crimpeinsatz-Plan als Prozessdokument
Jede Zeile sollte die Crimpeinsatz-Kennzeichnung, die Maschinenfamilie, den nutzbaren Bereich und die Komponentenkombinationen nennen, die sie unterstützen soll. Halten Sie die Maschineneinstellung und die Anforderung an die fertige Verpressung in getrennten Feldern. Die auf einem Crimpeinsatz eingravierte Zahl ist nicht automatisch der erforderliche fertige Hülsen-Außendurchmesser.
Hersteller wie Tore weisen Bediener an, aktuelle Crimpdaten zu verwenden, den angegebenen Crimpeinsatz zu laden und die fertige Verpressung zu messen. Dieses Prinzip gilt für die Kaufentscheidung: Enthaltene Werkzeuge benötigen dennoch kontrollierte Anwendungsdaten.
Der Das technische Handbuch für Parker-Hydraulikschläuche zeigt dieselbe Systemdisziplin bei Schneiden, Vorbereitung, Montage und Prüfung. Seine Abmessungen bleiben Parker-spezifisch; verwenden Sie es, um den Workflow zu verstehen, nicht um die Verpressung einer anderen Marke einzustellen.
Erstellen Sie ein Erstmusterblatt für jede Komponentenzeile
Das Blatt sollte Bauteil-Identitäten, Matrize, Maschineneinstellung, Einsteckmarkierung und Fertigmaß festhalten. Die Montageanleitung von Gates betont ebenfalls aktuelle Crimpdaten, vorgeschriebene Werkzeuge und die Messung des fertigen Crimps. Die genauen Gates-Einstellungen bleiben Teil des Gates-Systems; die allgemeine Lehre ist, dass ein Matrizenpaket eine Betriebsaufzeichnung benötigt.
Wenn eine kundenspezifische Ferrule einen Versuch erfordert, kennzeichnen Sie die kundenspezifische Matrize und bewahren Sie deren Zeichnung oder Freigabeaufzeichnung auf. Lassen Sie keine ungekennzeichnete Versuchsmatrize in den allgemeinen Werkzeugschrank gelangen.
Vergleichen Sie die Matrizenabdeckung bei zwei dokumentierten Maschinenfamilien
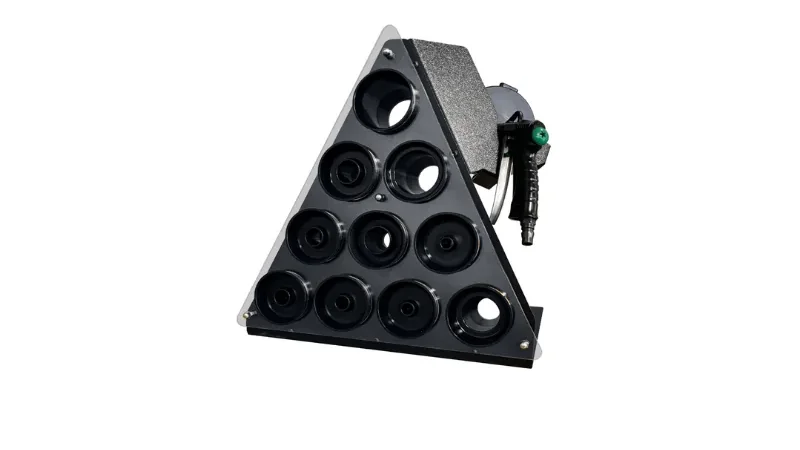
TRC führt P20 und P32 als unterschiedliche Maschinen- und Matrizenfamilien.
| Maschine | Verzeichnete Kraft | Aufgezeichneter Schlauchumfang | Matrizenregel |
|---|---|---|---|
| P20 | 137 Tonnen / 1.370 kN | Bis zu 1 1/2 Zoll 4SP | Verwendet die Matrizenserie P20 |
| P32 | 200 Tonnen / 2.000 kN | Bis zu 2 Zoll 4SP | Verwendet die Matrizenserie P32 |
The machine range does not mean that every required die is in the standard package. Ask the quotation to list included die identifications and separate optional tooling.
Überprüfen Sie die hydraulic hose crimper starter-kit route before comparing an included-die package with a bare machine.
Build a component-to-die matrix
| Component row | Schlauch | Anschlussstück und Klemmhülse | Target | Proposed die | Status |
|---|---|---|---|---|---|
| High-frequency row | Exact references | Exact references | Current supplier data | Lieferant identifiziert | Open until verified |
| Largest ferrule | Exact references | Actual ferrule OD | Current supplier data | Lieferant identifiziert | Check head opening |
| Tight elbow | Exact references | Geometry and OD | Current supplier data | Lieferant identifiziert | Check loading |
| Low-volume special | Exact references | Exact references | Current supplier data | Optional if justified | Outsource or add tool |
This table stops two common mistakes. Nominal hose ID does not select a die, and a die that physically fits the head does not approve the hose assembly.
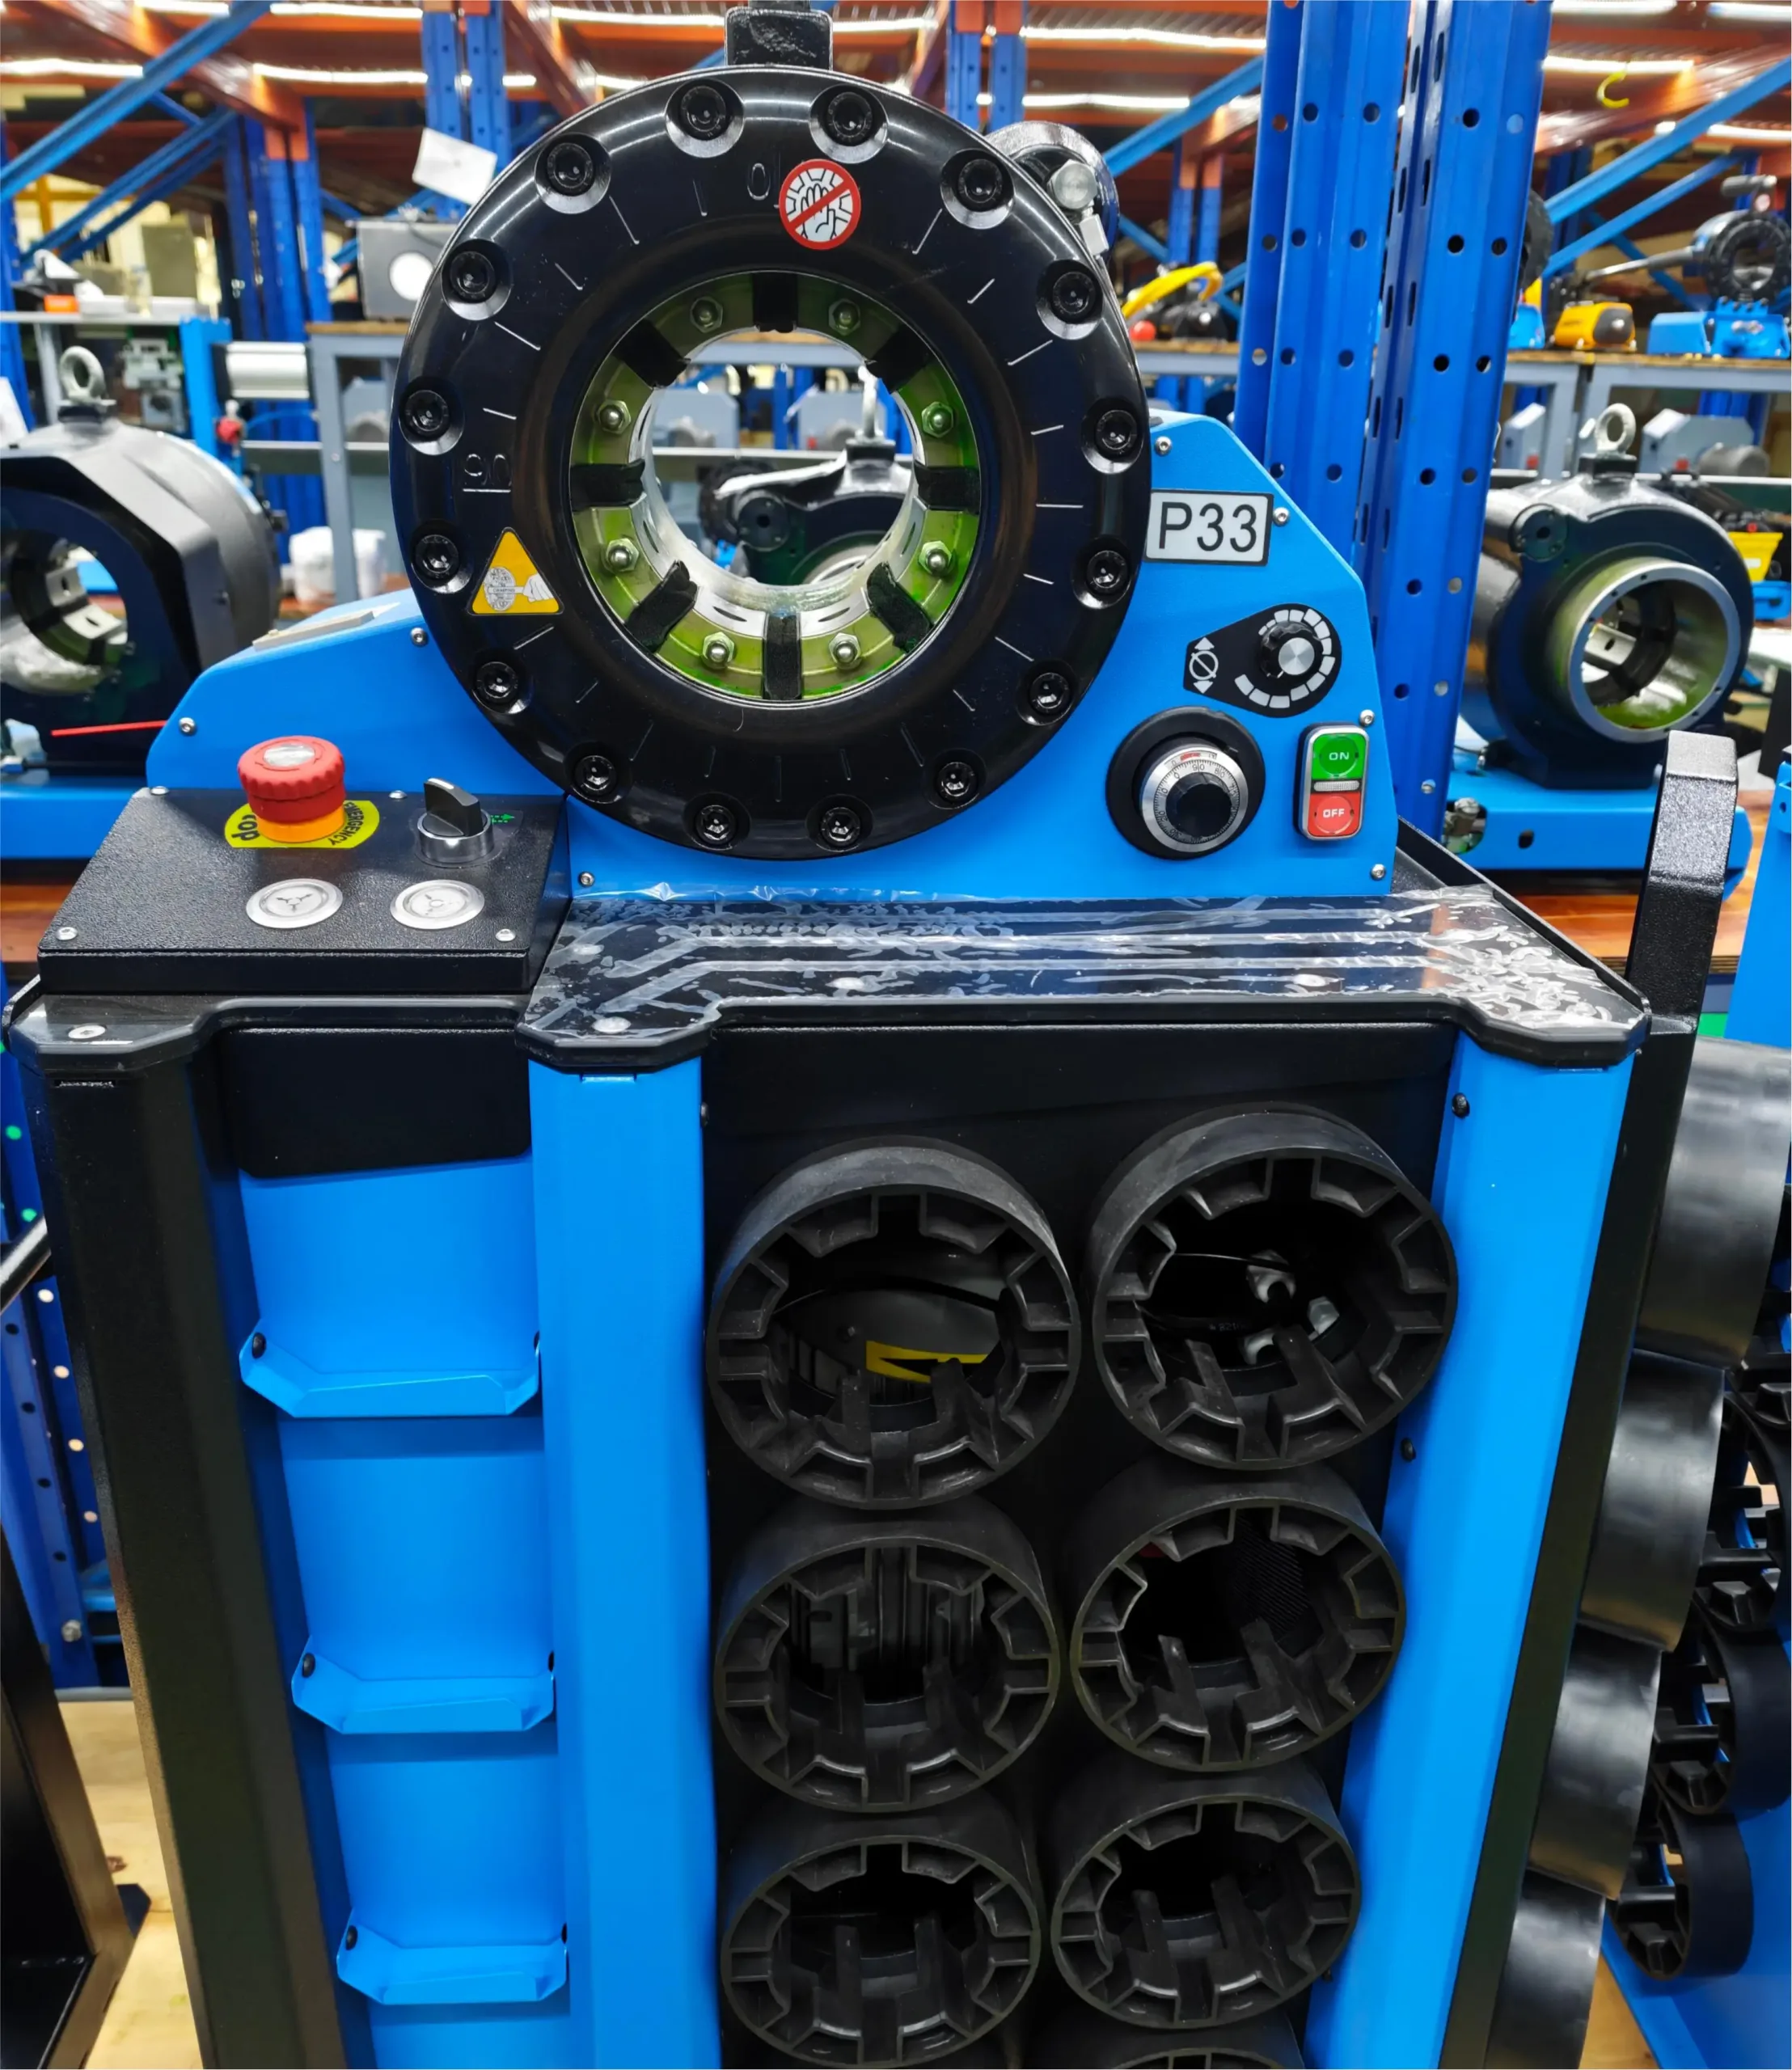
Inspect dies as precision tooling
Clean the seating surfaces and identify every segment before loading. Look for impact marks, corrosion, uneven wear and mixed segments.
| Beobachtung | Disposition |
|---|---|
| Die number is missing | Quarantine until identified |
| One segment differs | Do not assemble the set |
| Seating surface has debris | Clean by the machine procedure |
| Edge is chipped or cracked | Remove from service |
| Finished result drifts | Check components, die seating, wear and measurement |
Warnung: Never compensate for a damaged or wrong die by applying extra compression. That hides the cause and can damage the hose assembly.
Calculate the value of included dies
Count only the tooling that maps to planned production rows.
usable die coverage = documented component rows covered ÷ planned component rows × 100
If a package includes ten sets but only six map to the buyer’s eight normal rows, coverage is 75%. The calculation describes planning coverage, not assembly approval.
Price missing tooling, adapters and storage separately. A cheaper machine with unusable included dies can cost more to commission than a better matched package.
Audit an “included dies” quotation line by line
| Audit row | Supplier should state | Buyer checks |
|---|---|---|
| Maschine | Exact model and die series | Matches planned capacity |
| Master dies | Included identity and condition | Required for all listed tooling |
| Matrizensätze | Number, marking and working range | Maps to component rows |
| Adapter | Part references | Needed for quoted sets |
| Lagerung | Rack, tray or case | Prevents mixed segments |
| Pressdaten | Source for each component row | Current and traceable |
| Messung | Tool and location | Can release first-off |
| Special profiles | Included or optional | Needed for interlock or unusual ferrules |
| Replacement route | Part identification and lead time | Supports downtime plan |
| Packing | Every loose tool listed | Receiving can reconcile |
The phrase “standard dies included” should not pass purchasing review. Standard for the seller may not match the buyer’s ferrule inventory.
Work through an eight-row workshop example
A new hose shop plans eight normal component rows. The proposed P20 package covers six rows with included dies. One large ferrule needs an optional die, and one awkward elbow cannot be loaded until the supplier checks geometry.
The purchase team should price the six-row base, the optional die and the unresolved elbow separately. It should not describe the machine as covering eight rows.
After the optional die is proven, documented coverage becomes seven of eight rows. The elbow can remain outsourced until a sample demonstrates loading and measurement.
This example uses no invented machine price or customer outcome. It shows how the coverage matrix prevents an optimistic sales description from becoming a production promise.
Keep die sets complete
Mark every segment so a set can be reconciled. Do not mix one replacement segment into a worn set unless the manufacturer provides that service route.
When a set leaves the machine, clean and inspect it according to the equipment instruction, then return it to the labeled location. A loose segment on the bench should stop the next setup.
Verify seating before changing the setting
Debris or damage between the die and its seat can change closure and alignment. If a previously stable component row drifts, inspect the seat and complete die set before adjusting.
Take measurements at the same specified location with the same controlled method. A different operator or caliper angle can look like machine drift.
Separate machine range from finished hose rating
P20 and P32 force values describe machine records. They do not rate the pressure of a hose assembly.
The finished assembly rating follows the approved hose, fitting, ferrule and process data plus required validation. Do not use “200 ton” as a marketing shortcut for higher-pressure hose.
Plan optional dies by business value
Use job frequency, margin, outsourcing delay and tooling cost. A rare special profile may remain outsourced; a high-frequency missing row can justify the option quickly.
annual affected jobs = monthly affected jobs × 12
simple tooling recovery = optional die cost ÷ buyer-owned contribution per affected job
The buyer supplies the actual commercial inputs. The formula is a decision aid, not a guaranteed payback.
Receive and commission the tooling
Check die identity and count against the packing list. Inspect for transport damage and confirm machine fit without production parts.
Run one known component row per new die. Record hose, fitting, ferrule, target, die, setting and measured result. Do not release the die because it fits the head.
Receiving rule: A complete shipping count is not the same as verified production coverage. Commission the rows that matter.
Keep a die history that supports maintenance
For each set, record identity, machine series, receipt date, inspections, repairs and removal from service. Do not assign a fake service-life number.
When a finished result changes, the history helps separate a newly damaged die from component or measurement changes. Keep photographs of unusual wear beside the record.
Train with the ferrule OD, not only hose ID
Lay out two component rows with the same nominal hose ID and different ferrules. Ask the operator to identify the correct die from the approved chart.
This exercise shows why “one-inch die” is not enough. The operator must read the component row, die reference and target.
Use a clear out-of-scope list
The quotation and service procedure should name profiles, ferrule sizes and special fittings that the package does not cover. This prevents a sales person from promising work because the machine has enough force.
Add new rows after sample and first-off approval. Do not delete the previous exclusion until the tooling record is complete.
Review replacement availability before standardizing
A workshop with several machines can reduce inventory by standardizing one die family, but only when that family covers the component and workpiece needs.
Compare replacement lead time, storage, adapters and operator changeover. Do not choose a smaller die ecosystem merely because the initial package has a higher count.
Work through a damaged-die event
An operator drops one segment from a high-frequency set. No crack is obvious, but a new impact mark appears.
The shop quarantines the whole set, records the incident and uses the approved spare if available. It does not mix one segment from another set or reduce the machine setting to compensate.
Maintenance or the supplier decides whether inspection, repair or replacement is permitted. Production resumes only after a known set passes the component row’s first-off check.
Connect tooling to the machine asset
Keep P20 dies with the P20 series and P32 dies with the P32 series. If a die physically enters another head, that observation is not compatibility approval.
The asset register should list the machine, die series, adapters, storage location and controlled chart. This helps a new operator and prevents tooling from disappearing between departments.
Review tooling at inventory time
Count complete sets, not individual segments. Reconcile sets under repair, quarantined or on loan.
Compare physical inventory with the supported component matrix. A missing rare set and a missing daily set have different production consequences.
State what “with dies” means in the SEO promise
The article title can attract a buyer looking for a complete package. The body must explain that included dies cover stated rows, not every hose.
Use exact language in quotations and product cards: number of identified sets, machine series and whether component mapping is complete. Do not repeat the phrase “complete die set” without a schedule.
Release a die set with an accepted component row
The receiving team can count and inspect tooling. Production release requires a known hose, fitting and ferrule row, correct target, machine setting and finished measurement.
Record one accepted first-off for every new high-frequency die. For low-frequency optional tooling, state when commissioning will occur.
If a set arrives before the matching components, keep it identified but unreleased. Do not produce an arbitrary sample merely to close receiving paperwork.
Review package value after six months
Count which included dies entered production, which optional sets were added and which supplied sets never mapped to work.
This review improves the next machine purchase. It may show that fewer targeted dies would have been better than a larger standard bundle.
Keep the result as internal commercial evidence. Do not convert it into a public claim about universal tooling value.
Use it.
Der TRC product overview provides the current machine routes. Gates’ crimp-data and dies manual illustrates why die and component data belong together; apply only the data for the documented Gates system.
Audit the die cabinet before the first production order
Give every die set a visible ID and storage location, then link it to the machine family and approved component rows. The label should not be only a nominal hose size. The same nominal ID can appear across several hose constructions and coupling systems with different finished requirements.
Run a receiving check when dies arrive. Confirm quantity, profile, markings, physical damage, cleanliness and any adapter needed to install them. Close the empty machine only as permitted by its instructions, then make a controlled first piece from an identified hose, fitting and ferrule.
An illustrative shop inherits two boxes marked “3/4.” One set fits the press and the other appears close but sits differently in the master die. Mixing segments would create an unstable profile. The correct decision is to quarantine both sets until their part numbers and machine compatibility are resolved.
Tooling rule: A die belongs to a documented machine-and-component route. If that route cannot be written down, availability in the cabinet is not proof that the die is safe to use.
Wear inspection should use a defined reference from the responsible tooling supplier. Do not grind, shim or substitute segments to chase a finished dimension. Record damaged or retired tooling so it cannot return to production during a busy shift.
Häufig gestellte Fragen
How do I figure out which dies work for fittings when a Chinese crimper has no chart?
Do not reverse-engineer the answer from hose ID or die color. Identify the hose, fitting and ferrule, obtain the responsible component maker’s current crimp data, then map that finished requirement to the machine’s documented die system. If the machine cannot be positively identified, treat the tooling match as unresolved.
My crimper needs a smaller labeled die than the chart suggests. Is that acceptable?
Only after you resolve why the label and result disagree. Check die identity, units, wear, machine setting and component data, then measure a controlled first piece. A finished diameter that happens to look right does not prove that the tooling route is valid.
Can I crimp 4-wire 4SH hose, and what dies do I need?
That depends on the exact hose and coupling system plus the machine’s verified capacity and tooling. Use the component maker’s crimp data and the crimper’s approved die schedule. Never infer 4SH capability from nominal tonnage alone.
Build a traceable tooling package
Senden Sie TRC the component list and proposed workload. Compare the response with the starter-kit workflow so missing process equipment remains visible.